> ## Documentation Index
> Fetch the complete documentation index at: https://docs.bytebase.com/llms.txt
> Use this file to discover all available pages before exploring further.
# Data Change with 1-Click Rollback
When modifying data in production databases, having a backup is crucial for quick recovery from mistakes. Bytebase's [**1-Click Data Rollback**](/change-database/rollback-data-changes/) feature automatically creates backups before data changes and allows instant rollback when needed. This tutorial demonstrates how to use this feature and configure automatic backups.
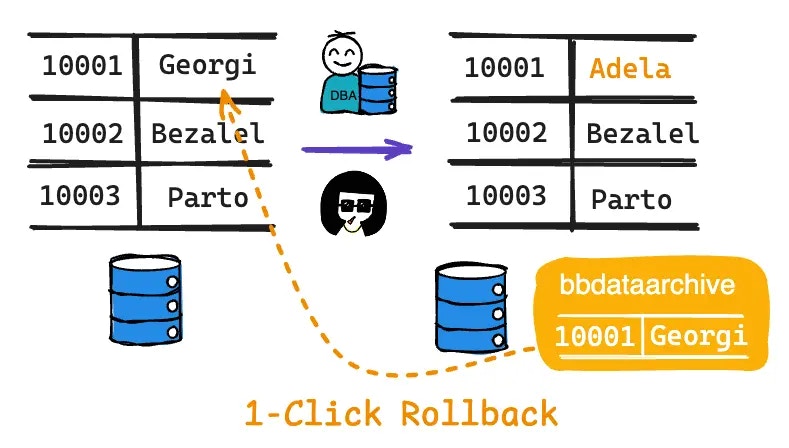 ## Step 1 - Start Bytebase with sample data
1. Ensure Docker is running, then start the Bytebase container:
```bash theme={null}
docker run --rm --init \
--name bytebase \
--publish 8080:8080 --pull always \
--volume ~/.bytebase/data:/var/opt/bytebase \
bytebase/bytebase:latest
```
## Step 1 - Start Bytebase with sample data
1. Ensure Docker is running, then start the Bytebase container:
```bash theme={null}
docker run --rm --init \
--name bytebase \
--publish 8080:8080 --pull always \
--volume ~/.bytebase/data:/var/opt/bytebase \
bytebase/bytebase:latest
```
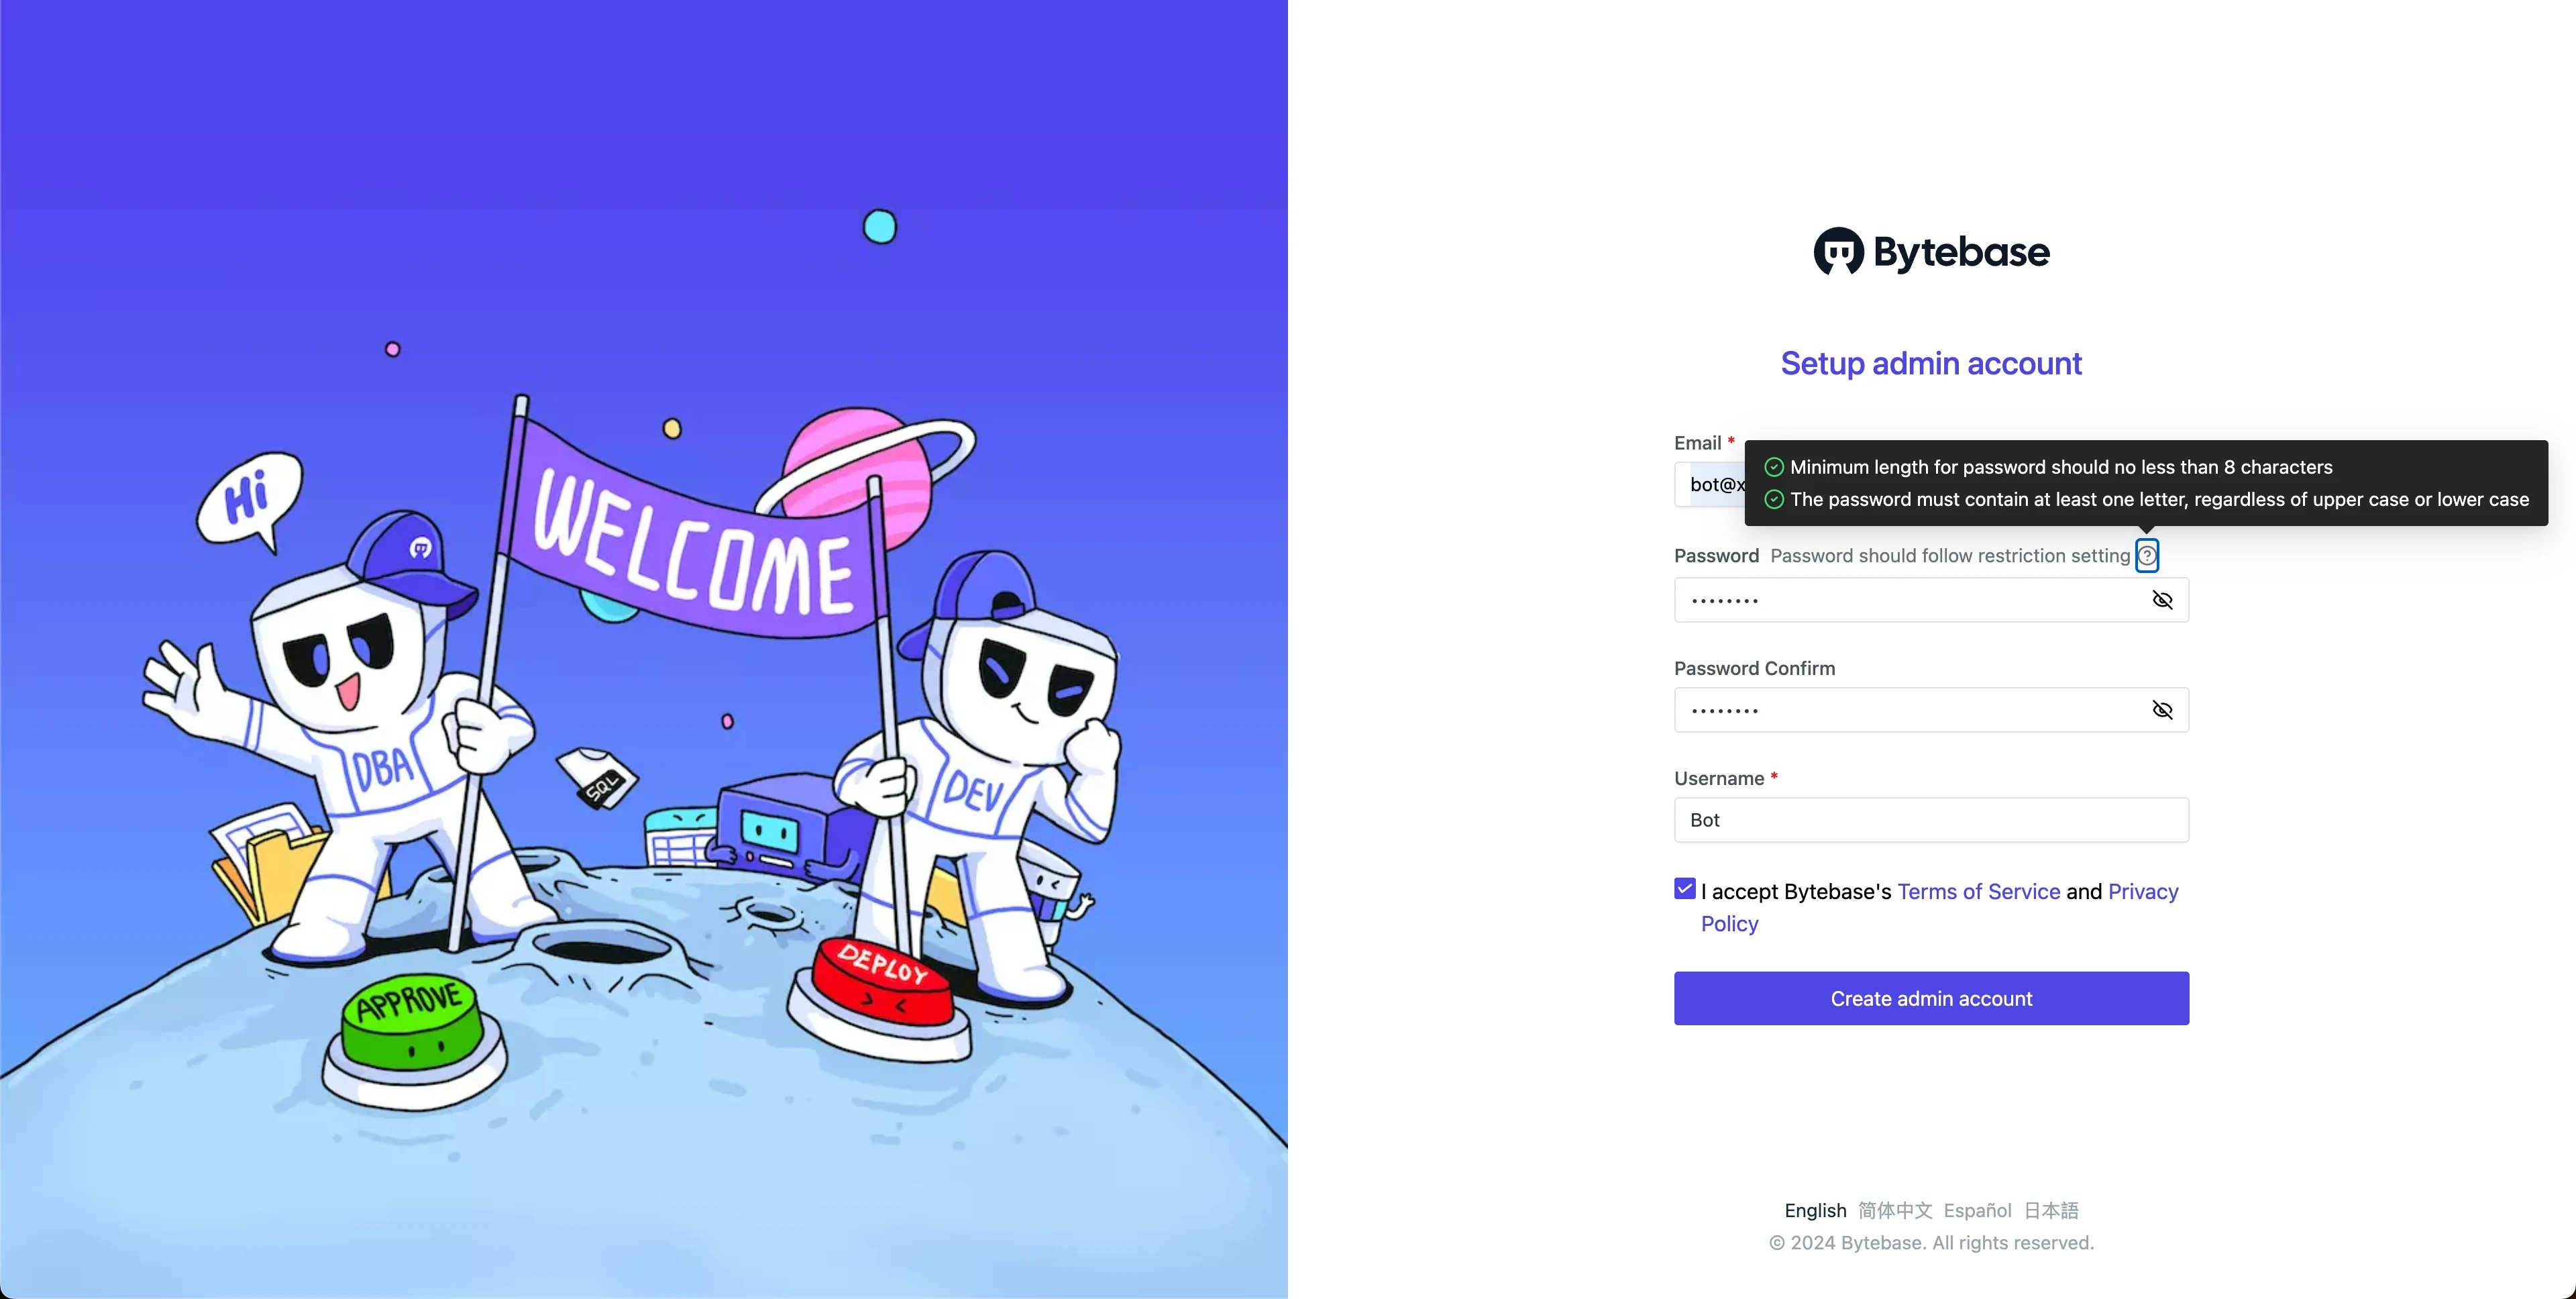
 2. Open Bytebase in [localhost:8080](http://localhost:8080/), fill in the fields and click **Create admin account**. You'll be redirected to Workspace.
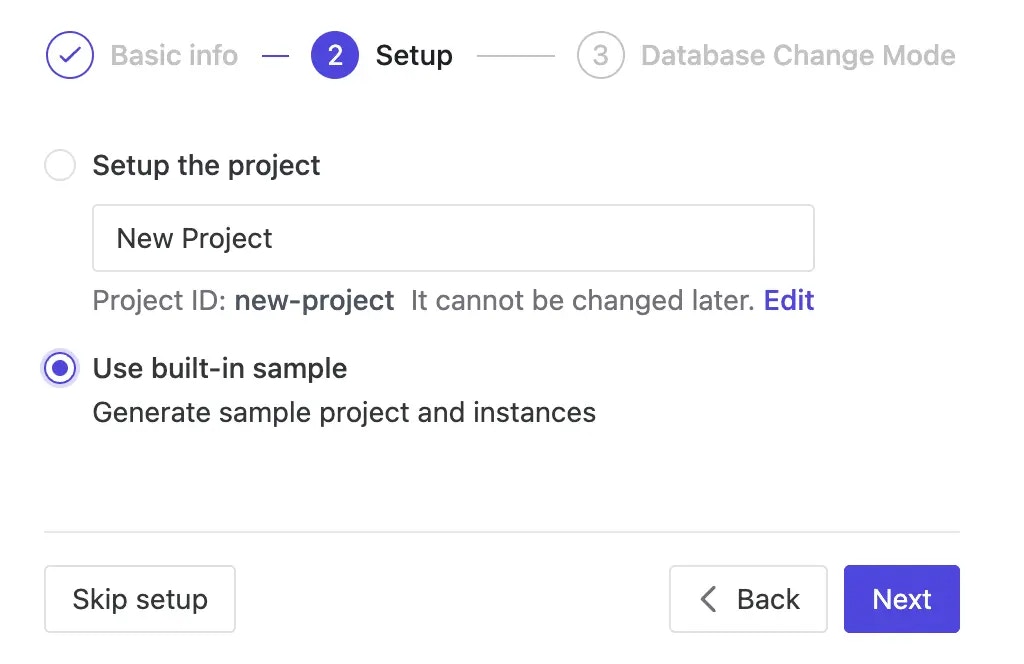
 3. During workspace setup, choose the built-in sample data.
 ## Step 2 - Verify backup schema
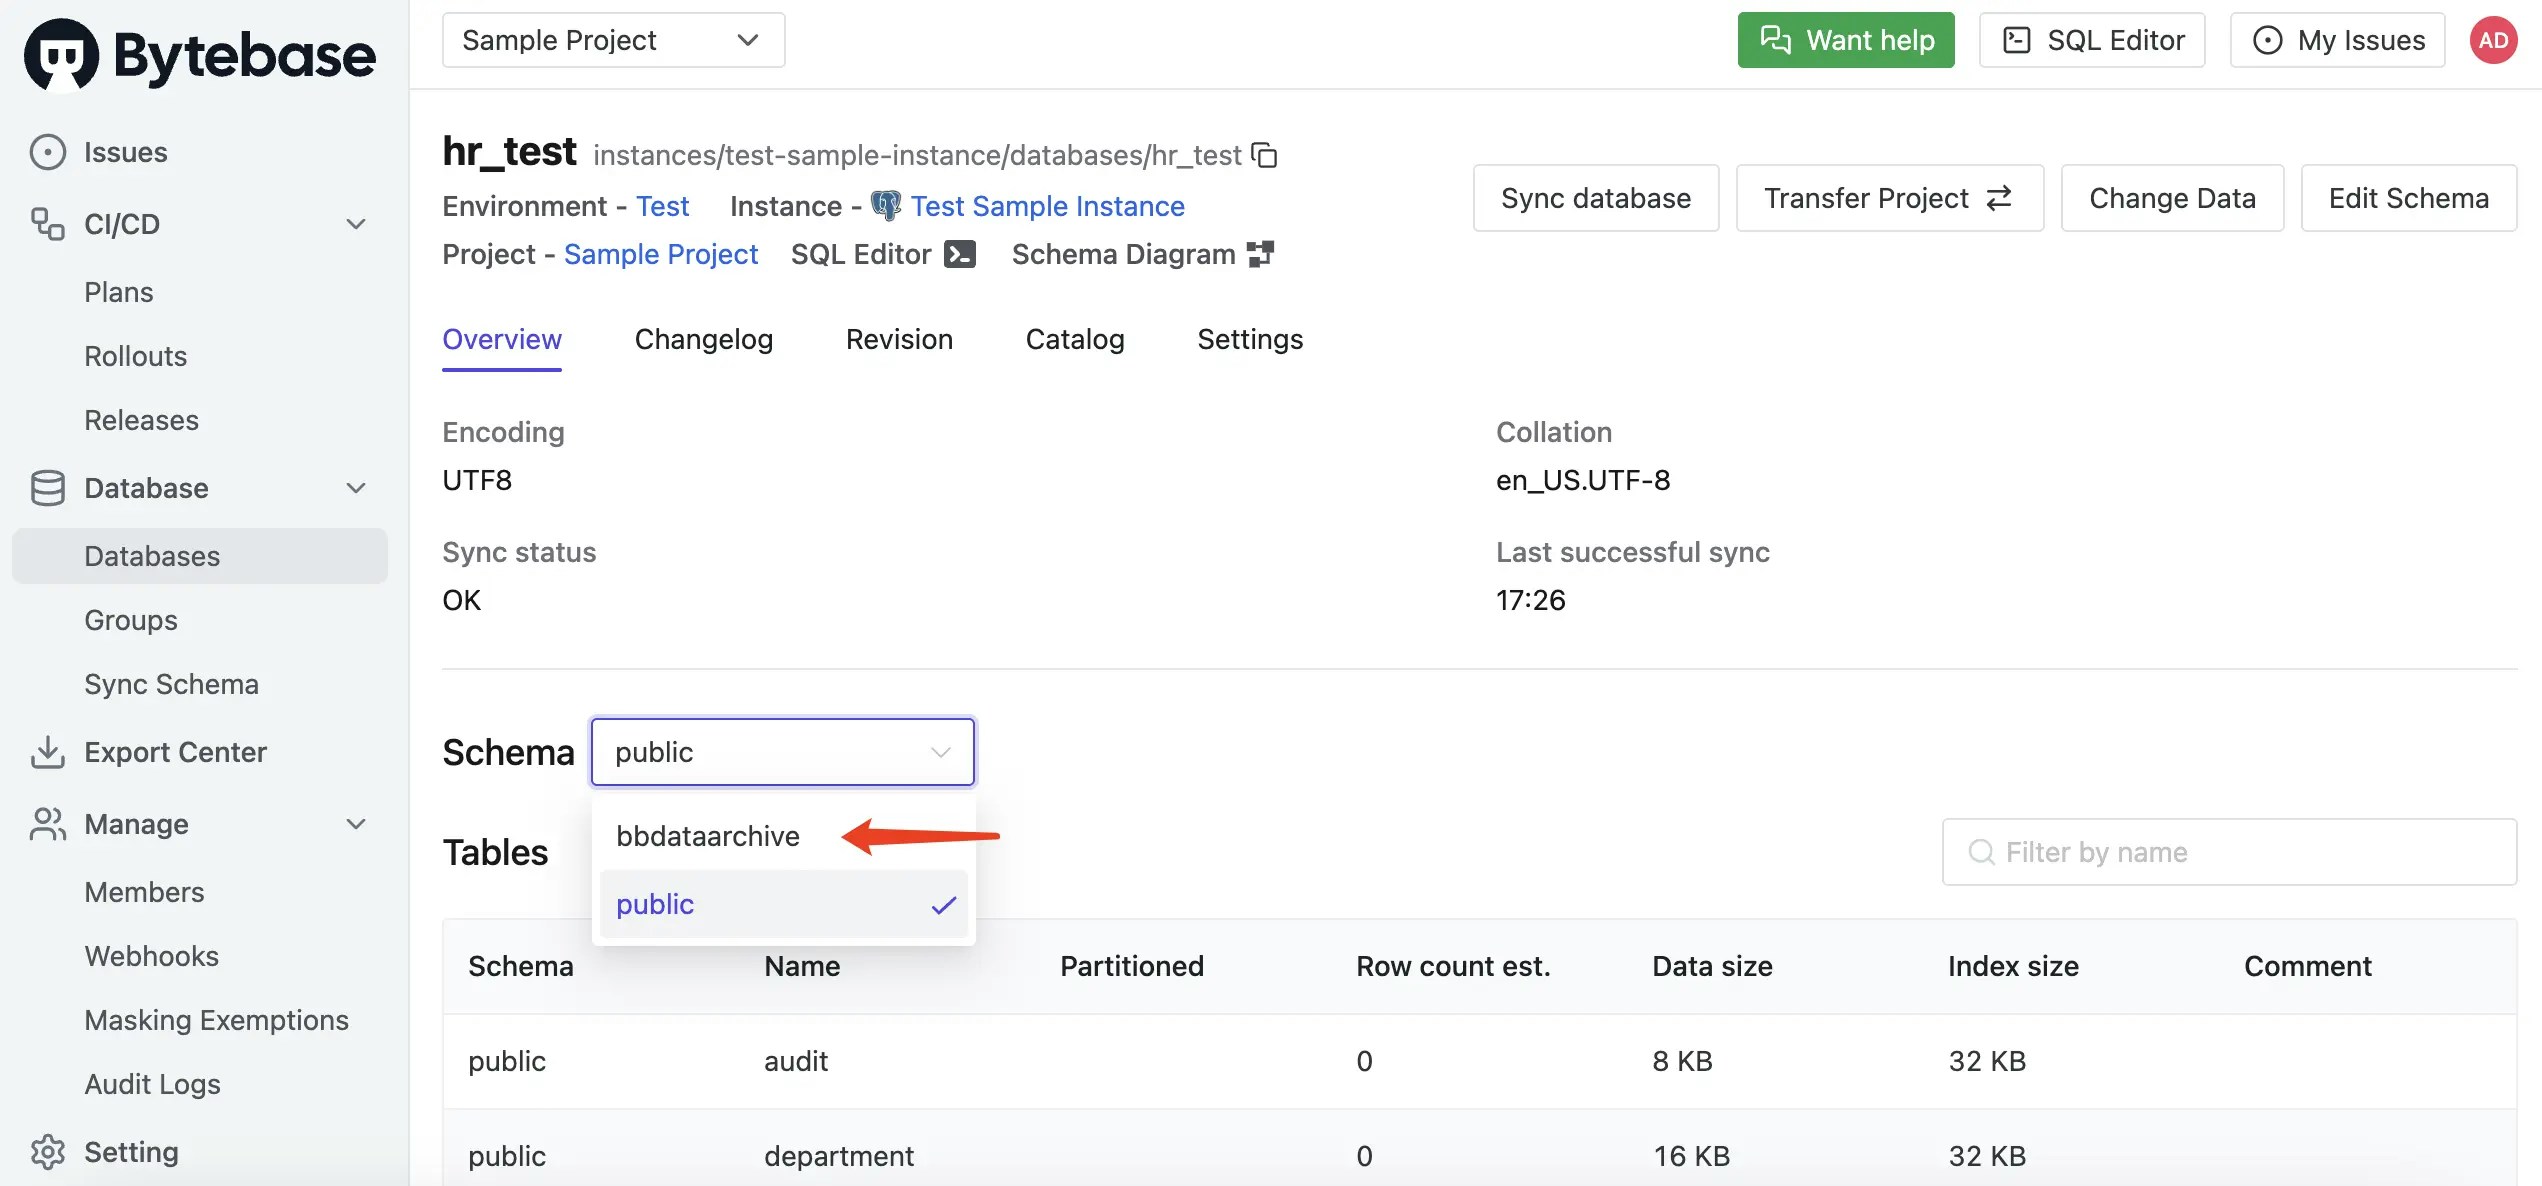
Bytebase stores backup data in a dedicated `bbdataarchive` schema (for PostgreSQL) that's automatically created with our sample databases.
1. Navigate to `Sample Project` > **Database > Databases**.
2. Select `hr_test` to see the `bbdataarchive` schema already in place.
## Step 2 - Verify backup schema
Bytebase stores backup data in a dedicated `bbdataarchive` schema (for PostgreSQL) that's automatically created with our sample databases.
1. Navigate to `Sample Project` > **Database > Databases**.
2. Select `hr_test` to see the `bbdataarchive` schema already in place.
 ## Step 3 - Execute data change with backup
1. Open **SQL Editor**, select `hr_test`, and double-click the `employee` table to view current data. Note that employee 10001's first name is `Georgi`.
## Step 3 - Execute data change with backup
1. Open **SQL Editor**, select `hr_test`, and double-click the `employee` table to view current data. Note that employee 10001's first name is `Georgi`.
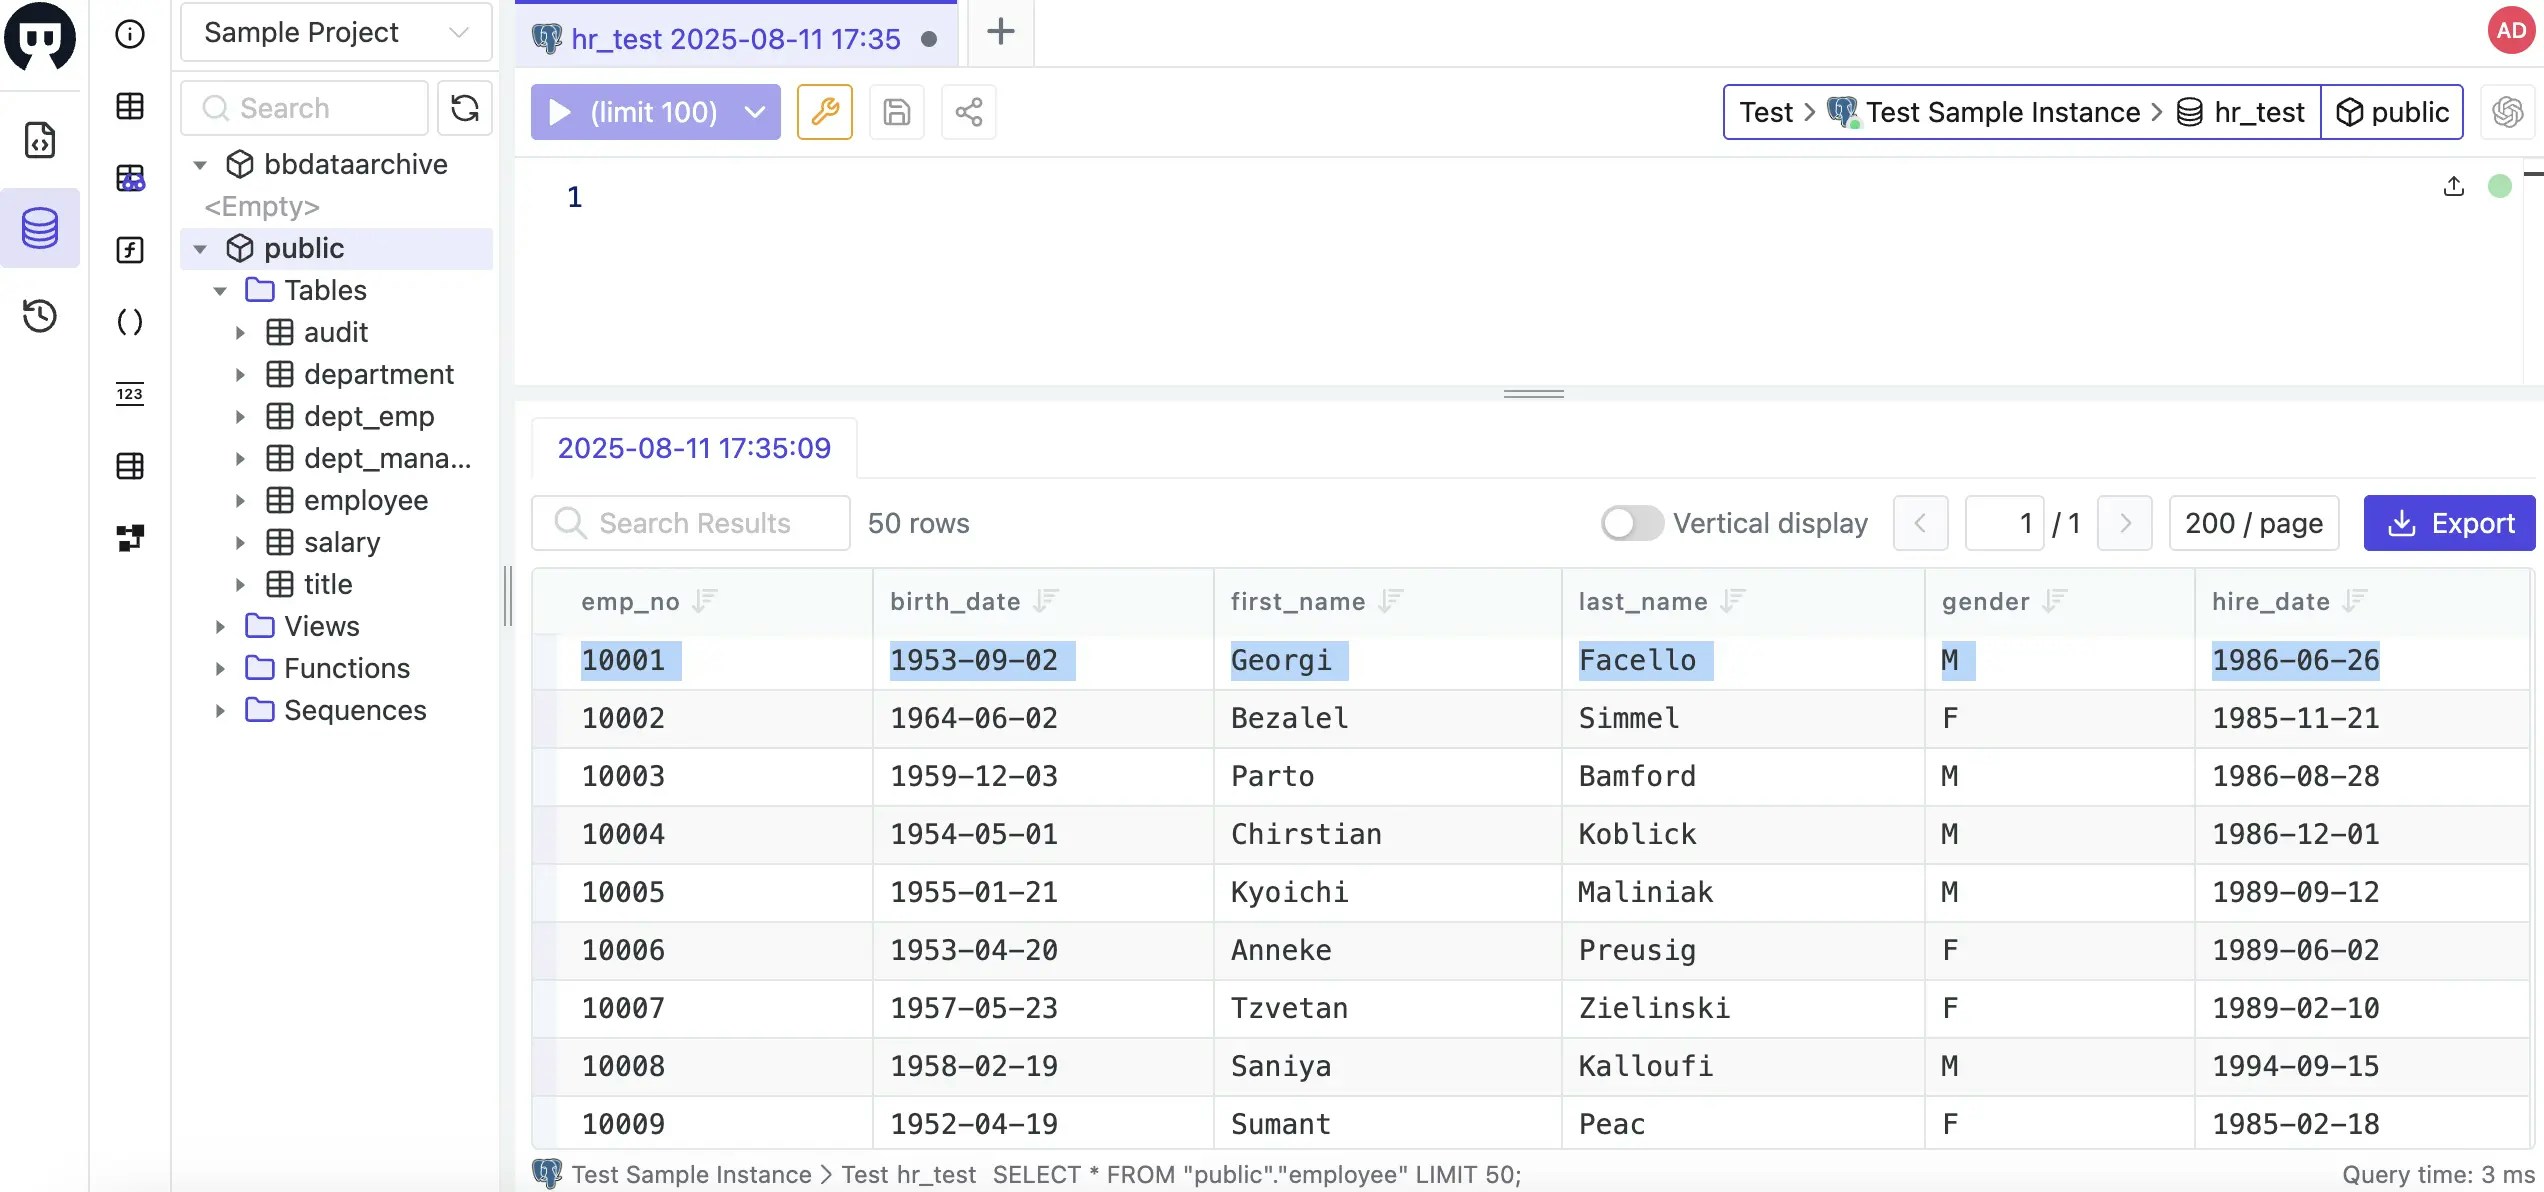 2. Navigate to `Sample Project` > **CI/CD > Plans**. Click **+New Plan**, select **Data Change**, choose the `hr_test` database, then click **Confirm**.
3. Enable **Prior Backup** at the bottom of the form. Enter the following SQL:
```sql theme={null}
UPDATE employee SET first_name = 'Adela' WHERE emp_no = 10001;
```
Click **Create**, then **Ready for review**.
4. Go to the **Rollout** tab and click **Run** to execute the change.
2. Navigate to `Sample Project` > **CI/CD > Plans**. Click **+New Plan**, select **Data Change**, choose the `hr_test` database, then click **Confirm**.
3. Enable **Prior Backup** at the bottom of the form. Enter the following SQL:
```sql theme={null}
UPDATE employee SET first_name = 'Adela' WHERE emp_no = 10001;
```
Click **Create**, then **Ready for review**.
4. Go to the **Rollout** tab and click **Run** to execute the change.
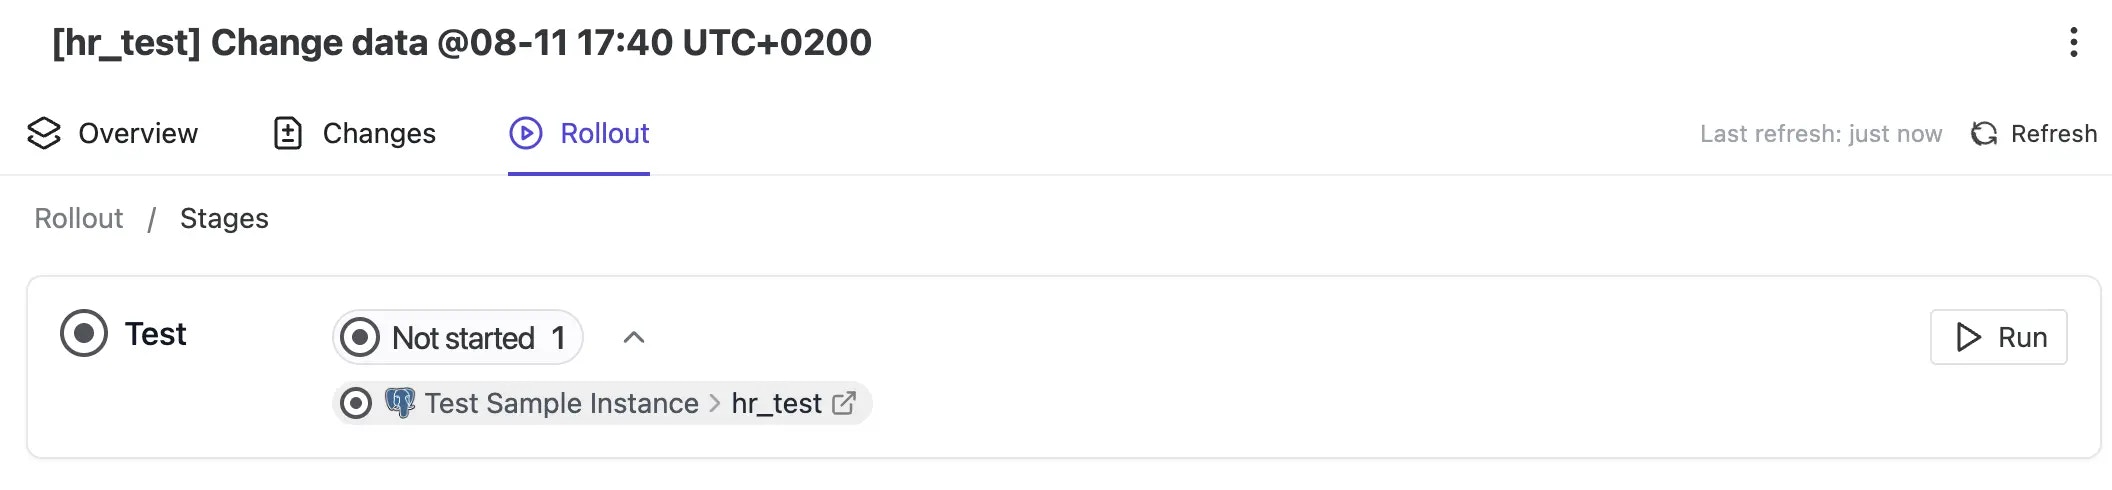 5. After execution, check the **Overview** tab to see the backup confirmation message.
6. To verify the change, return to **SQL Editor** and run:
```sql theme={null}
SELECT * FROM "public"."employee" ORDER BY emp_no LIMIT 50;
```
5. After execution, check the **Overview** tab to see the backup confirmation message.
6. To verify the change, return to **SQL Editor** and run:
```sql theme={null}
SELECT * FROM "public"."employee" ORDER BY emp_no LIMIT 50;
```
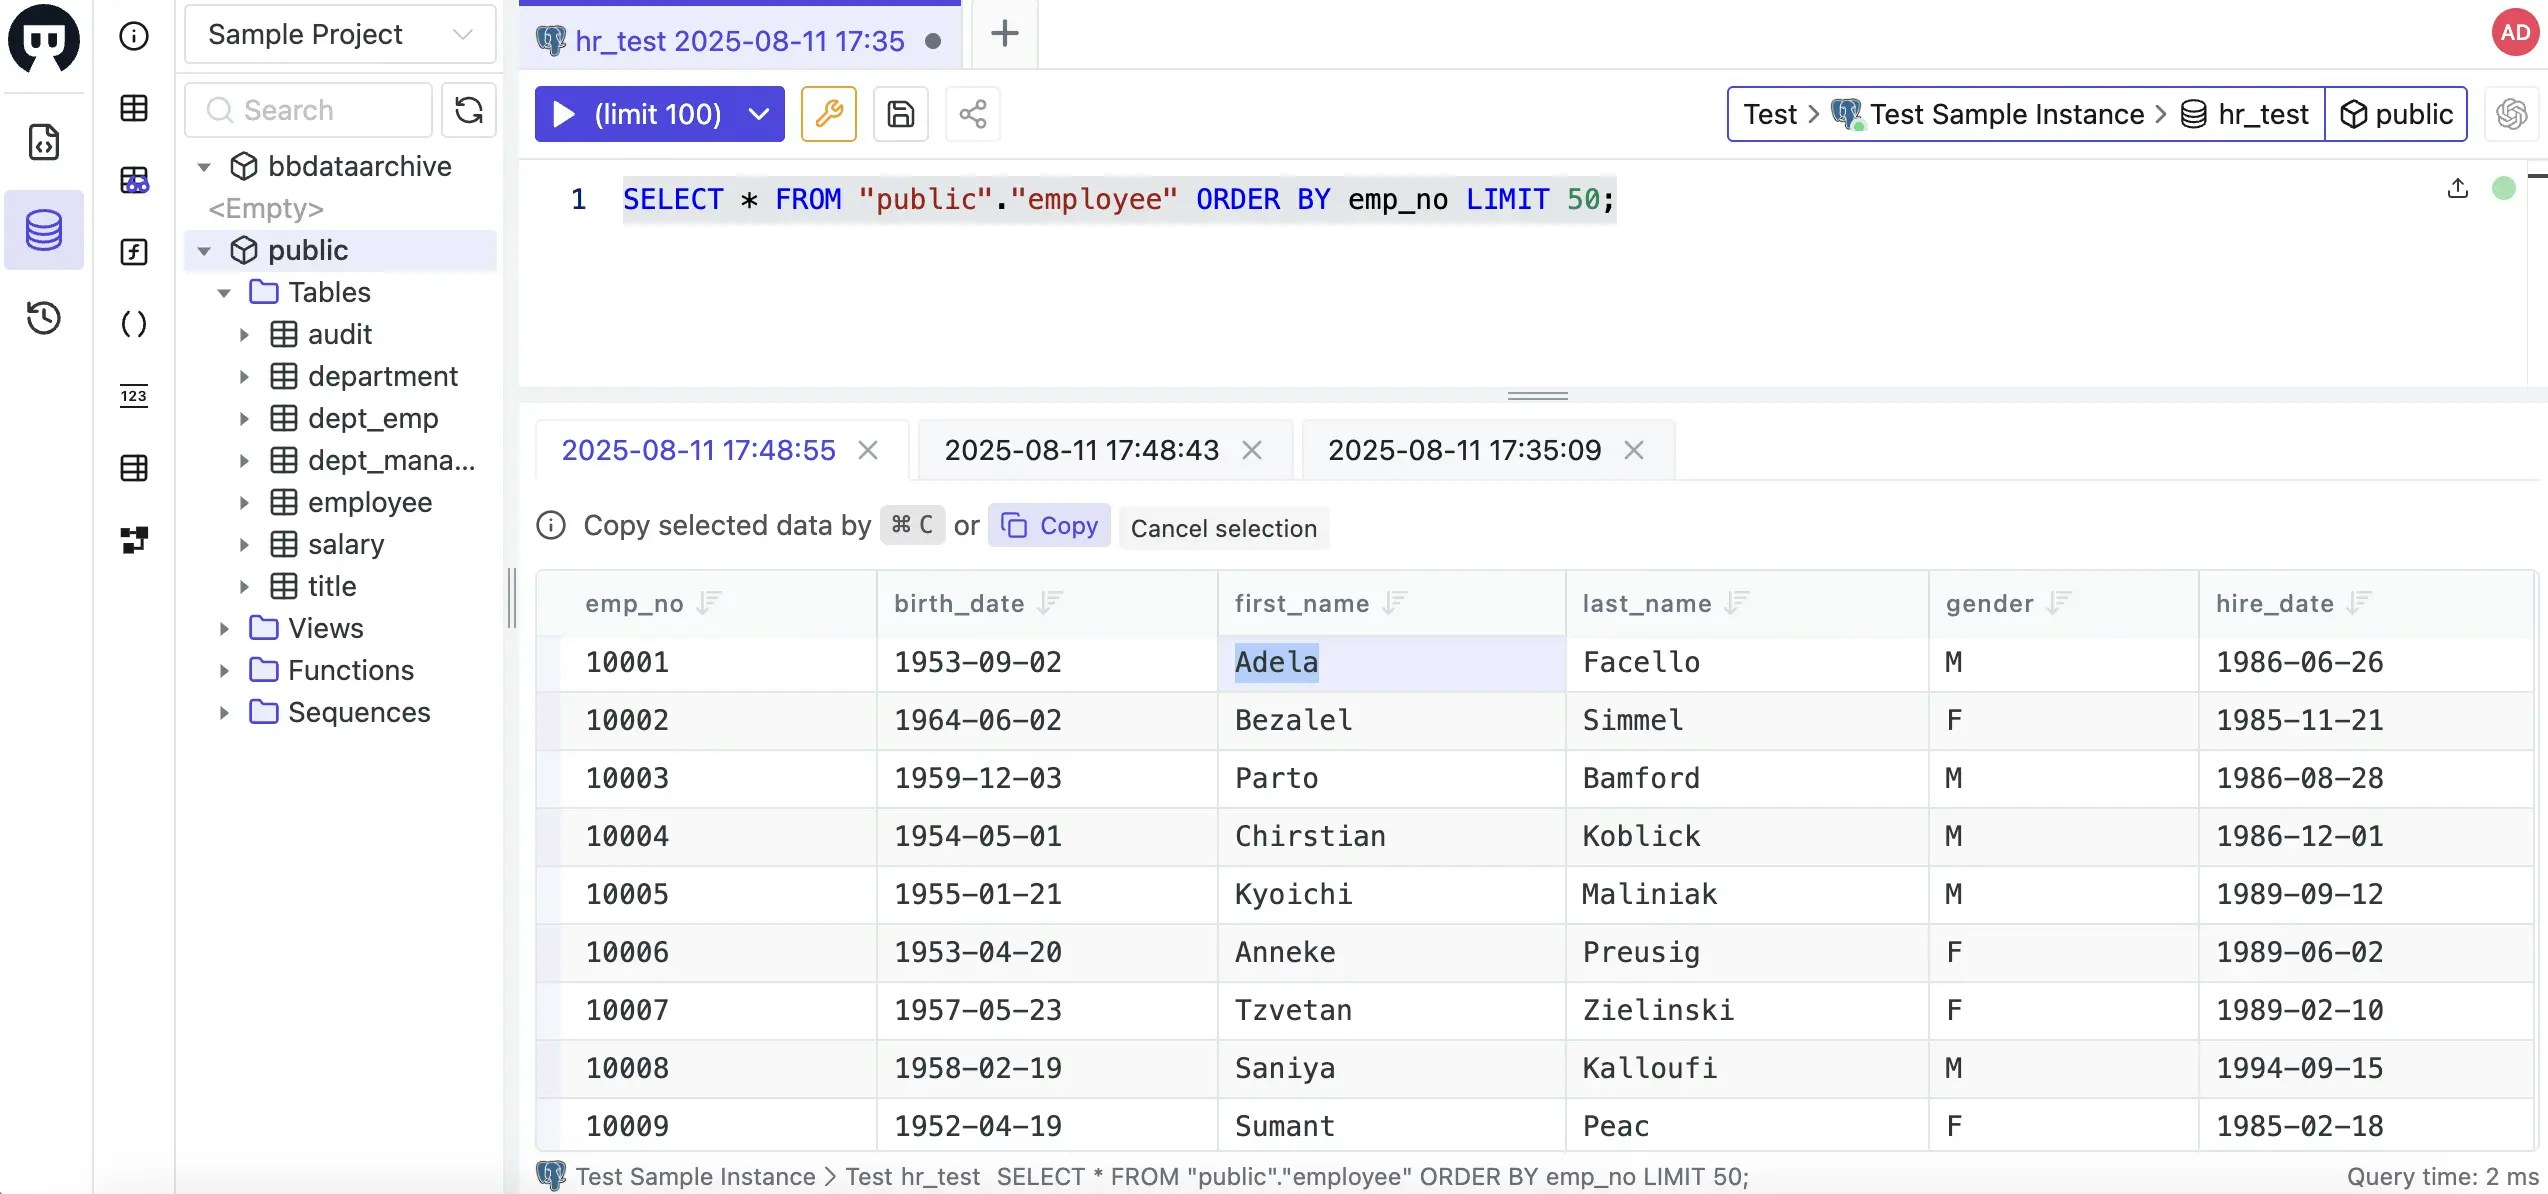 7. To view the backup, switch to the `bbdataarchive` schema and double-click the backup table to see the original data preserved.
## Step 4 - Perform 1-Click rollback
1. In the **Rollout** tab, click the **Rollback** button next to the completed change.
7. To view the backup, switch to the `bbdataarchive` schema and double-click the backup table to see the original data preserved.
## Step 4 - Perform 1-Click rollback
1. In the **Rollout** tab, click the **Rollback** button next to the completed change.
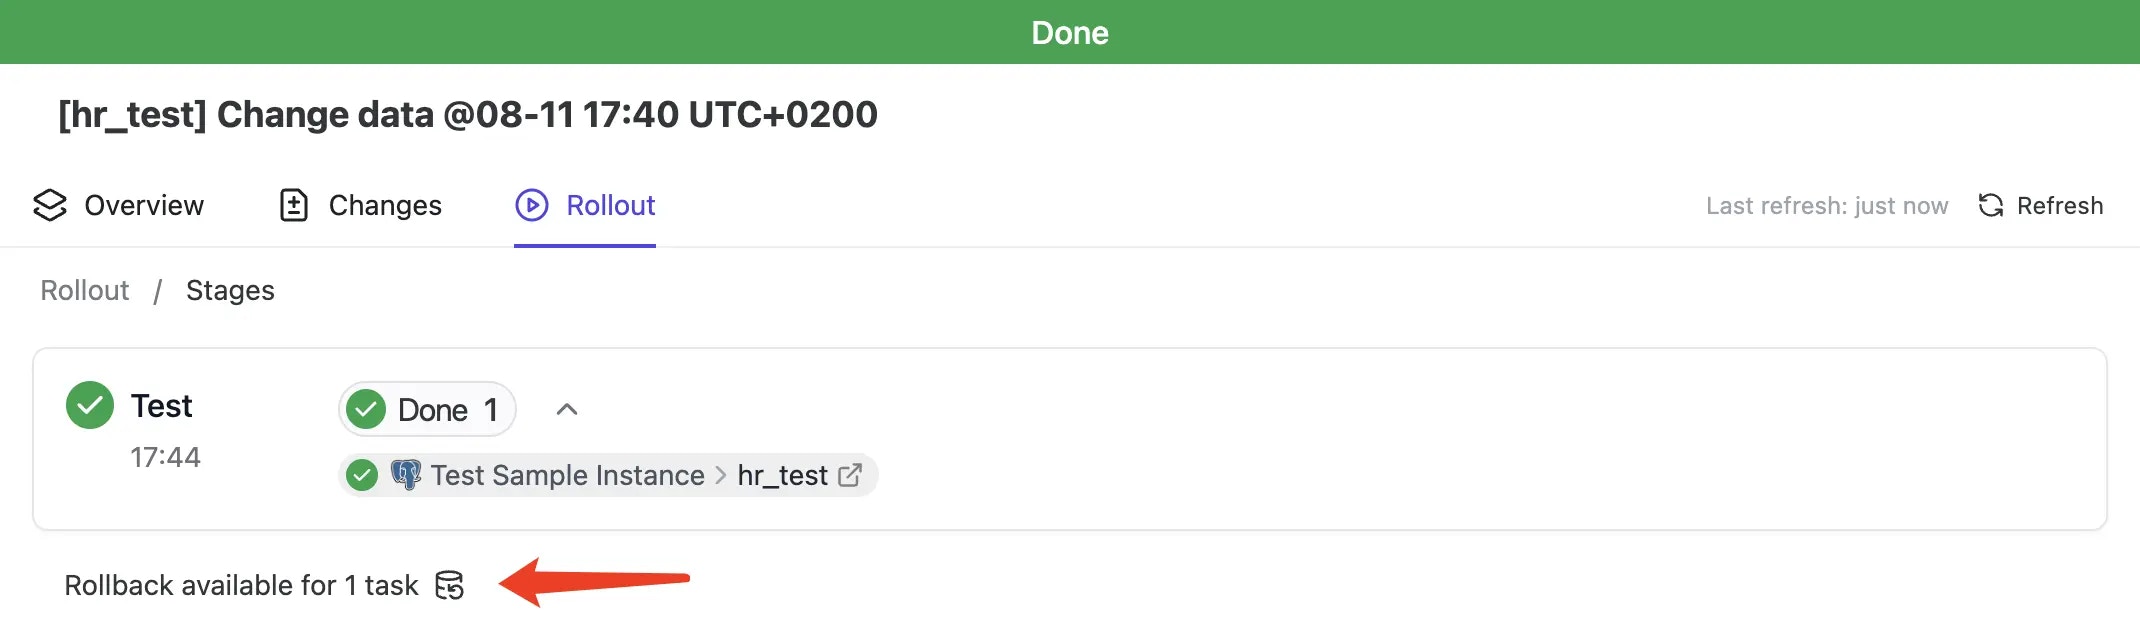 2. Review the generated rollback SQL, click **Confirm**, then **Ready for Review**, and finally **Rollout** to execute.
3. Return to **SQL Editor** to verify the data has been restored to its original state.
## Step 5 - Configure automatic backups
1. Navigate to project **Settings** to find these backup options under **Issue related**:
* **Auto enable backup**: Automatically backs up data for all data changes
* **Skip backup errors**: Continues with changes even if backup fails
Enable these options to avoid manually selecting backup for each data change.
## Database-specific considerations
For MySQL, SQL Server, and Oracle, Bytebase uses a separate `bbdataarchive` **database** rather than a schema to store backups. See the documentation below for details.
2. Review the generated rollback SQL, click **Confirm**, then **Ready for Review**, and finally **Rollout** to execute.
3. Return to **SQL Editor** to verify the data has been restored to its original state.
## Step 5 - Configure automatic backups
1. Navigate to project **Settings** to find these backup options under **Issue related**:
* **Auto enable backup**: Automatically backs up data for all data changes
* **Skip backup errors**: Continues with changes even if backup fails
Enable these options to avoid manually selecting backup for each data change.
## Database-specific considerations
For MySQL, SQL Server, and Oracle, Bytebase uses a separate `bbdataarchive` **database** rather than a schema to store backups. See the documentation below for details.