> ## Documentation Index
> Fetch the complete documentation index at: https://docs.bytebase.com/llms.txt
> Use this file to discover all available pages before exploring further.
# Manage Environments with Terraform
This tutorial is part of the **Bytebase Terraform Provider** series:
* Part 1: Manage Environments with Terraform 👈
* Part 2: [Manage Databases with Terraform](/tutorials/manage-databases-with-terraform) - Register database instances
* Part 3: [Manage Projects with Terraform](/tutorials/manage-projects-with-terraform) - Organize databases into projects
* Part 4: [Manage Bytebase Settings with Terraform](/tutorials/manage-general-settings-with-terraform) - Configure workspace profile and approval policies
* Part 5: [Manage SQL Review Rules with Terraform](/tutorials/manage-sql-review-rules-with-terraform) - Define SQL review policies
* Part 6: [Manage Users and Groups with Terraform](/tutorials/manage-users-and-groups-with-terraform) - Configure users and groups
* Part 7: [Manage Database Access Control with Terraform](/tutorials/manage-database-access-control-with-terraform) - Grant database permissions
* Part 8: [Manage Data Masking with Terraform](/tutorials/manage-data-masking-with-terraform) - Protect sensitive data
This tutorial series uses separate Terraform files for better organization. Files are numbered by tutorial part and sub-step (e.g., [1-1-env-setting.tf](https://github.com/bytebase/terraform-provider-bytebase/blob/main/tutorials/1-1-env-setting.tf), [1-2-env-policy-rollout.tf](https://github.com/bytebase/terraform-provider-bytebase/blob/main/tutorials/1-2-env-policy-rollout.tf) for Part 1, [2-instances.tf](https://github.com/bytebase/terraform-provider-bytebase/blob/main/tutorials/2-instances.tf) for Part 2, etc.). Terraform automatically handles dependencies between files.
## What You'll Learn
In this tutorial, you'll use Terraform to manage Bytebase environments programmatically. You'll learn how to:
* Define environments (Test, Prod) with different protection levels
* Configure automatic vs manual deployment policies
* Set up data access restrictions for production
* Manage everything via Infrastructure as Code (IaC)
## Prerequisites
Before starting this tutorial, ensure you have:
* **Docker**: [Install Docker](https://www.docker.com/) to run Bytebase
* **Terraform**: [Install Terraform](https://www.terraform.io/downloads) (version 1.0+)
* **Bytebase Enterprise Plan** (optional): For advanced features
## Step 1 - Setup
### Install Terraform
Follow the [official Terraform installation guide](https://developer.hashicorp.com/terraform/tutorials/aws-get-started/install-cli).
### Start Bytebase
1. Run Bytebase in Docker:
```bash theme={null}
docker run --rm --init \
--name bytebase \
--publish 8080:8080 --pull always \
--volume ~/.bytebase/data:/var/opt/bytebase \
bytebase/bytebase:latest
```
2. Access Bytebase at `http://localhost:8080`.
3. Register an admin account with `Workspace Admin` role.
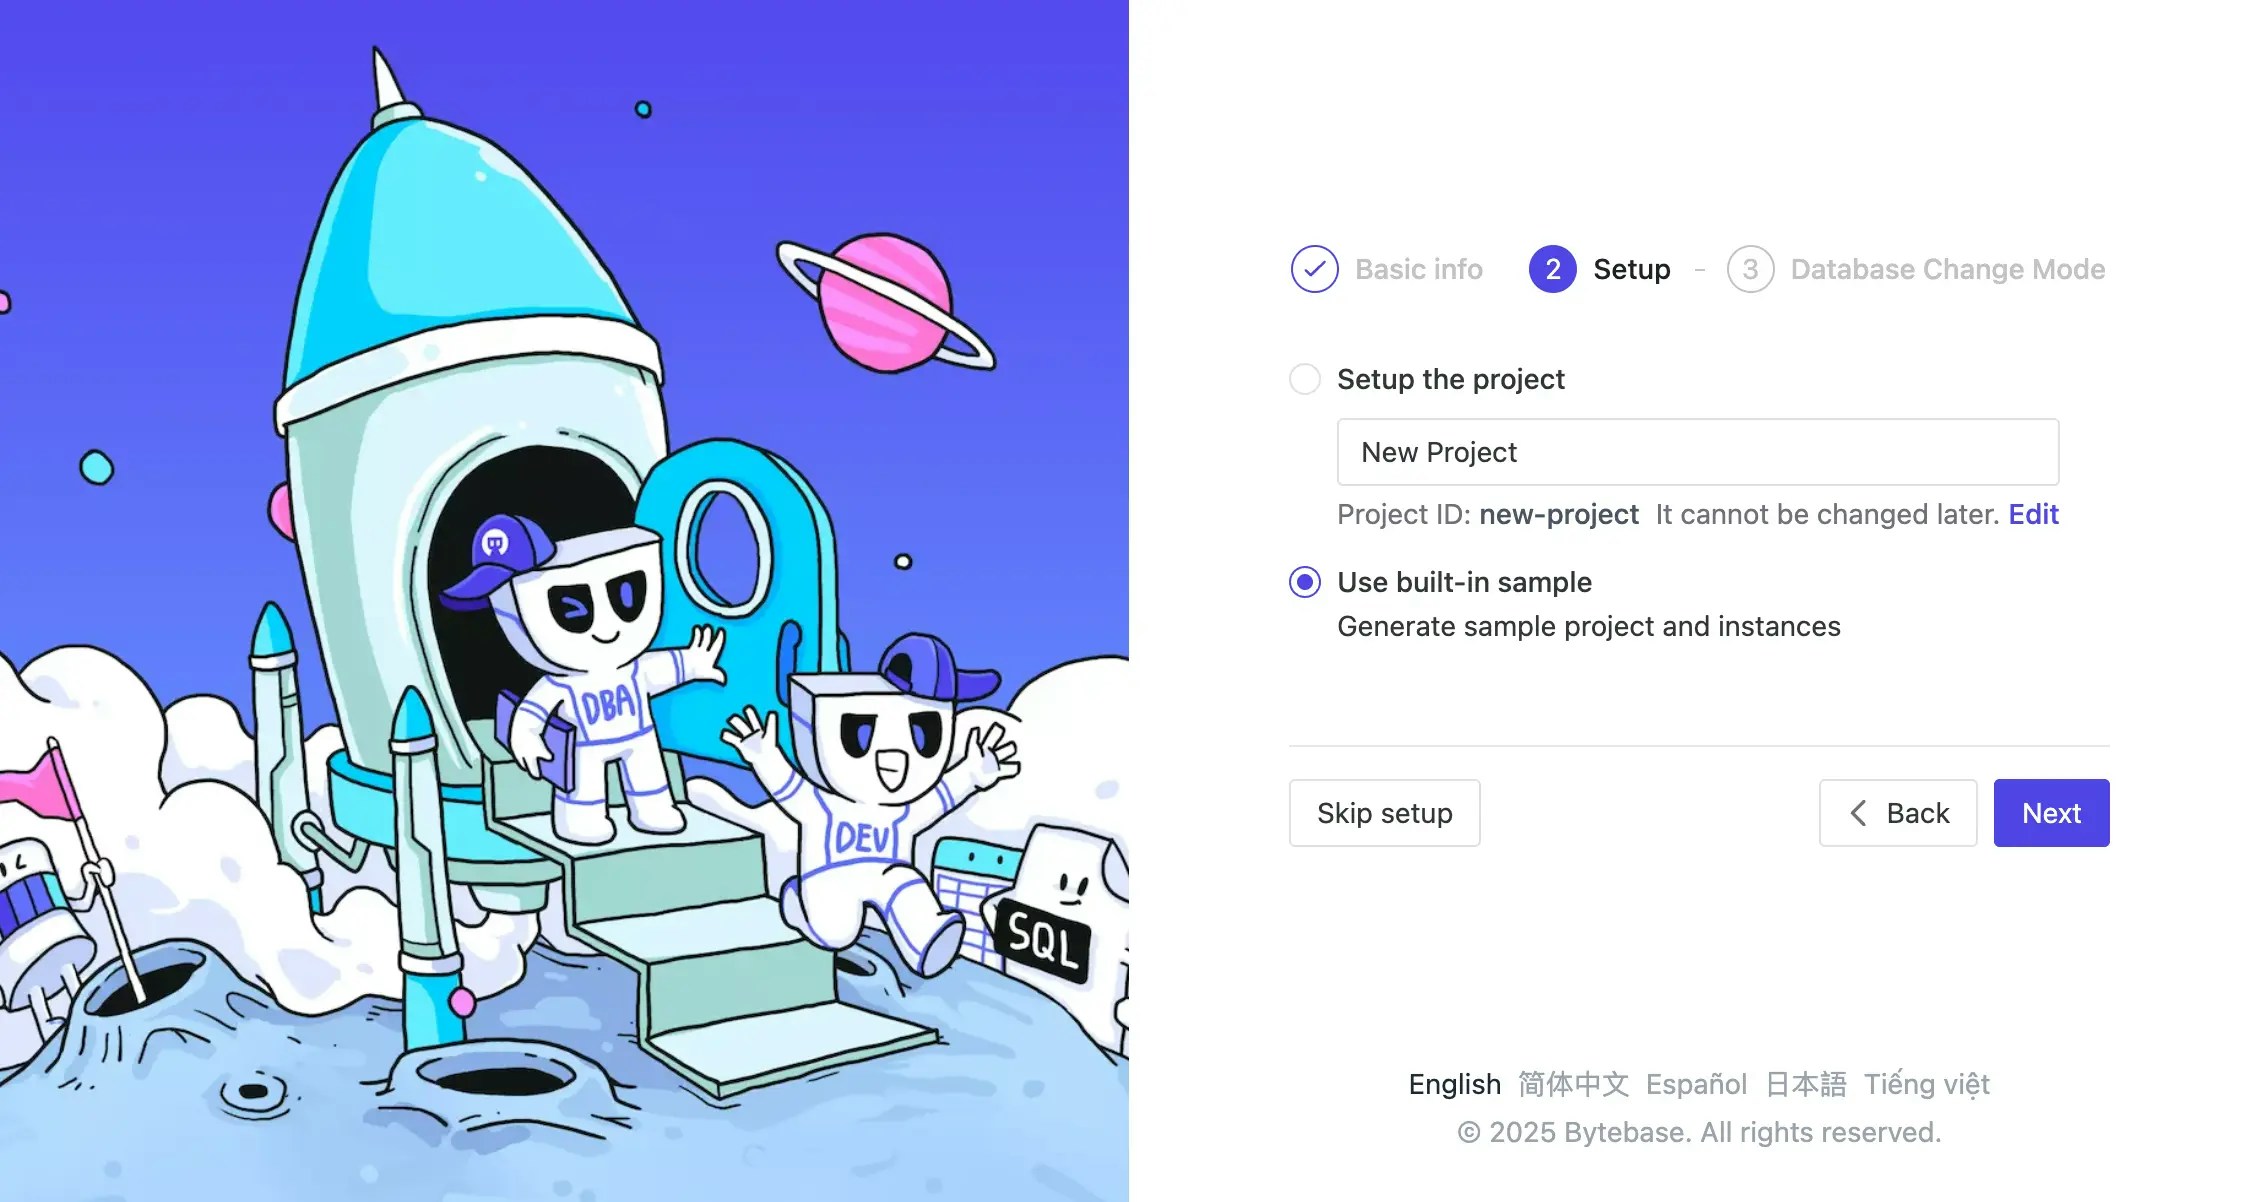
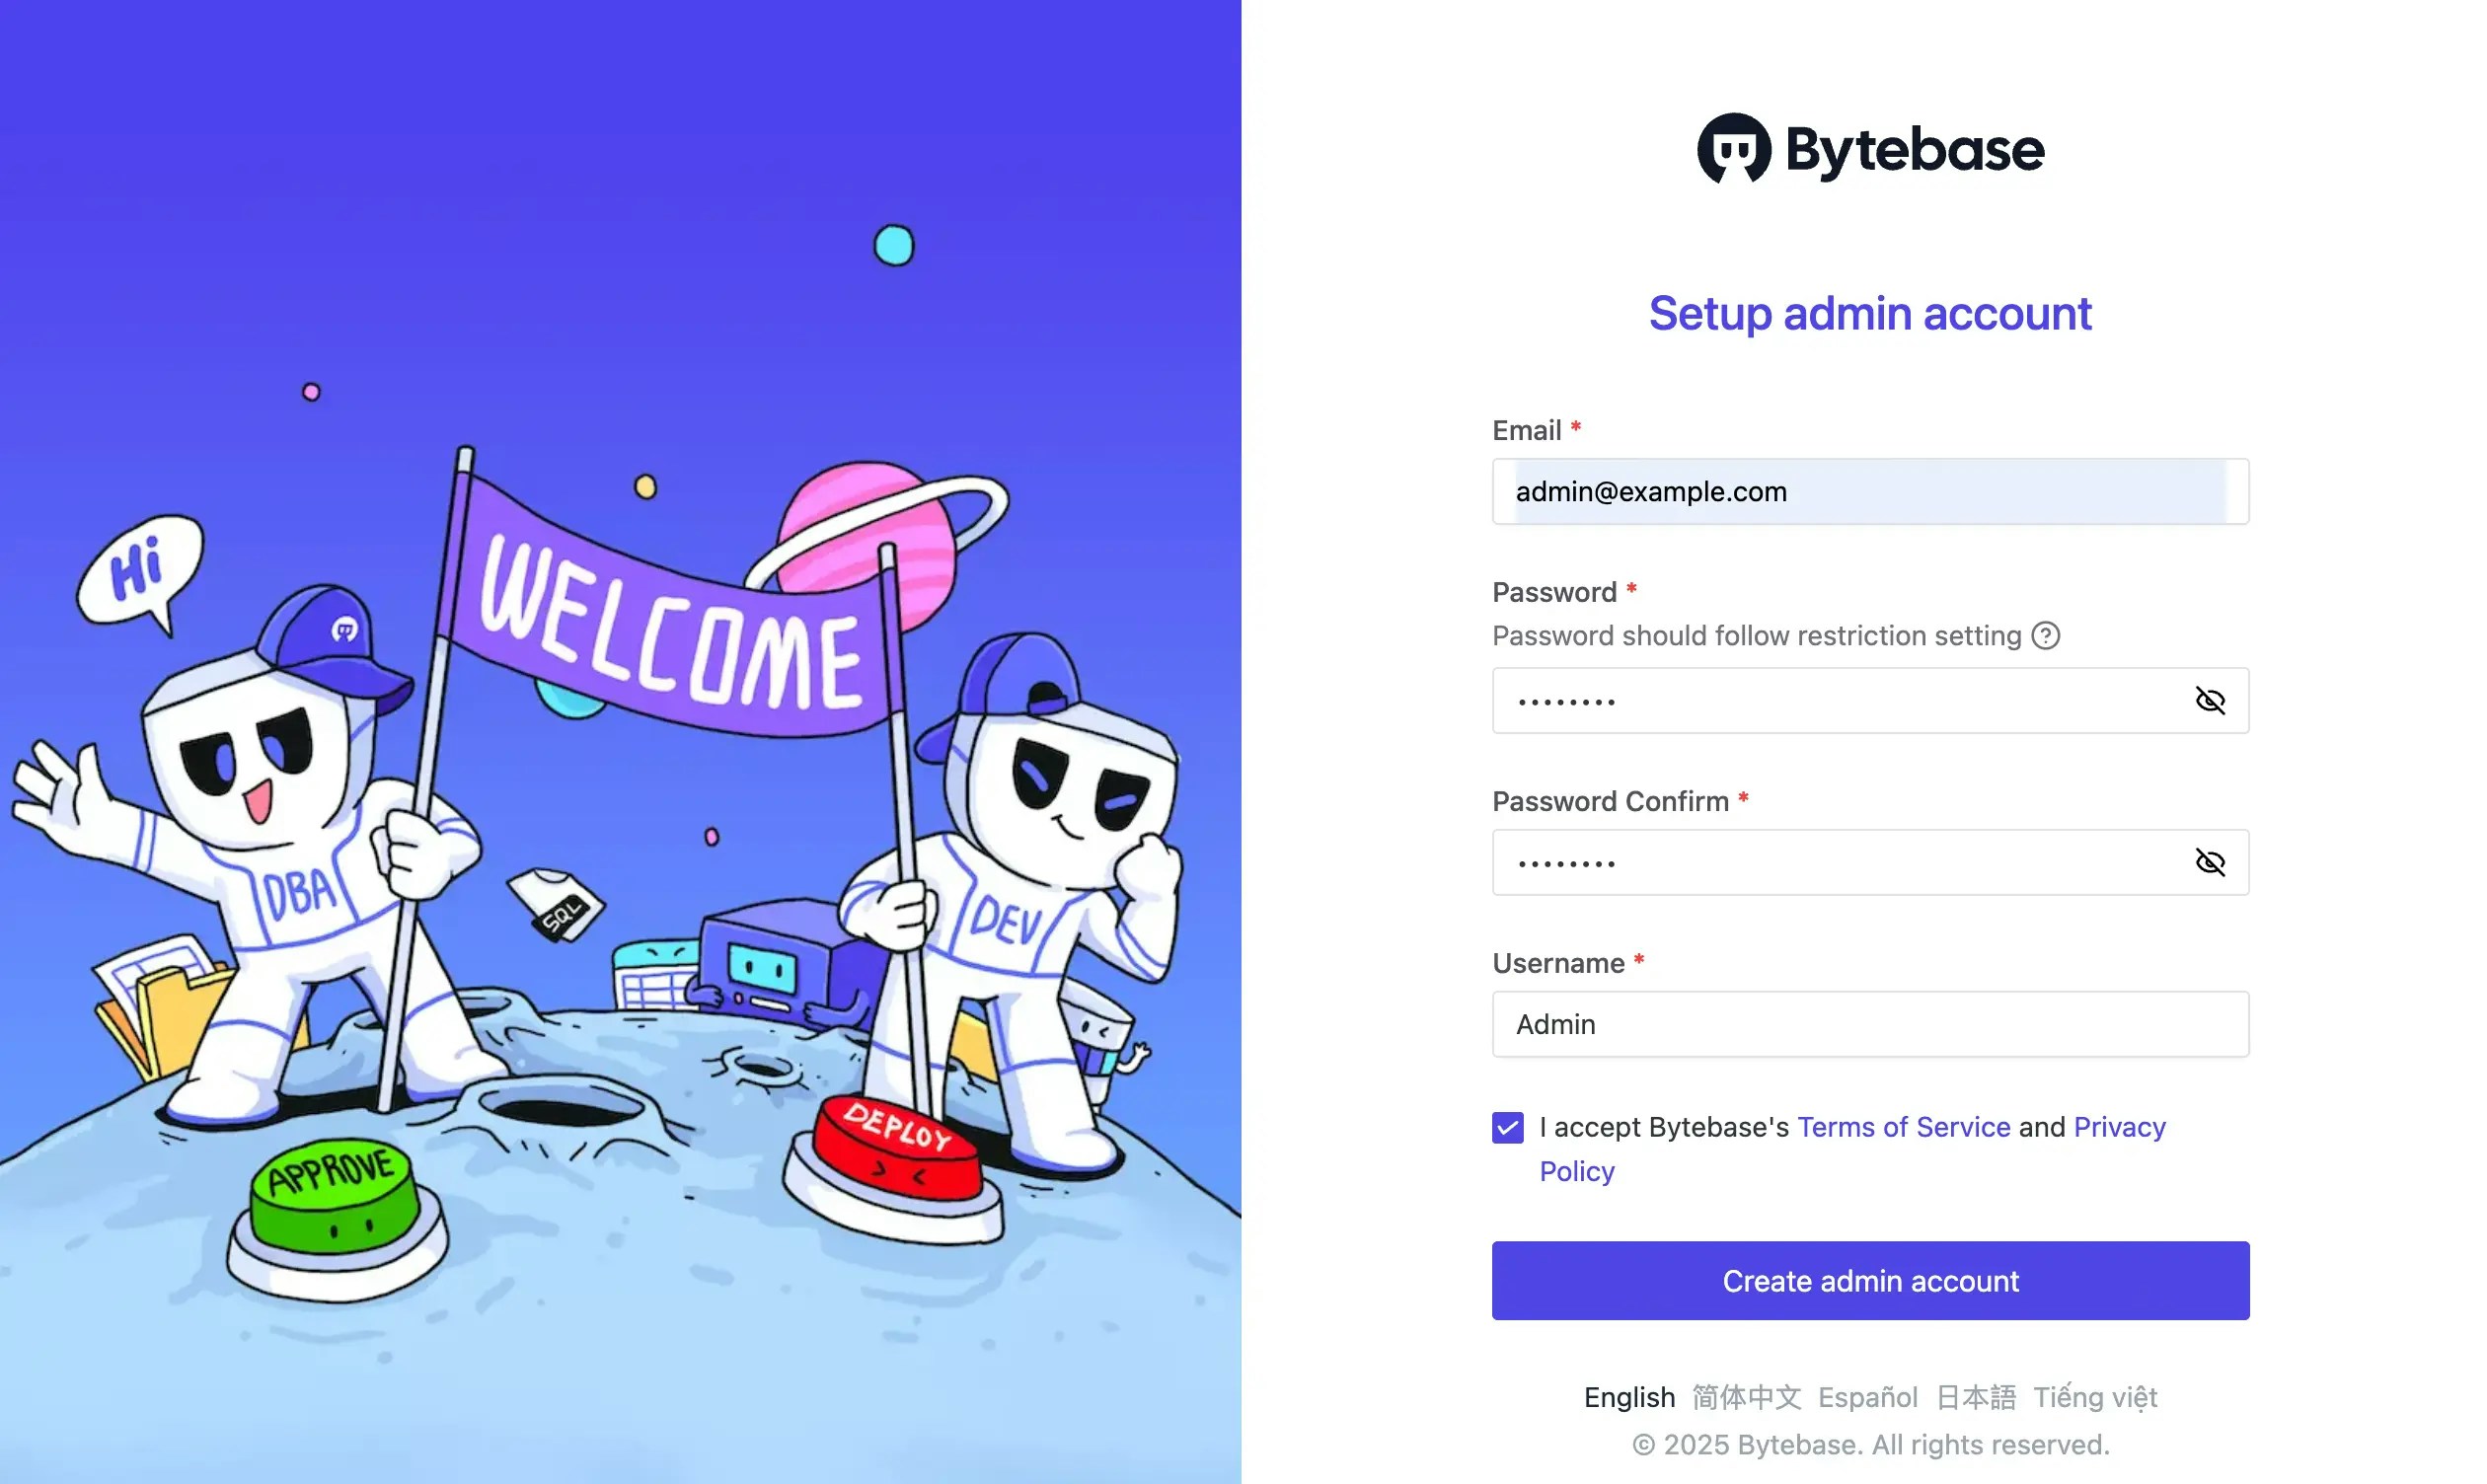 4. Complete the setup to configure Bytebase, you'll need to select **use built-in sample** for this tutorial.
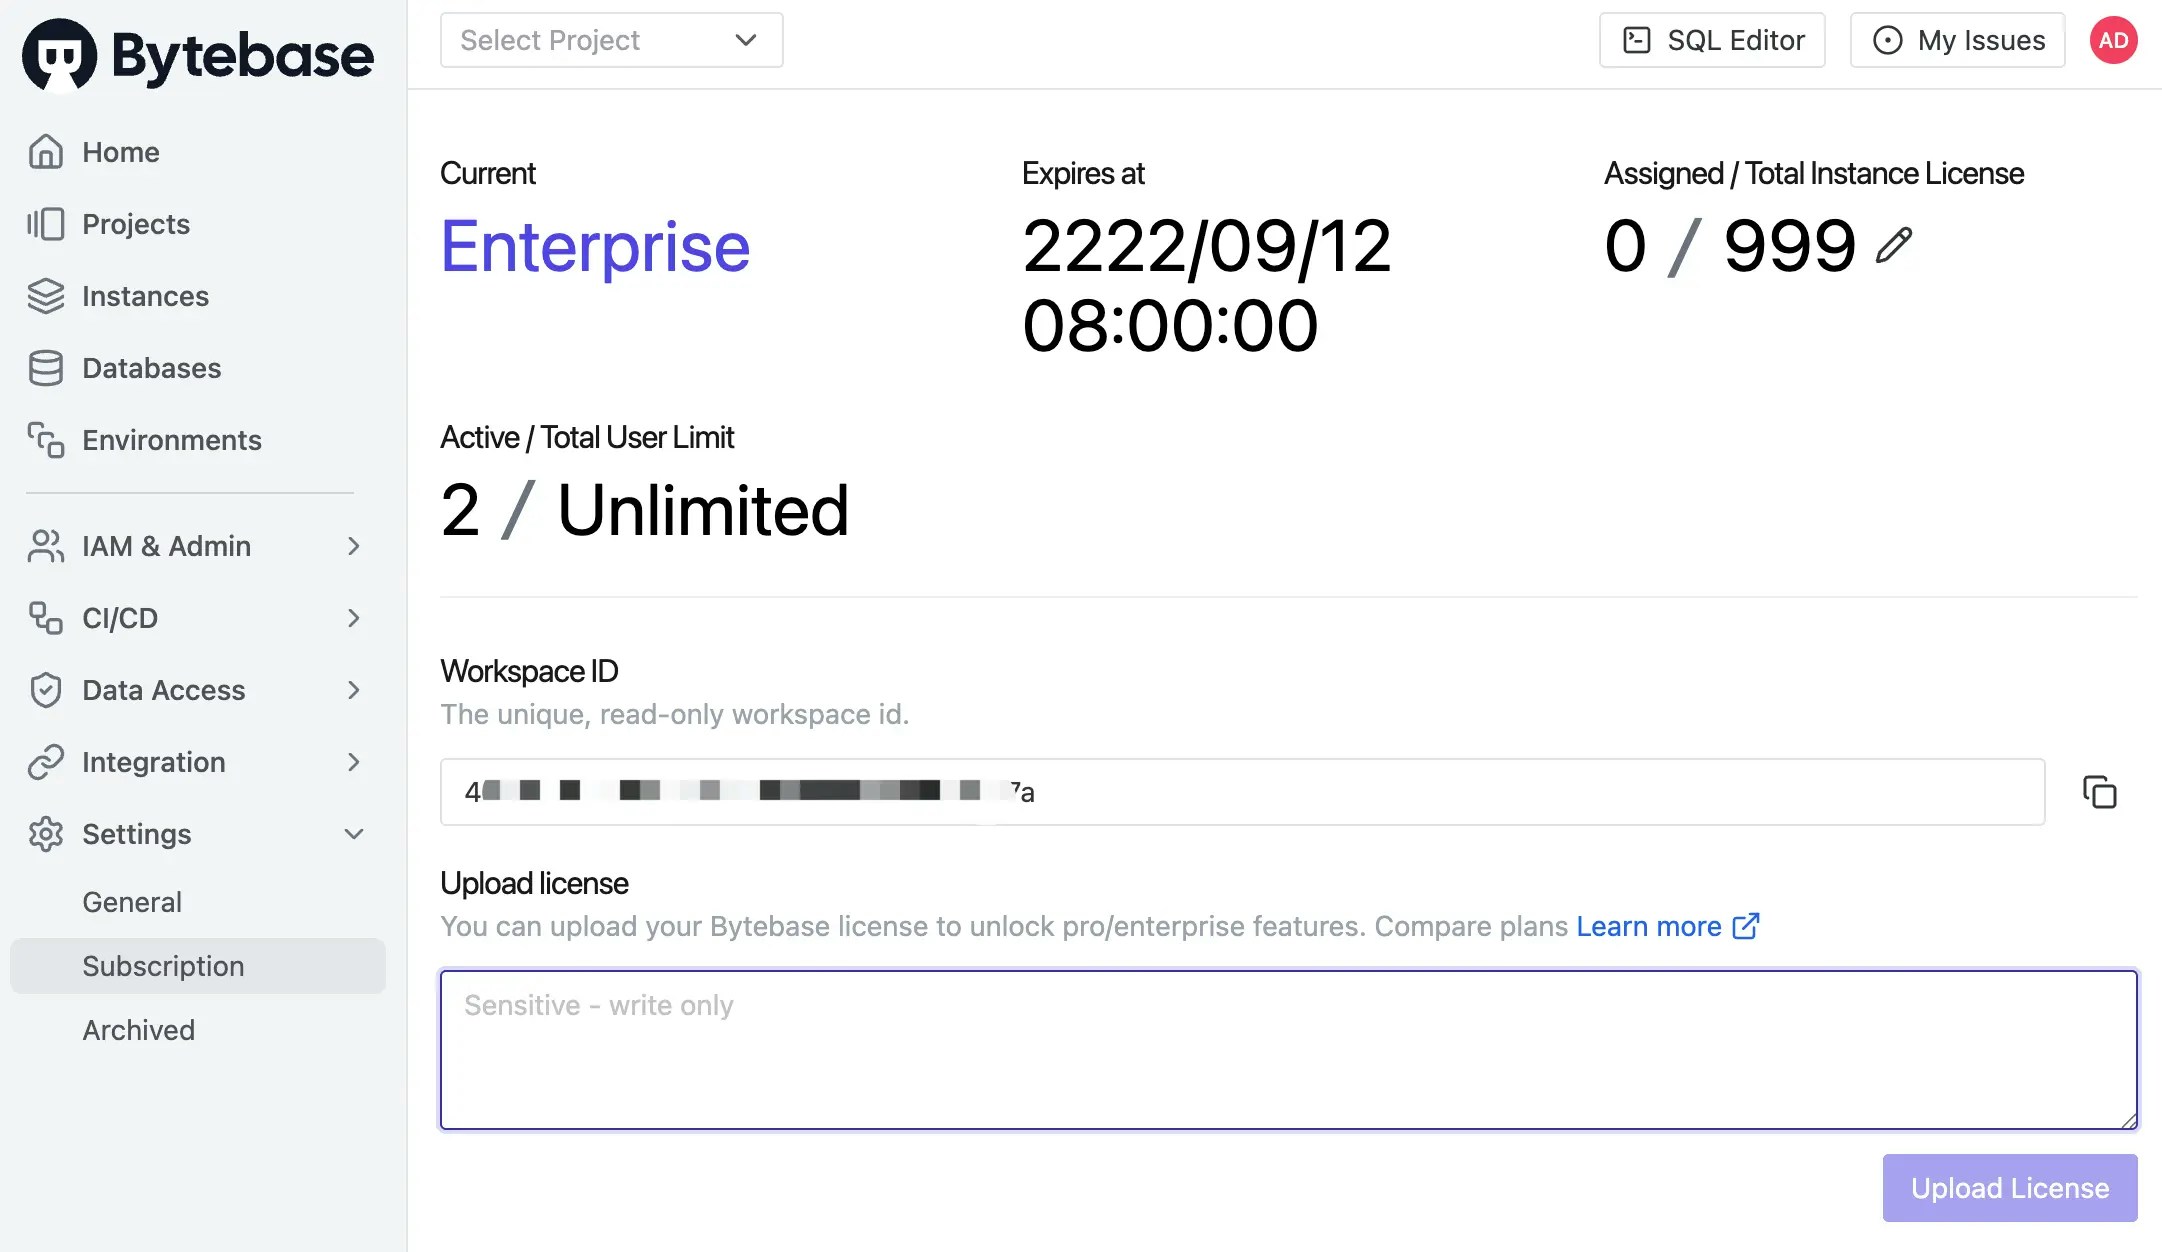
 5. (Optional) After logging into Bytebase, [activate official or trial license](/administration/license#configure-workspace-license). *Some features require the Enterprise Plan.*
 ### Explore Current Environments
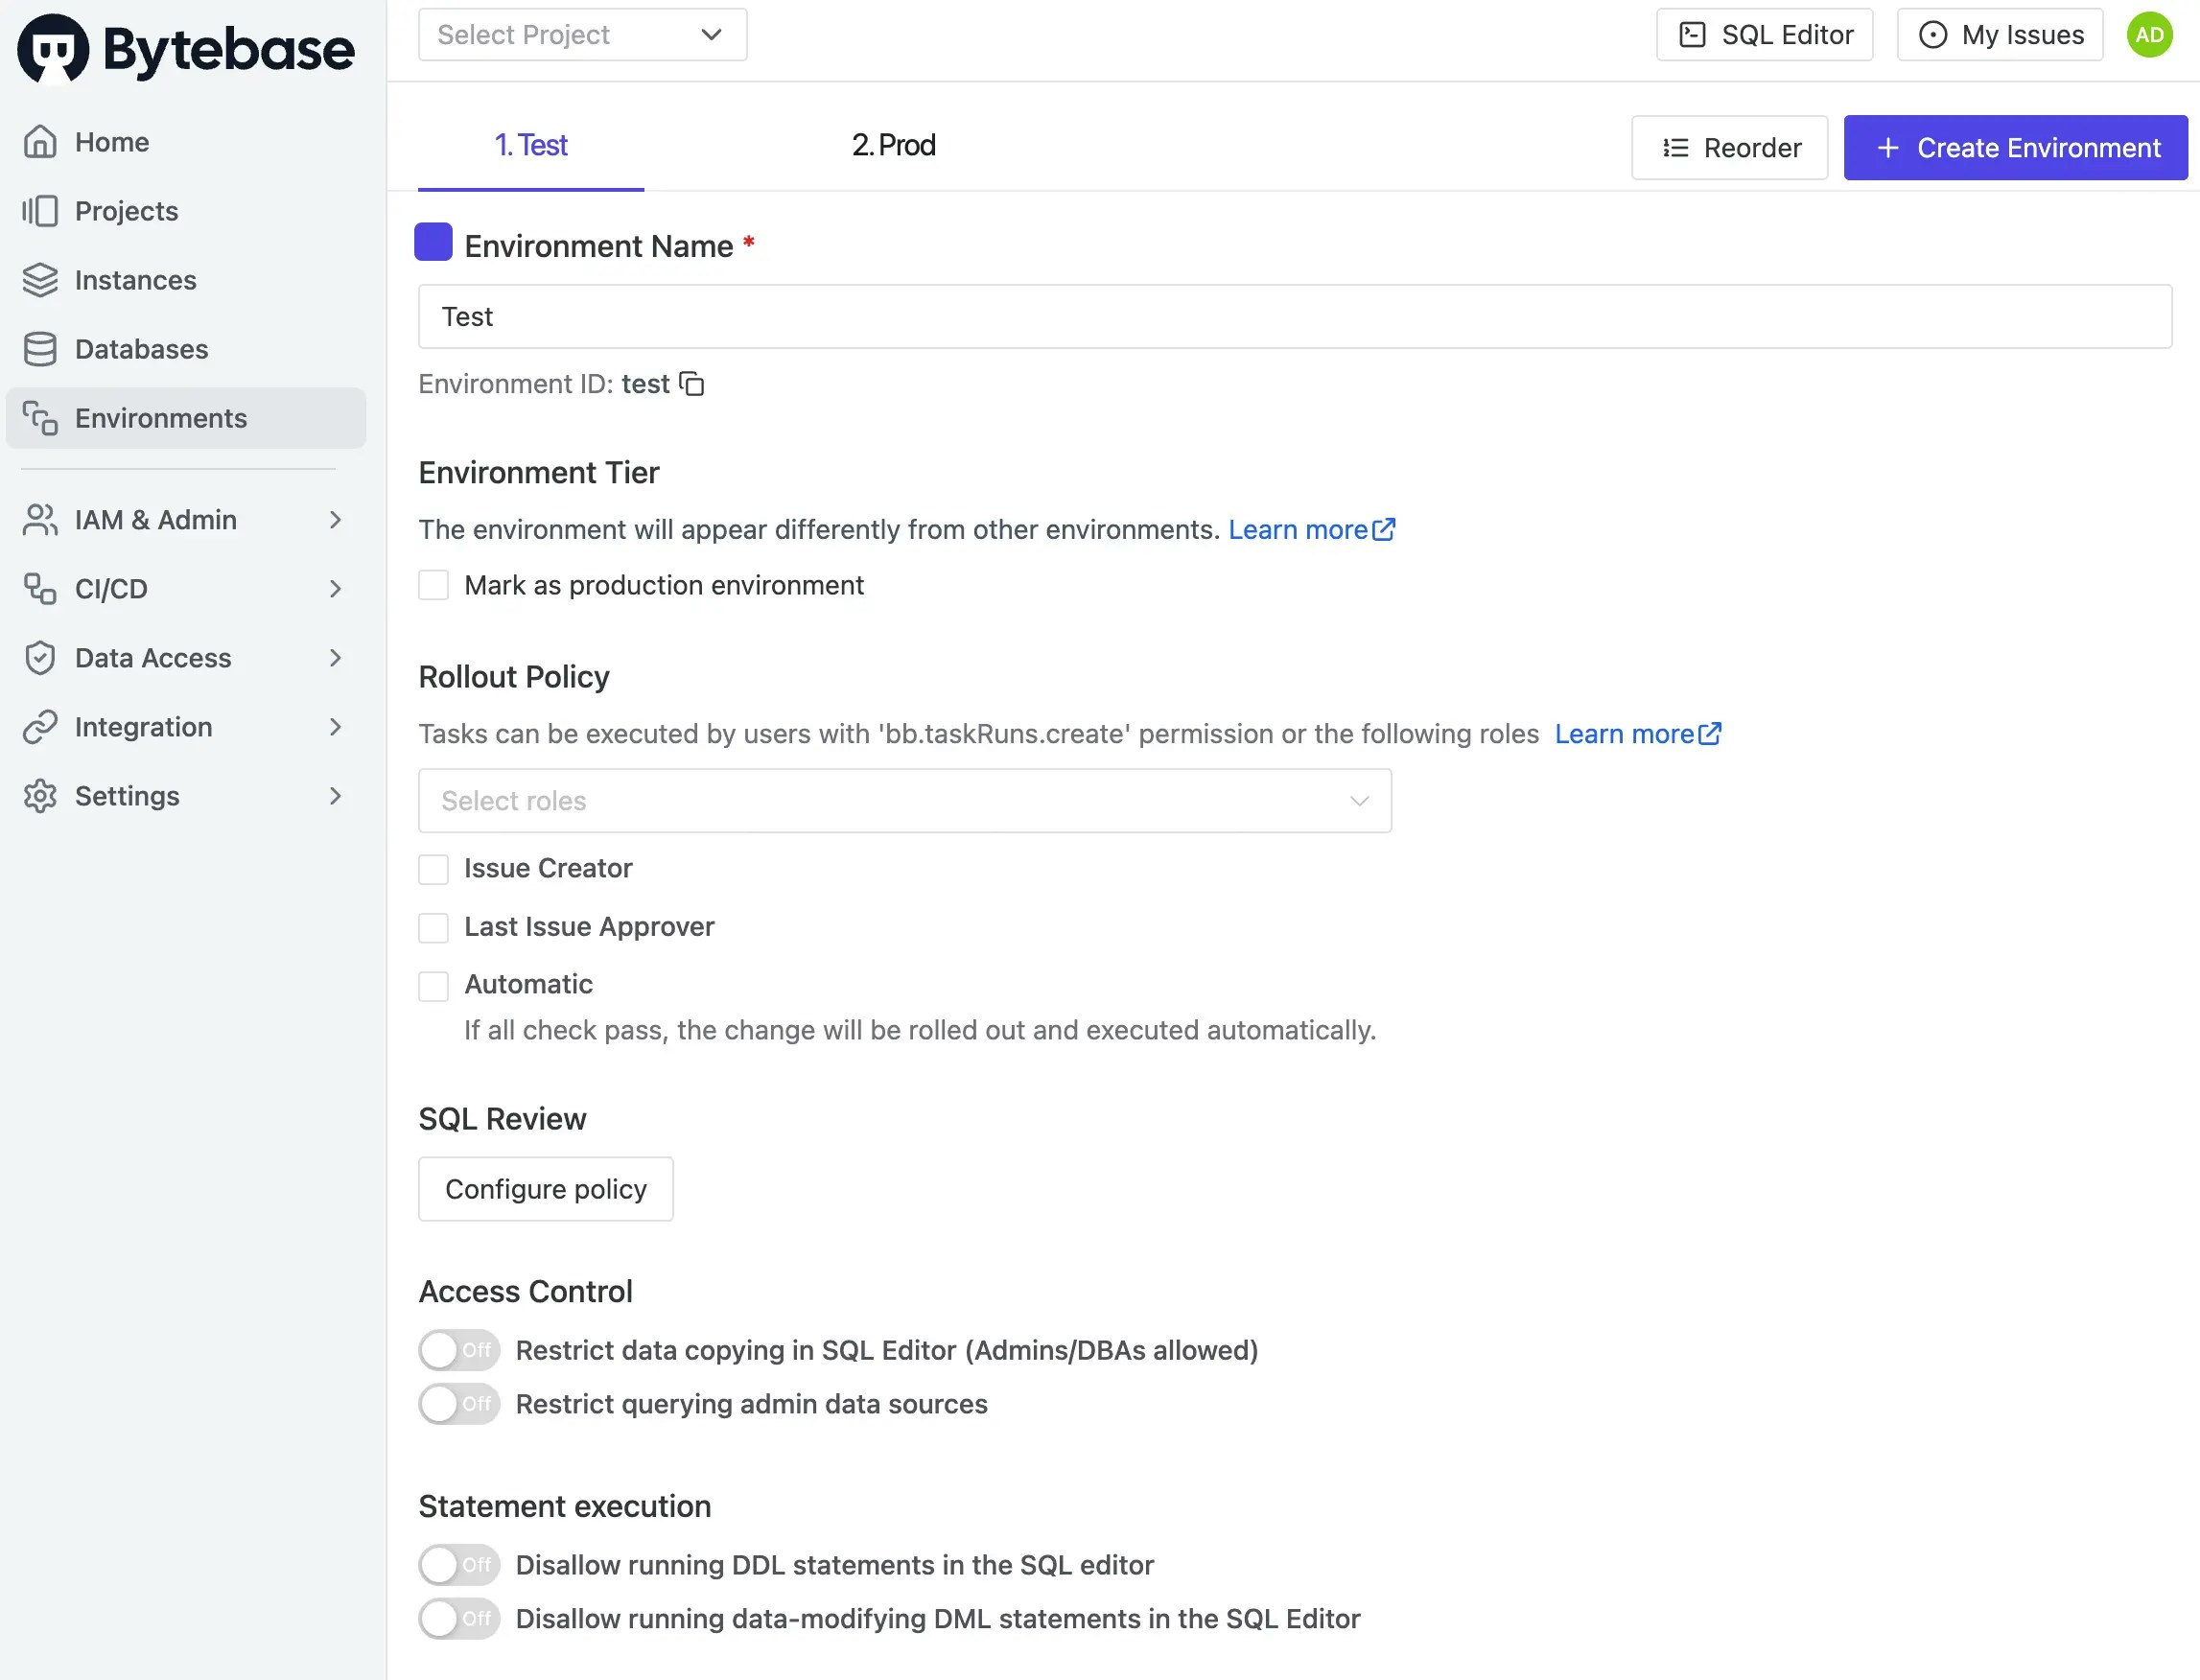
Navigate to **Environments** in Bytebase. You'll see two default environments: `Test` and `Prod`. We’ll manage these environments using Terraform next.
### Explore Current Environments
Navigate to **Environments** in Bytebase. You'll see two default environments: `Test` and `Prod`. We’ll manage these environments using Terraform next.
 ## Step 2 - Configure Terraform Provider
### Set up the Provider
1. Create a new folder `learn-terraform-bytebase` and navigate to it.
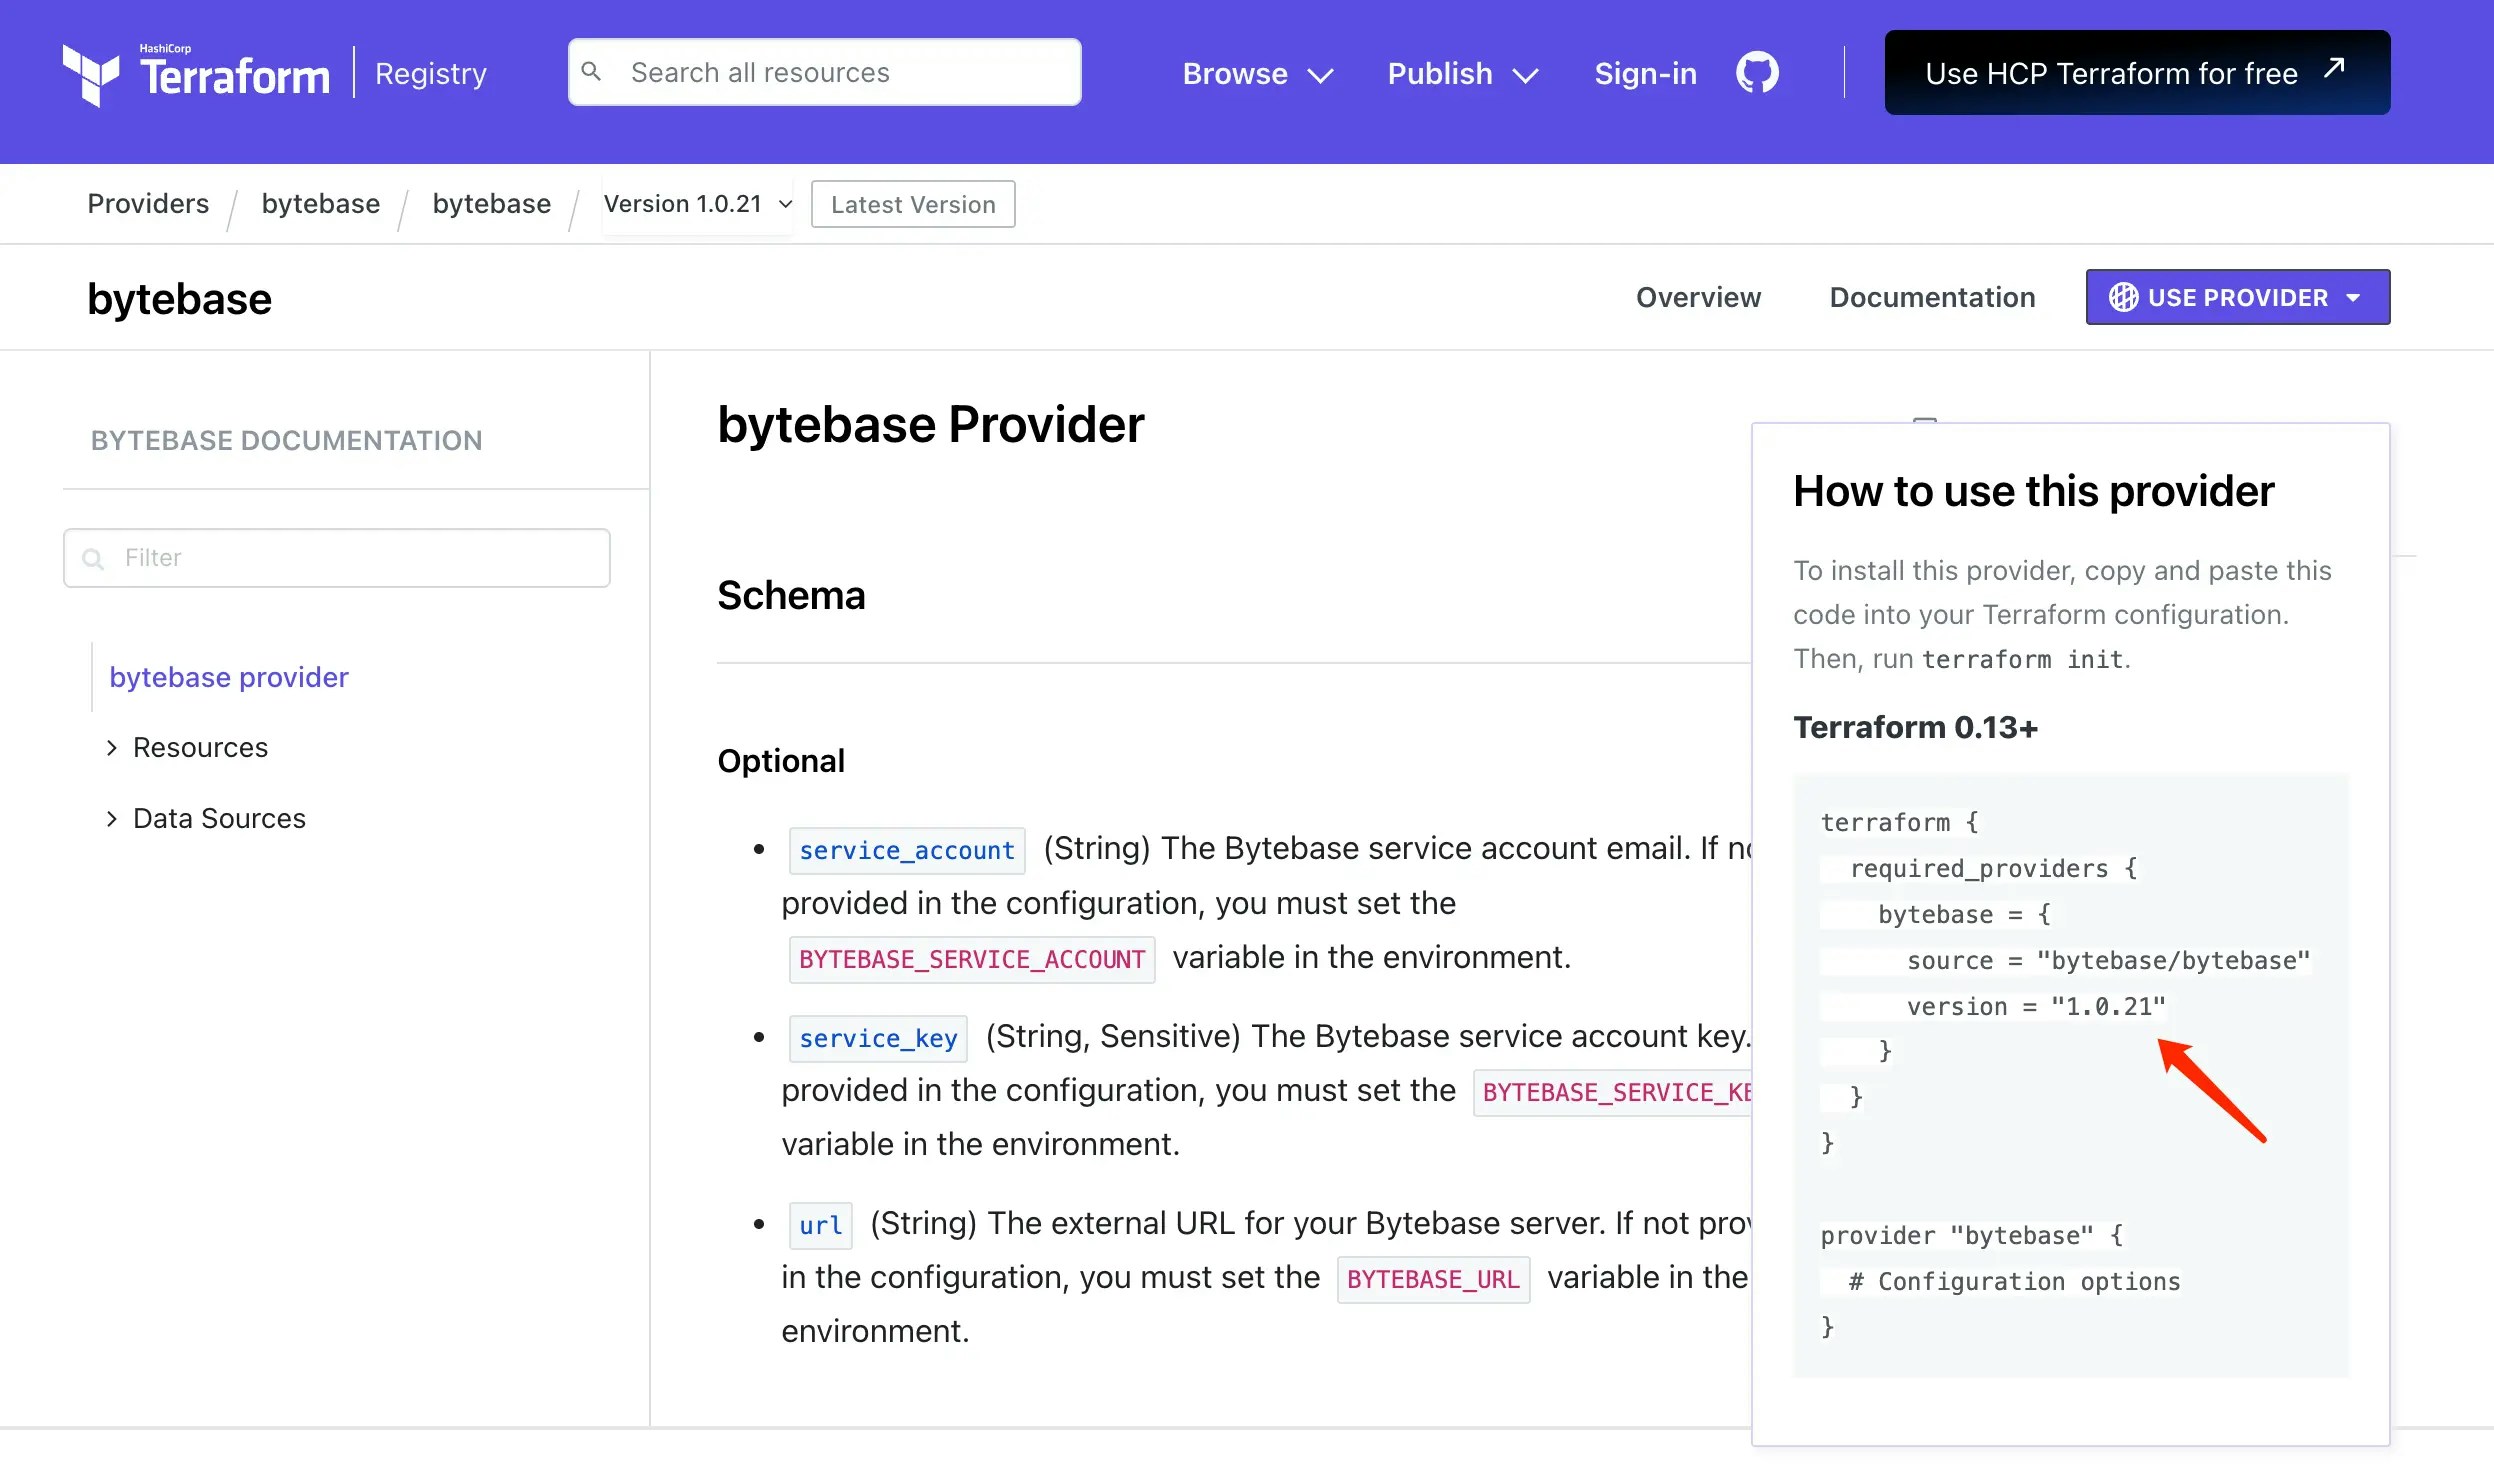
2. Create `0-provider.tf`, visit [Terraform Bytebase Provider](https://registry.terraform.io/providers/bytebase/bytebase/latest/docs), click **USE PROVIDER** and copy the configuration.
## Step 2 - Configure Terraform Provider
### Set up the Provider
1. Create a new folder `learn-terraform-bytebase` and navigate to it.
2. Create `0-provider.tf`, visit [Terraform Bytebase Provider](https://registry.terraform.io/providers/bytebase/bytebase/latest/docs), click **USE PROVIDER** and copy the configuration.
 ```hcl 0-provider.tf theme={null}
terraform {
required_providers {
bytebase = {
source = "registry.terraform.io/bytebase/bytebase"
version = "3.17.1" # Check for latest version
}
}
}
provider "bytebase" {
service_account = "tf@service.bytebase.com"
service_key = "" # We'll get this next
url = "http://localhost:8080" # Your Bytebase URL
}
```
### Create a Service Account
1. In Bytebase, go to **IAM & Admin > Users & Groups**.
2. Click **+ Add User** and create a service account:
* Type: `Service Account`
* Email: `tf@service.bytebase.com`
* Roles: `Workspace Admin`
3. Copy the generated **Service Key**.
### Initialize Terraform
1. Update `0-provider.tf` with your service account key.
2. Initialize Terraform:
```bash theme={null}
terraform init
```
You should see: "Terraform has been successfully initialized!"
## Step 3 - Inspect Current Environments
Before making any changes, let's see what environments currently exist.
| | |
| --------------------- | ----------------------------------------------------------------------------------------------------------------------- |
| Terraform data source | [bytebase\_environment](https://registry.terraform.io/providers/bytebase/bytebase/latest/docs/data-sources/environment) |
| Sample file | [1-0-list-env.tf](https://github.com/bytebase/terraform-provider-bytebase/blob/main/tutorials/1-0-list-env.tf) |
Create `1-0-list-env.tf`:
```hcl 1-0-list-env.tf theme={null}
# Read current environment settings from Bytebase
data "bytebase_setting" "environments" {
name = "settings/ENVIRONMENT"
}
# Display all environments
output "all_environments" {
value = data.bytebase_setting.environments
}
```
Run these commands:
```bash theme={null}
terraform plan
terraform apply
```
You'll see the existing `test` and `prod` environments.
## Step 4 - Define the Environment Configuration
| | |
| ------------------ | -------------------------------------------------------------------------------------------------------------------- |
| Terraform resource | [bytebase\_setting](https://registry.terraform.io/providers/bytebase/bytebase/latest/docs/resources/setting) |
| Sample file | [1-1-env-setting.tf](https://github.com/bytebase/terraform-provider-bytebase/blob/main/tutorials/1-1-env-setting.tf) |
Create `1-1-env-setting.tf`:
```hcl 1-1-env-setting.tf theme={null}
# Define environments via Infrastructure as Code
resource "bytebase_setting" "environments" {
name = "settings/ENVIRONMENT"
environment_setting {
# Test environment - for development
environment {
id = "test"
title = "Test"
protected = false
}
# Production environment - needs protection
environment {
id = "prod"
title = "Prod"
## Bytebase will attach a shield icon 🛡️ beside the environment name.
protected = true
}
}
}
```
## Step 5 - Configure Environment Policies
Let's add rollout and data protection policies, for more details, see: [Environment Policy](/change-database/environment-policy/overview) and [Rollout Policy](/change-database/environment-policy/rollout-policy).
### Rollout Policy
| | |
| ------------------ | ---------------------------------------------------------------------------------------------------------------------------------- |
| Terraform resource | [bytebase\_policy](https://registry.terraform.io/providers/bytebase/bytebase/latest/docs/resources/policy) |
| Sample file | [1-2-env-policy-rollout.tf](https://github.com/bytebase/terraform-provider-bytebase/blob/main/tutorials/1-2-env-policy-rollout.tf) |
The rollout policy controls whether changes deploy automatically and which roles can manually roll out. Create `1-2-env-policy-rollout.tf`:
```hcl 1-2-env-policy-rollout.tf theme={null}
# Test environment - automatic deployment
resource "bytebase_policy" "rollout_policy_test" {
depends_on = [bytebase_setting.environments]
parent = bytebase_setting.environments.environment_setting[0].environment[0].name
type = "ROLLOUT_POLICY"
rollout_policy {
automatic = true # Deploy changes automatically when all checks pass
roles = [
"roles/workspaceAdmin",
"roles/projectOwner"
]
}
}
# Production - manual deployment
resource "bytebase_policy" "rollout_policy_prod" {
depends_on = [bytebase_setting.environments]
parent = bytebase_setting.environments.environment_setting[0].environment[1].name
type = "ROLLOUT_POLICY"
rollout_policy {
automatic = false # Require manual deployment
roles = [
"roles/workspaceAdmin",
"roles/projectOwner"
]
}
}
```
**Key Configuration Options:**
* `automatic`: When `true`, changes deploy automatically after all checks pass. When `false`, requires manual click to deploy.
* `roles`: List of roles allowed to manually roll out changes. Required even with automatic rollout, as manual approval is needed when checks fail.
### Data Protection Policy
| | |
| ------------------ | ---------------------------------------------------------------------------------------------------------------------------- |
| Terraform resource | [bytebase\_policy](https://registry.terraform.io/providers/bytebase/bytebase/latest/docs/resources/policy) |
| Sample file | [1-3-env-policy-data.tf](https://github.com/bytebase/terraform-provider-bytebase/blob/main/tutorials/1-3-env-policy-data.tf) |
Create `1-3-env-policy-data.tf`:
```hcl 1-3-env-policy-data.tf theme={null}
# Restrict SQL Editor data access on production
resource "bytebase_policy" "query_data_policy_prod" {
depends_on = [bytebase_setting.environments]
parent = bytebase_setting.environments.environment_setting[0].environment[1].name
type = "DATA_QUERY"
query_data_policy {
maximum_result_rows = 1000 # Cap rows returned per query
disable_copy_data = true # Block copy-to-clipboard
disable_export = true # Block export
allow_admin_data_source = false # Force read-only data source when configured
}
}
```
* The policy is only applied to the `Prod` environment. In `Test`, the defaults apply (no row cap, copy/export allowed, admin data source usable).
* `allow_admin_data_source` controls [access to the data source](/sql-editor/settings/data-source-restriction):
* `true`: Admin data source is allowed.
* `false`: When a read-only data source is configured, users are forced onto it; otherwise falls back to admin.
## Step 6 - Apply Configuration
Apply all configurations:
```bash theme={null}
terraform plan
terraform apply
```
Verify in Bytebase:
1. Go to **Environments**.
2. Check that `Prod` shows a shield icon (protected).
3. Click each environment to see the configured policies.
## Summary and Next Steps
You've successfully configured Bytebase environments using Terraform! Your setup now includes:
* **Test environment**: Unprotected with automatic deployment for fast development
* **Prod environment**: Protected with manual deployment and data restrictions for safety
```hcl 0-provider.tf theme={null}
terraform {
required_providers {
bytebase = {
source = "registry.terraform.io/bytebase/bytebase"
version = "3.17.1" # Check for latest version
}
}
}
provider "bytebase" {
service_account = "tf@service.bytebase.com"
service_key = "" # We'll get this next
url = "http://localhost:8080" # Your Bytebase URL
}
```
### Create a Service Account
1. In Bytebase, go to **IAM & Admin > Users & Groups**.
2. Click **+ Add User** and create a service account:
* Type: `Service Account`
* Email: `tf@service.bytebase.com`
* Roles: `Workspace Admin`
3. Copy the generated **Service Key**.
### Initialize Terraform
1. Update `0-provider.tf` with your service account key.
2. Initialize Terraform:
```bash theme={null}
terraform init
```
You should see: "Terraform has been successfully initialized!"
## Step 3 - Inspect Current Environments
Before making any changes, let's see what environments currently exist.
| | |
| --------------------- | ----------------------------------------------------------------------------------------------------------------------- |
| Terraform data source | [bytebase\_environment](https://registry.terraform.io/providers/bytebase/bytebase/latest/docs/data-sources/environment) |
| Sample file | [1-0-list-env.tf](https://github.com/bytebase/terraform-provider-bytebase/blob/main/tutorials/1-0-list-env.tf) |
Create `1-0-list-env.tf`:
```hcl 1-0-list-env.tf theme={null}
# Read current environment settings from Bytebase
data "bytebase_setting" "environments" {
name = "settings/ENVIRONMENT"
}
# Display all environments
output "all_environments" {
value = data.bytebase_setting.environments
}
```
Run these commands:
```bash theme={null}
terraform plan
terraform apply
```
You'll see the existing `test` and `prod` environments.
## Step 4 - Define the Environment Configuration
| | |
| ------------------ | -------------------------------------------------------------------------------------------------------------------- |
| Terraform resource | [bytebase\_setting](https://registry.terraform.io/providers/bytebase/bytebase/latest/docs/resources/setting) |
| Sample file | [1-1-env-setting.tf](https://github.com/bytebase/terraform-provider-bytebase/blob/main/tutorials/1-1-env-setting.tf) |
Create `1-1-env-setting.tf`:
```hcl 1-1-env-setting.tf theme={null}
# Define environments via Infrastructure as Code
resource "bytebase_setting" "environments" {
name = "settings/ENVIRONMENT"
environment_setting {
# Test environment - for development
environment {
id = "test"
title = "Test"
protected = false
}
# Production environment - needs protection
environment {
id = "prod"
title = "Prod"
## Bytebase will attach a shield icon 🛡️ beside the environment name.
protected = true
}
}
}
```
## Step 5 - Configure Environment Policies
Let's add rollout and data protection policies, for more details, see: [Environment Policy](/change-database/environment-policy/overview) and [Rollout Policy](/change-database/environment-policy/rollout-policy).
### Rollout Policy
| | |
| ------------------ | ---------------------------------------------------------------------------------------------------------------------------------- |
| Terraform resource | [bytebase\_policy](https://registry.terraform.io/providers/bytebase/bytebase/latest/docs/resources/policy) |
| Sample file | [1-2-env-policy-rollout.tf](https://github.com/bytebase/terraform-provider-bytebase/blob/main/tutorials/1-2-env-policy-rollout.tf) |
The rollout policy controls whether changes deploy automatically and which roles can manually roll out. Create `1-2-env-policy-rollout.tf`:
```hcl 1-2-env-policy-rollout.tf theme={null}
# Test environment - automatic deployment
resource "bytebase_policy" "rollout_policy_test" {
depends_on = [bytebase_setting.environments]
parent = bytebase_setting.environments.environment_setting[0].environment[0].name
type = "ROLLOUT_POLICY"
rollout_policy {
automatic = true # Deploy changes automatically when all checks pass
roles = [
"roles/workspaceAdmin",
"roles/projectOwner"
]
}
}
# Production - manual deployment
resource "bytebase_policy" "rollout_policy_prod" {
depends_on = [bytebase_setting.environments]
parent = bytebase_setting.environments.environment_setting[0].environment[1].name
type = "ROLLOUT_POLICY"
rollout_policy {
automatic = false # Require manual deployment
roles = [
"roles/workspaceAdmin",
"roles/projectOwner"
]
}
}
```
**Key Configuration Options:**
* `automatic`: When `true`, changes deploy automatically after all checks pass. When `false`, requires manual click to deploy.
* `roles`: List of roles allowed to manually roll out changes. Required even with automatic rollout, as manual approval is needed when checks fail.
### Data Protection Policy
| | |
| ------------------ | ---------------------------------------------------------------------------------------------------------------------------- |
| Terraform resource | [bytebase\_policy](https://registry.terraform.io/providers/bytebase/bytebase/latest/docs/resources/policy) |
| Sample file | [1-3-env-policy-data.tf](https://github.com/bytebase/terraform-provider-bytebase/blob/main/tutorials/1-3-env-policy-data.tf) |
Create `1-3-env-policy-data.tf`:
```hcl 1-3-env-policy-data.tf theme={null}
# Restrict SQL Editor data access on production
resource "bytebase_policy" "query_data_policy_prod" {
depends_on = [bytebase_setting.environments]
parent = bytebase_setting.environments.environment_setting[0].environment[1].name
type = "DATA_QUERY"
query_data_policy {
maximum_result_rows = 1000 # Cap rows returned per query
disable_copy_data = true # Block copy-to-clipboard
disable_export = true # Block export
allow_admin_data_source = false # Force read-only data source when configured
}
}
```
* The policy is only applied to the `Prod` environment. In `Test`, the defaults apply (no row cap, copy/export allowed, admin data source usable).
* `allow_admin_data_source` controls [access to the data source](/sql-editor/settings/data-source-restriction):
* `true`: Admin data source is allowed.
* `false`: When a read-only data source is configured, users are forced onto it; otherwise falls back to admin.
## Step 6 - Apply Configuration
Apply all configurations:
```bash theme={null}
terraform plan
terraform apply
```
Verify in Bytebase:
1. Go to **Environments**.
2. Check that `Prod` shows a shield icon (protected).
3. Click each environment to see the configured policies.
## Summary and Next Steps
You've successfully configured Bytebase environments using Terraform! Your setup now includes:
* **Test environment**: Unprotected with automatic deployment for fast development
* **Prod environment**: Protected with manual deployment and data restrictions for safety