Tutorial: Database Change with Risk-Based Approval Flow
Overview
Custom Approval enables organizations to implement multi-stage approval workflows for database changes based on their risk levels. This ensures that potentially impactful changes receive appropriate review before deployment.Key Features
- Risk-based routing: Different approval flows for different risk levels
- Multi-stage approvals: Chain multiple approval nodes in sequence
- Role-based authorization: Leverage built-in or custom roles for approvals
- Flexible configuration: Skip approvals for low-risk changes or require multiple approvers for critical ones
How Approval Works
The Approval Process
- Risk Assessment: When a database change is created, Bytebase evaluates its risk level
- Flow Assignment: Based on the risk level, the appropriate approval flow is triggered
- Sequential Approval: Approvers review and approve each node in order
- Rollout: After all approvals, changes proceed to deployment
Understanding Risk Levels
Bytebase categorizes database changes into risk levels based on:- Operation type (DDL vs DML)
- Affected data volume
- Target environment
- Custom risk rules
Learn more about configuring risk levels in Risks to fine-tune how changes are categorized and routed for approval.
Configuration Guide
Step 1: Design Your Approval Flows
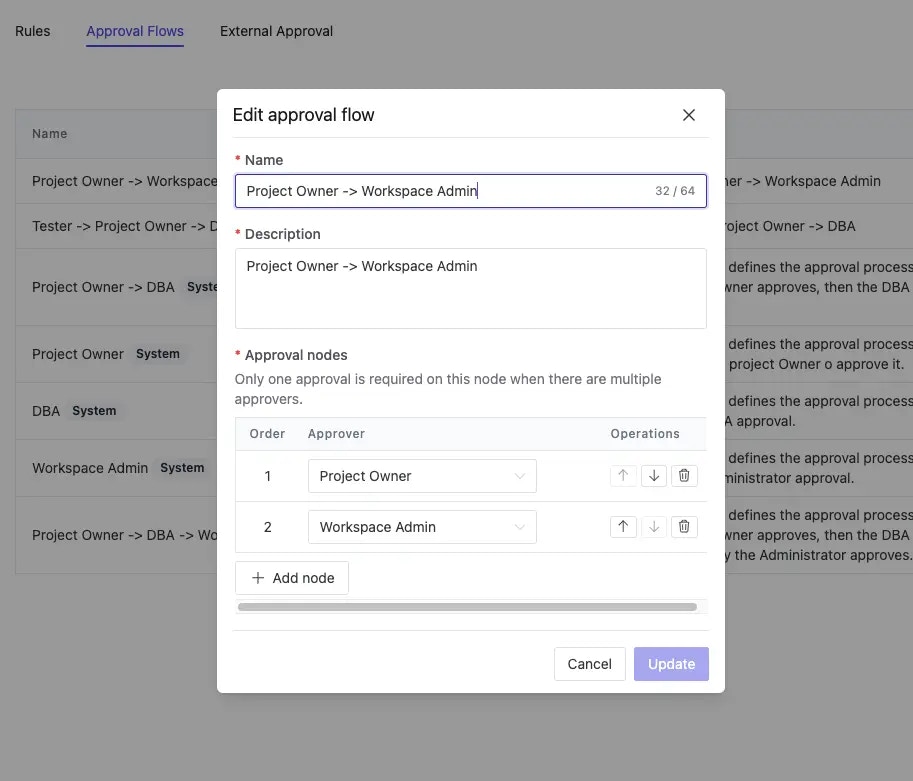
Navigate to Settings > Custom Approval > Approval FlowsCreating an Approval Flow
- Click Create to add a new flow
- Name your flow descriptively (e.g., “Production DDL Review”)
- Add approval nodes:
- Each node represents one approval stage
- Specify the required role for each node (built-in or custom role)
- Nodes execute in the order you define

Step 2: Map Flows to Risk Levels
Navigate to Settings > Custom Approval > Rules- For each risk level (Low, Moderate, High), select:
- An approval flow to enforce
- Or “Skip manual approval” for automated processing
- Save your configuration
Step 3: Configure Project Settings
In your project settings, consider:- Self-approval: By default, users cannot approve their own changes. Enable self-approval only if your process allows it
- Rollout Policy: Configure rollout requirements and permissions via rollout policy, including:
- Whether issue approval is required before rollout
- How plan checks should be enforced (block on errors only, errors and warnings, or allow rollout regardless)
- Whether changes deploy automatically or require manual trigger

