Feature included
- Custom approval
- Custom roles
Prerequisites
- Docker must be installed on your system.
- This features require an Enterprise Plan.
Step 1 - Start Bytebase and Prepare the Users
-
Make sure your Docker is running, and start the Bytebase Docker container with the following command:
-
Open
localhost:8080in a browser, register as an admin and you will be granted as Workspace Admin role and automatically logged in. -
Click IAM > Admin on the left bar. Add one
dba@example.comas Worksace DBA, and onedev@example.comas Project Developer (which will apply to all projects).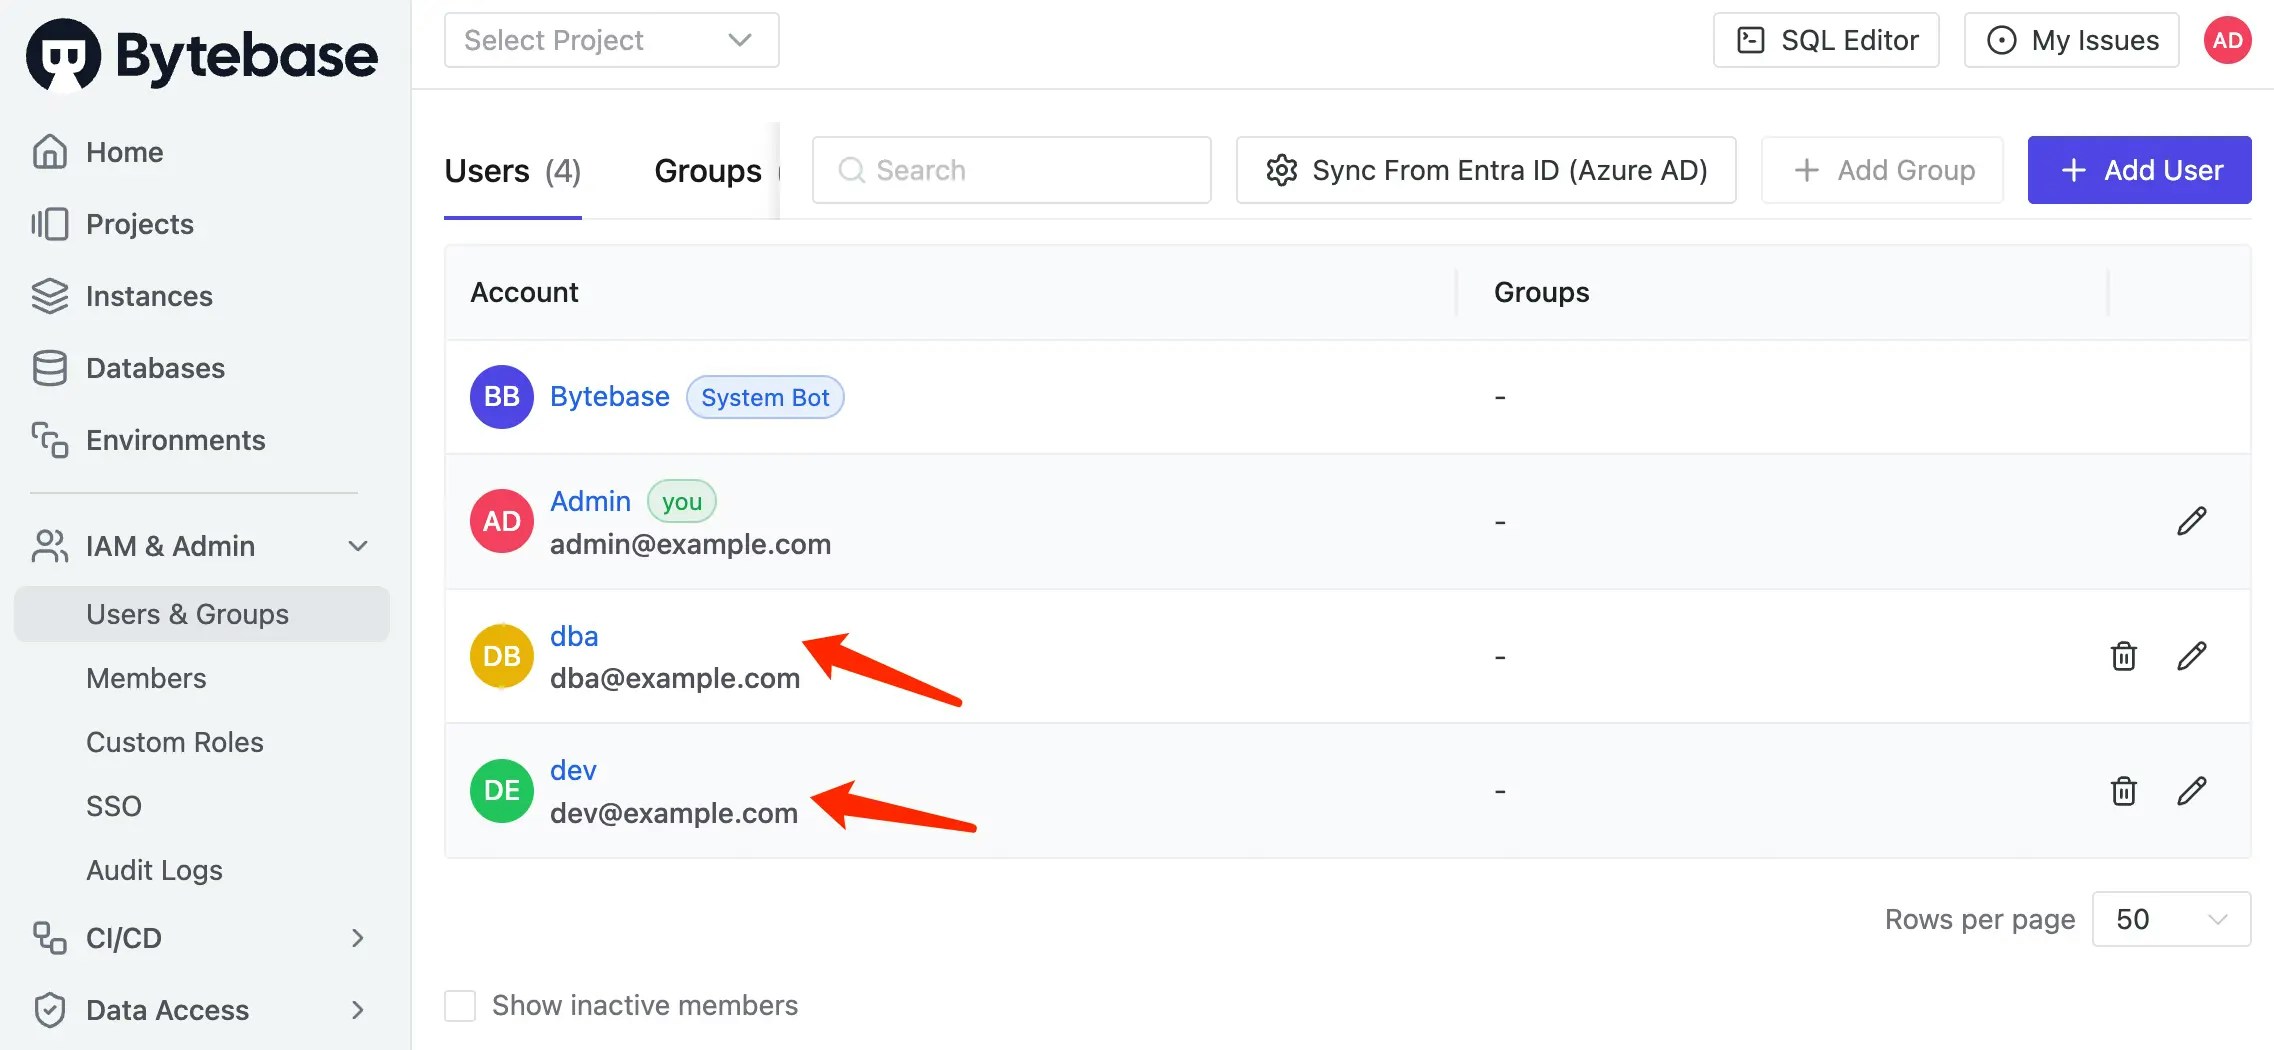
Step 2 - Upgrade to Enterprise Plan
-
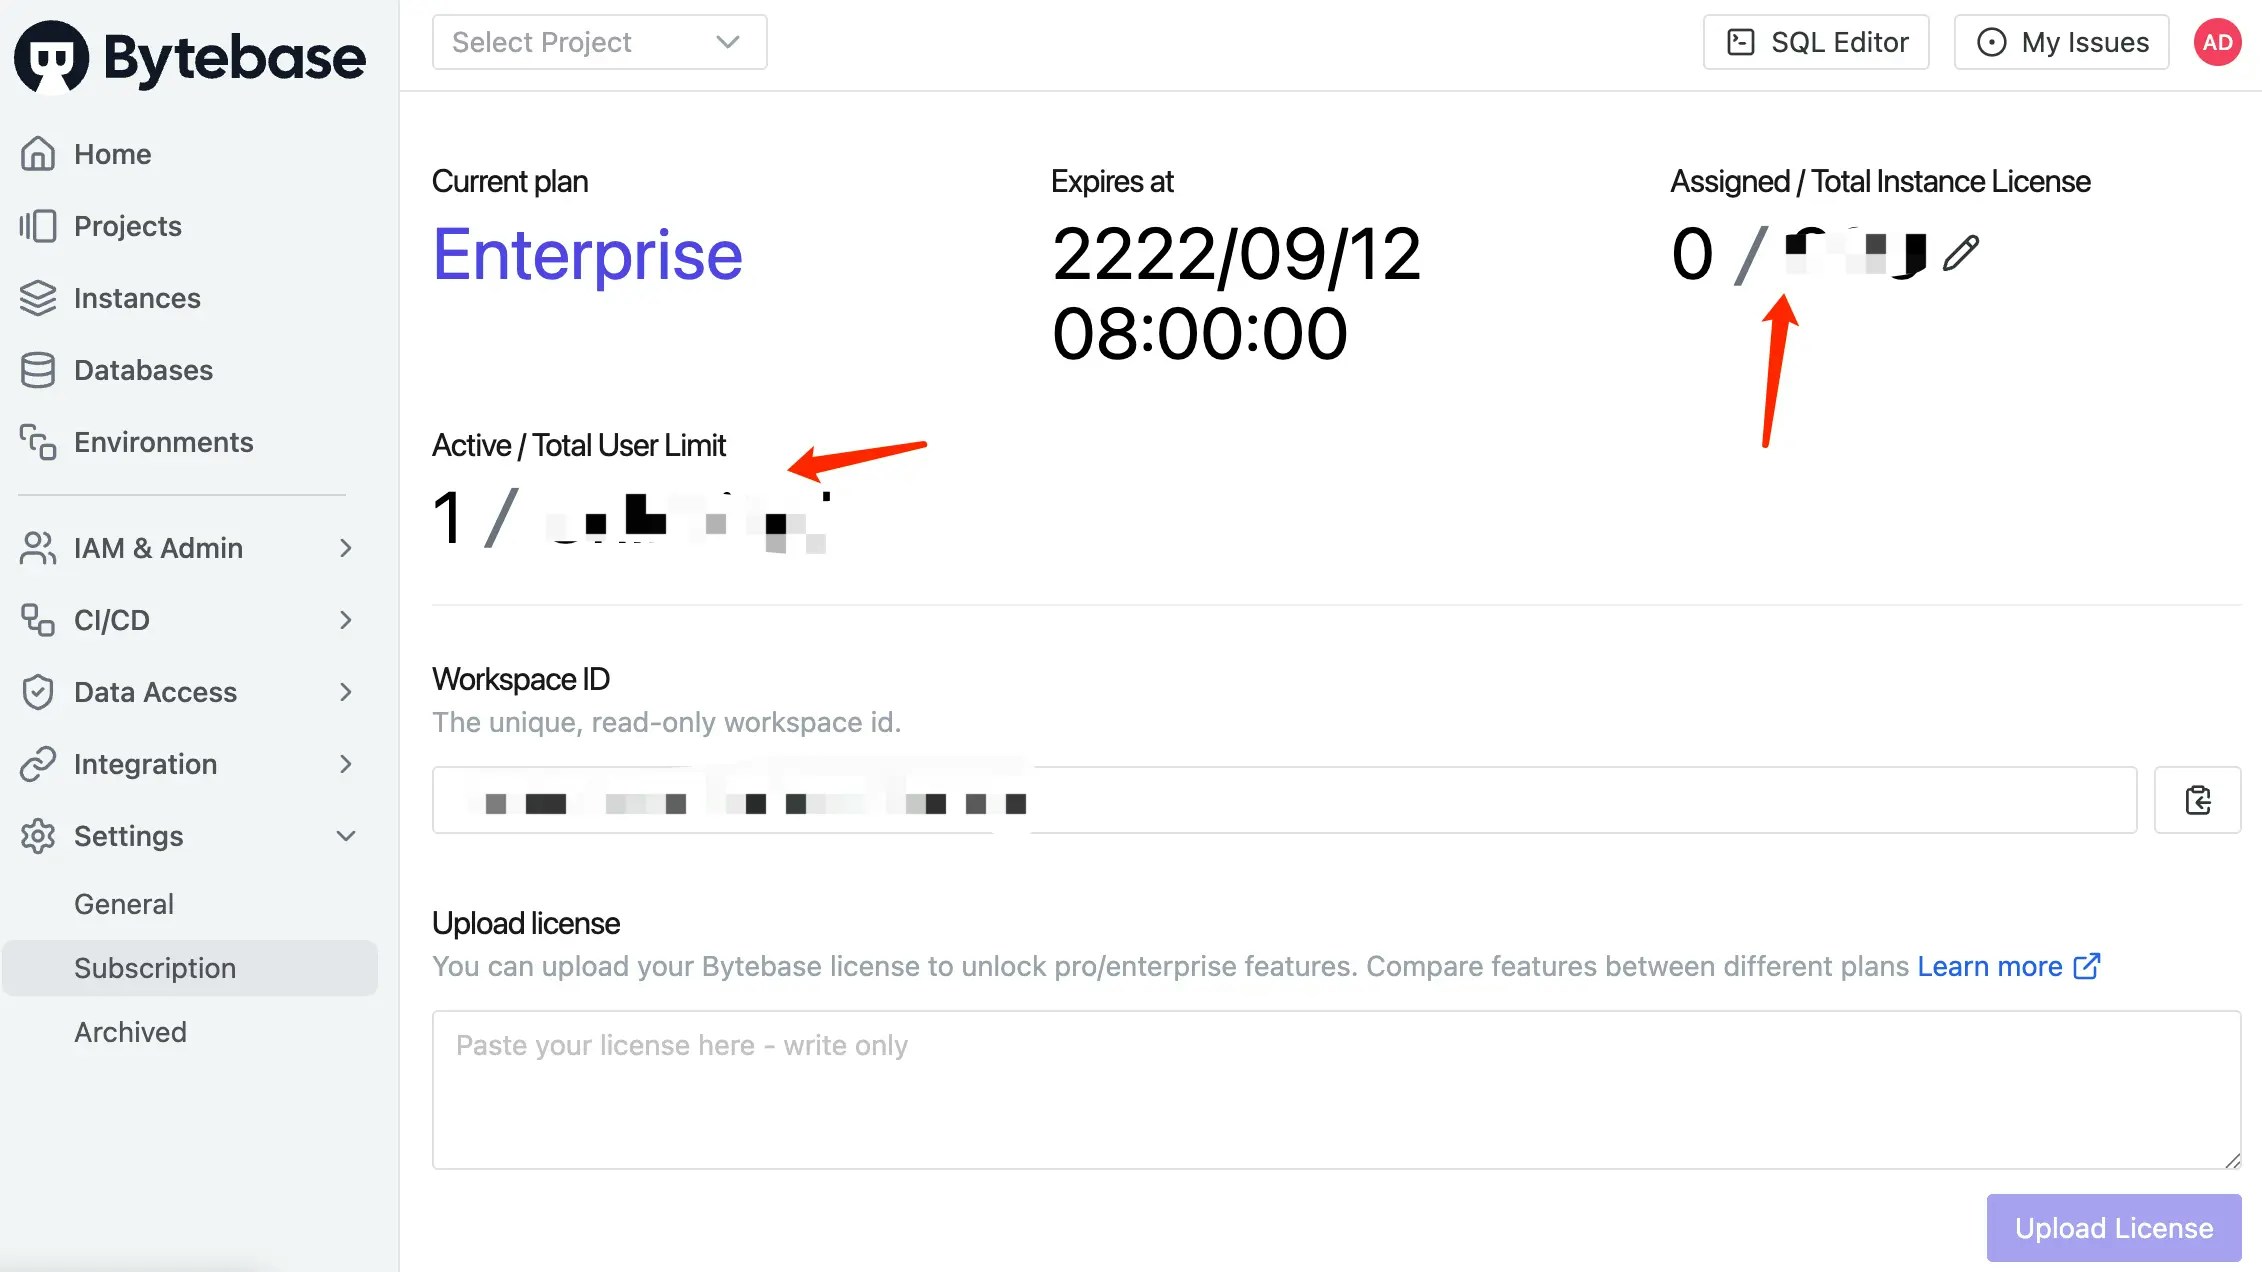
Click Settings > Subscription on the left bar. Fill your Enterprise Plan license key and click Upload License. Now you have several instance licenses but not assigned to any instance.
-
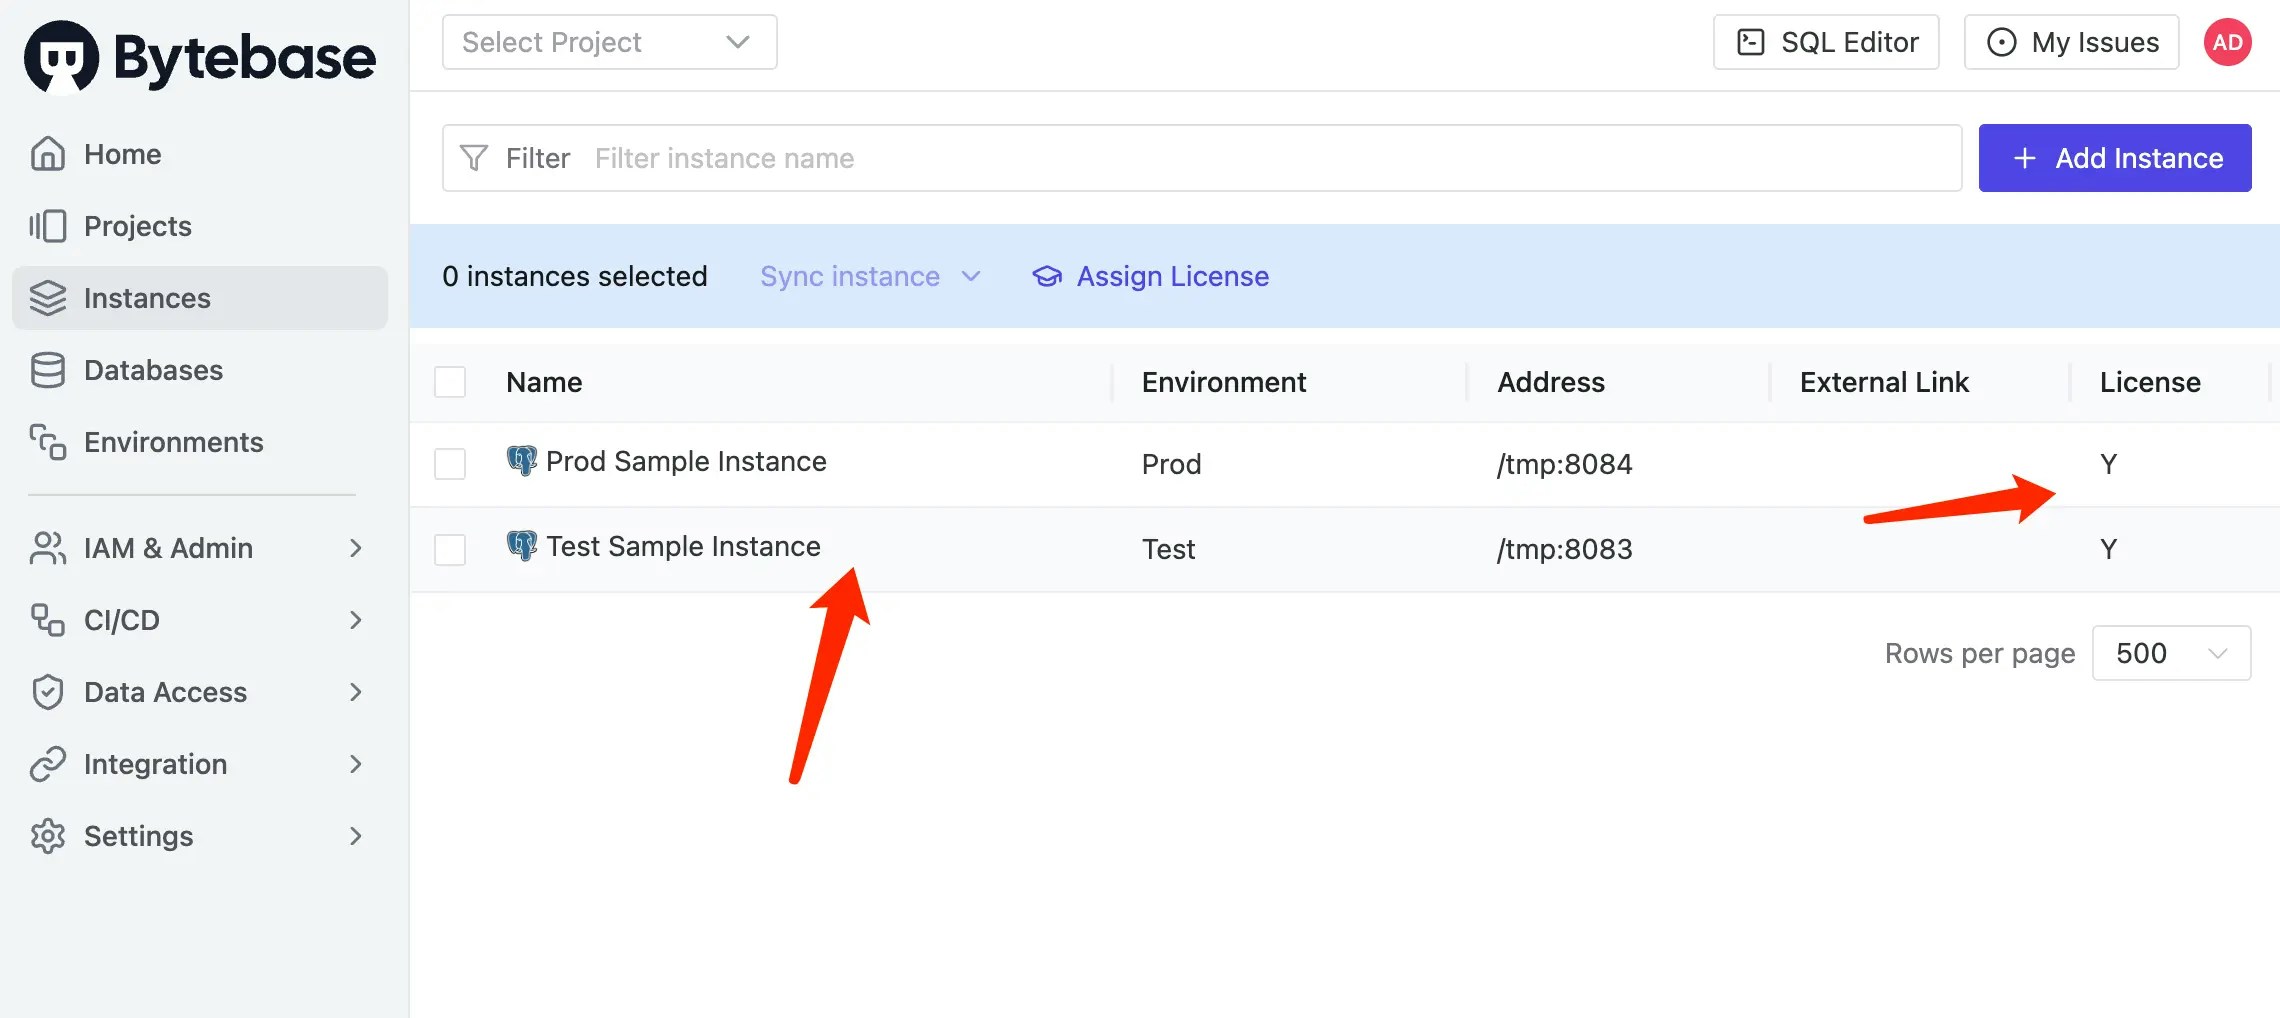
Click Instances on the left bar. Now the existing sample instances are not assigned any license.

-
Click Assign license on the top bar. Select the instance you want to assign the license to and click Confirm. Now the instances are assigned with licenses.
Step 3 - Run Schema Change without Custom Approval Flow
-
Log out and login as Developer. Go into the
Sample Project, click Database > Databases on the left bar. Select both existing sample databaseshr_prodandhr_test, and click Edit Schema.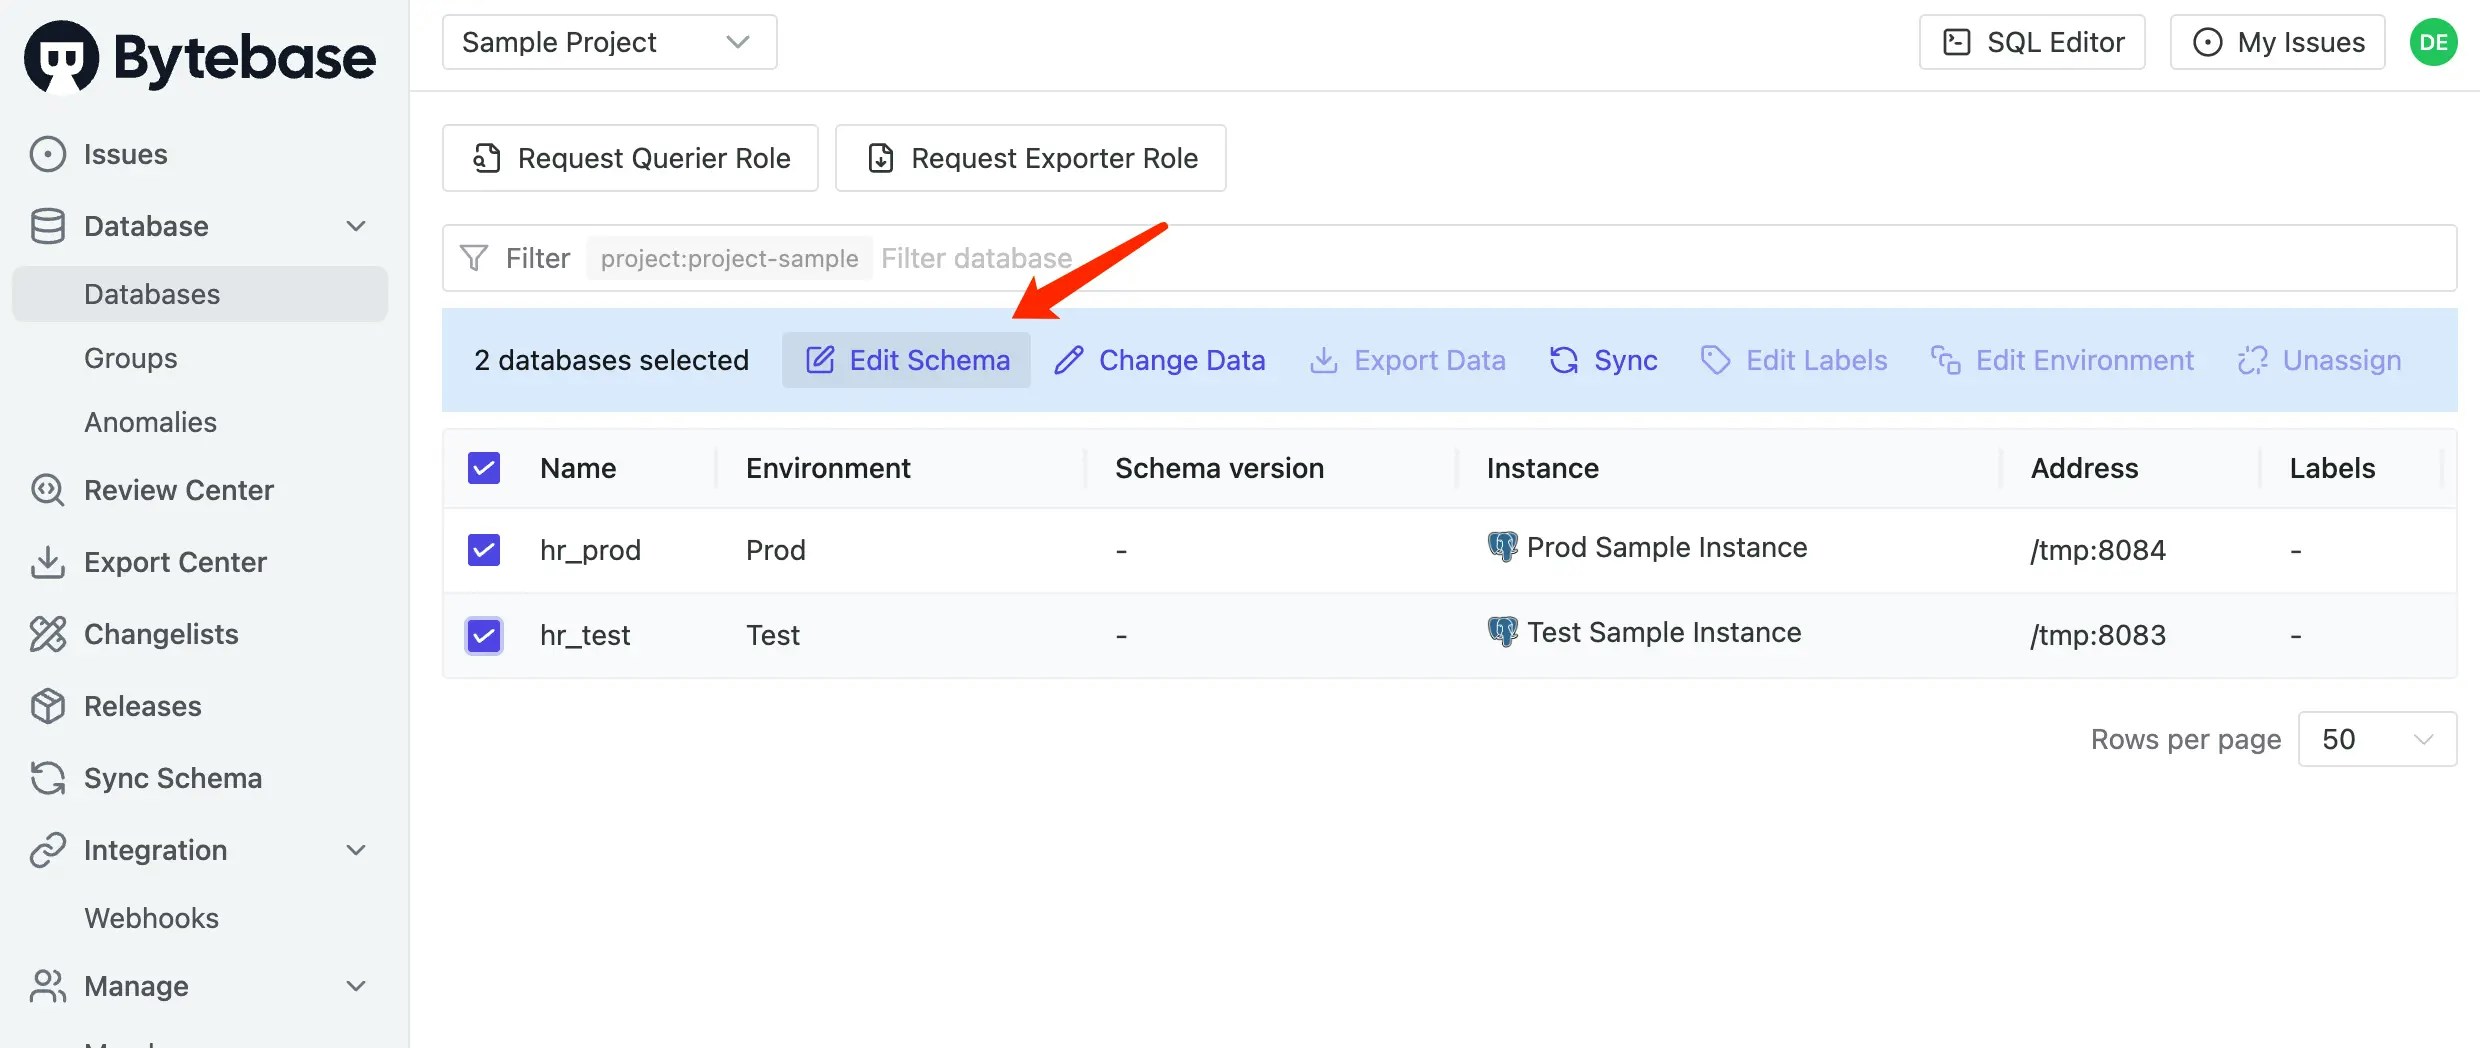
-
It will redirect to the issue preview, paste the following SQL and click Create.
-
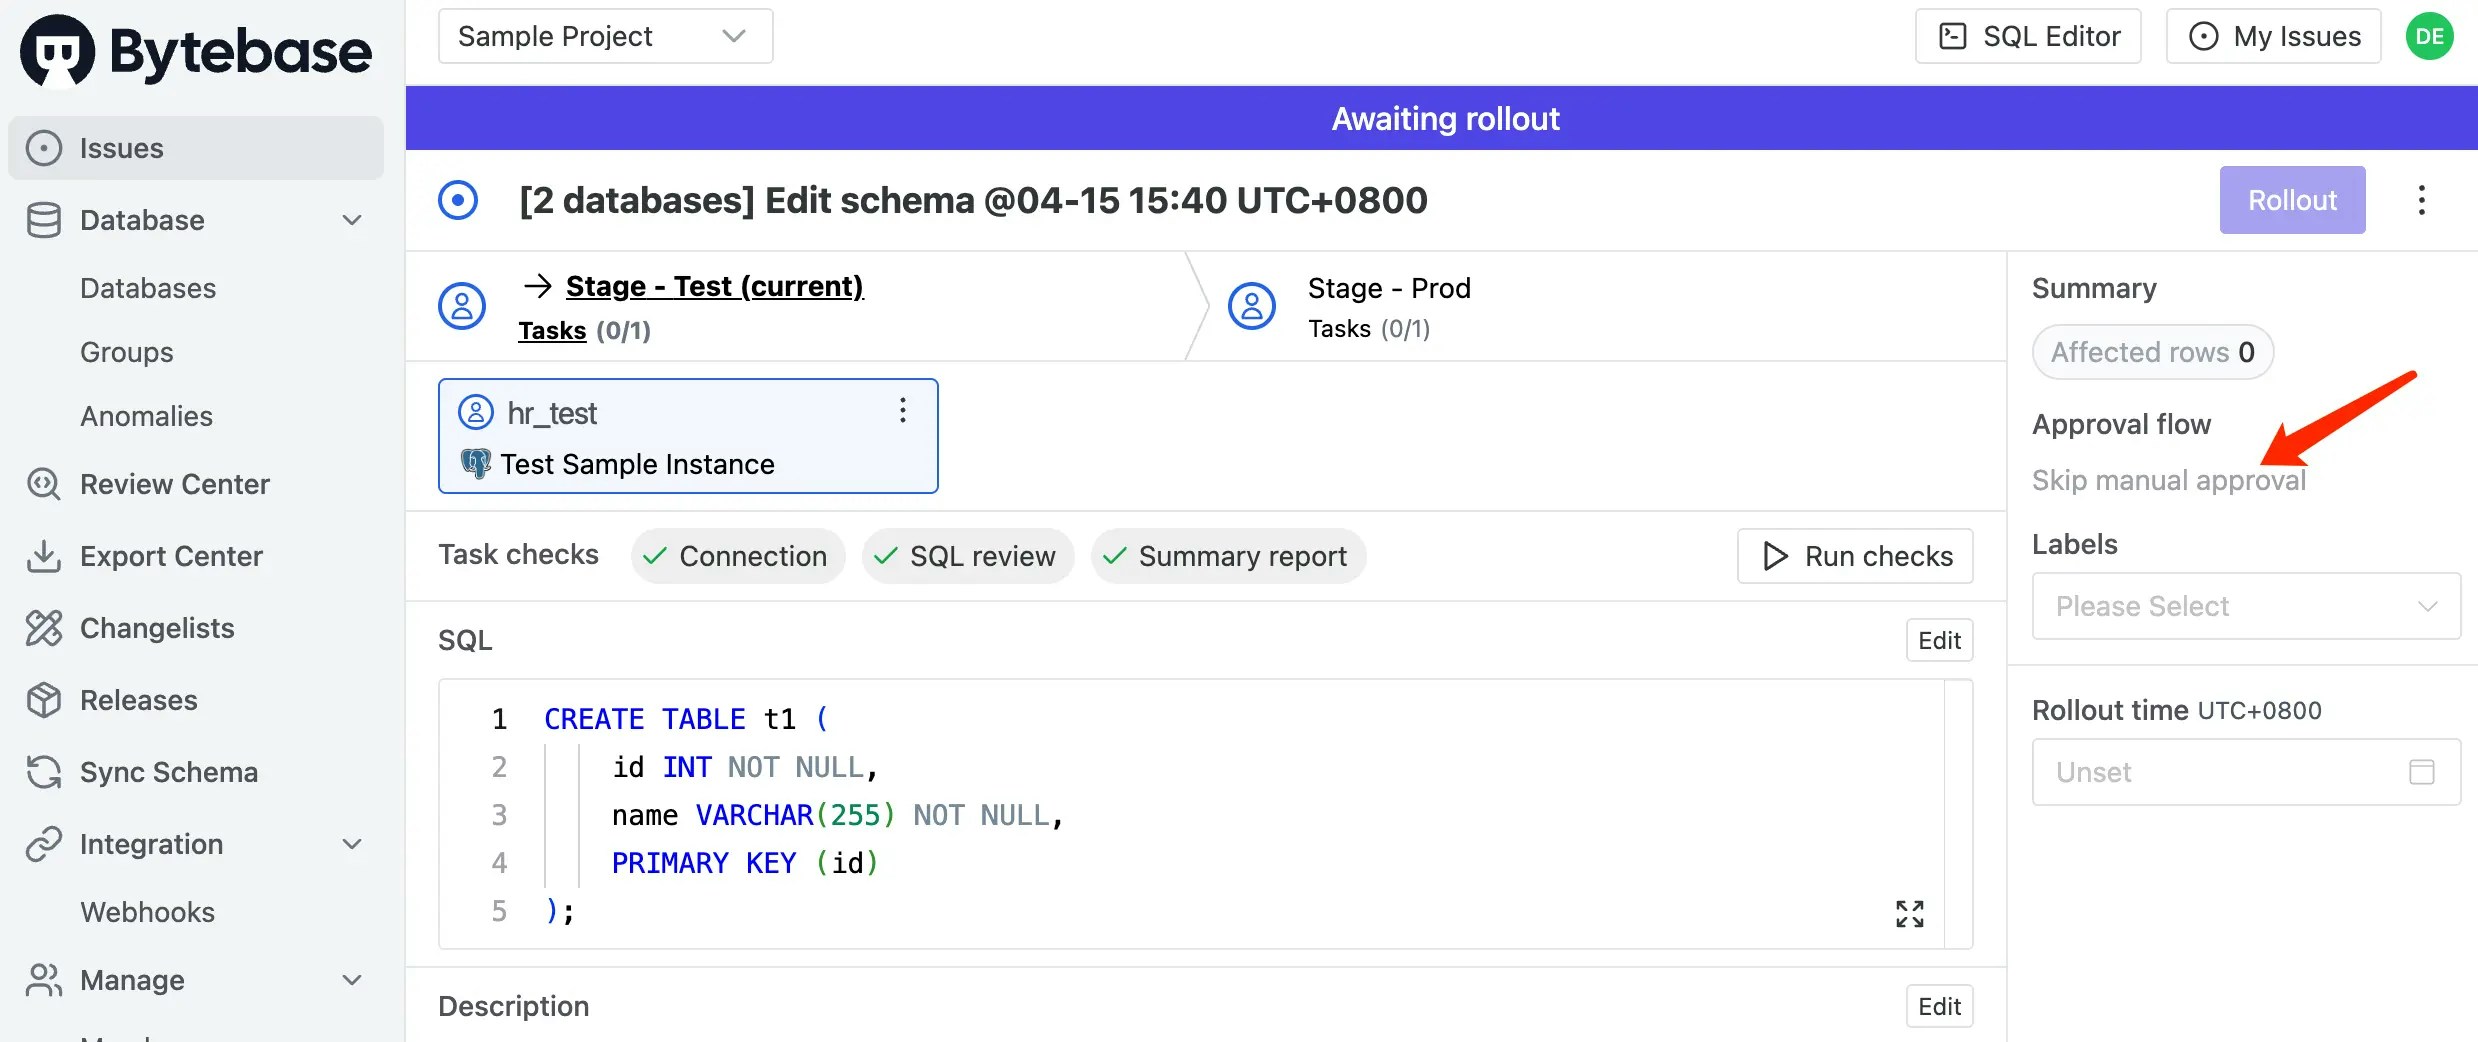
The issue is created and waiting for rollout. There’s no approval flow for this issue, since we haven’t configured any custom approval flow yet.
Step 4 - Configure Custom Approval Rules and Run a Schema Change
-
Login as Admin. Click CI/CD > Custom Approval on the left bar. Under the Change Database section, click Add Rule to create approval rules with conditions:
- Rule 1: Title:
DDL ALTER in Prod; Condition:statement.sql_type == "ALTER_TABLE" && resource.environment_id == "prod"; Approval Flow:Project Owner -> DBA - Rule 2: Title:
DDL CREATE in Prod; Condition:statement.sql_type == "CREATE_TABLE" && resource.environment_id == "prod"; Approval Flow:DBA
- Rule 1: Title:
-
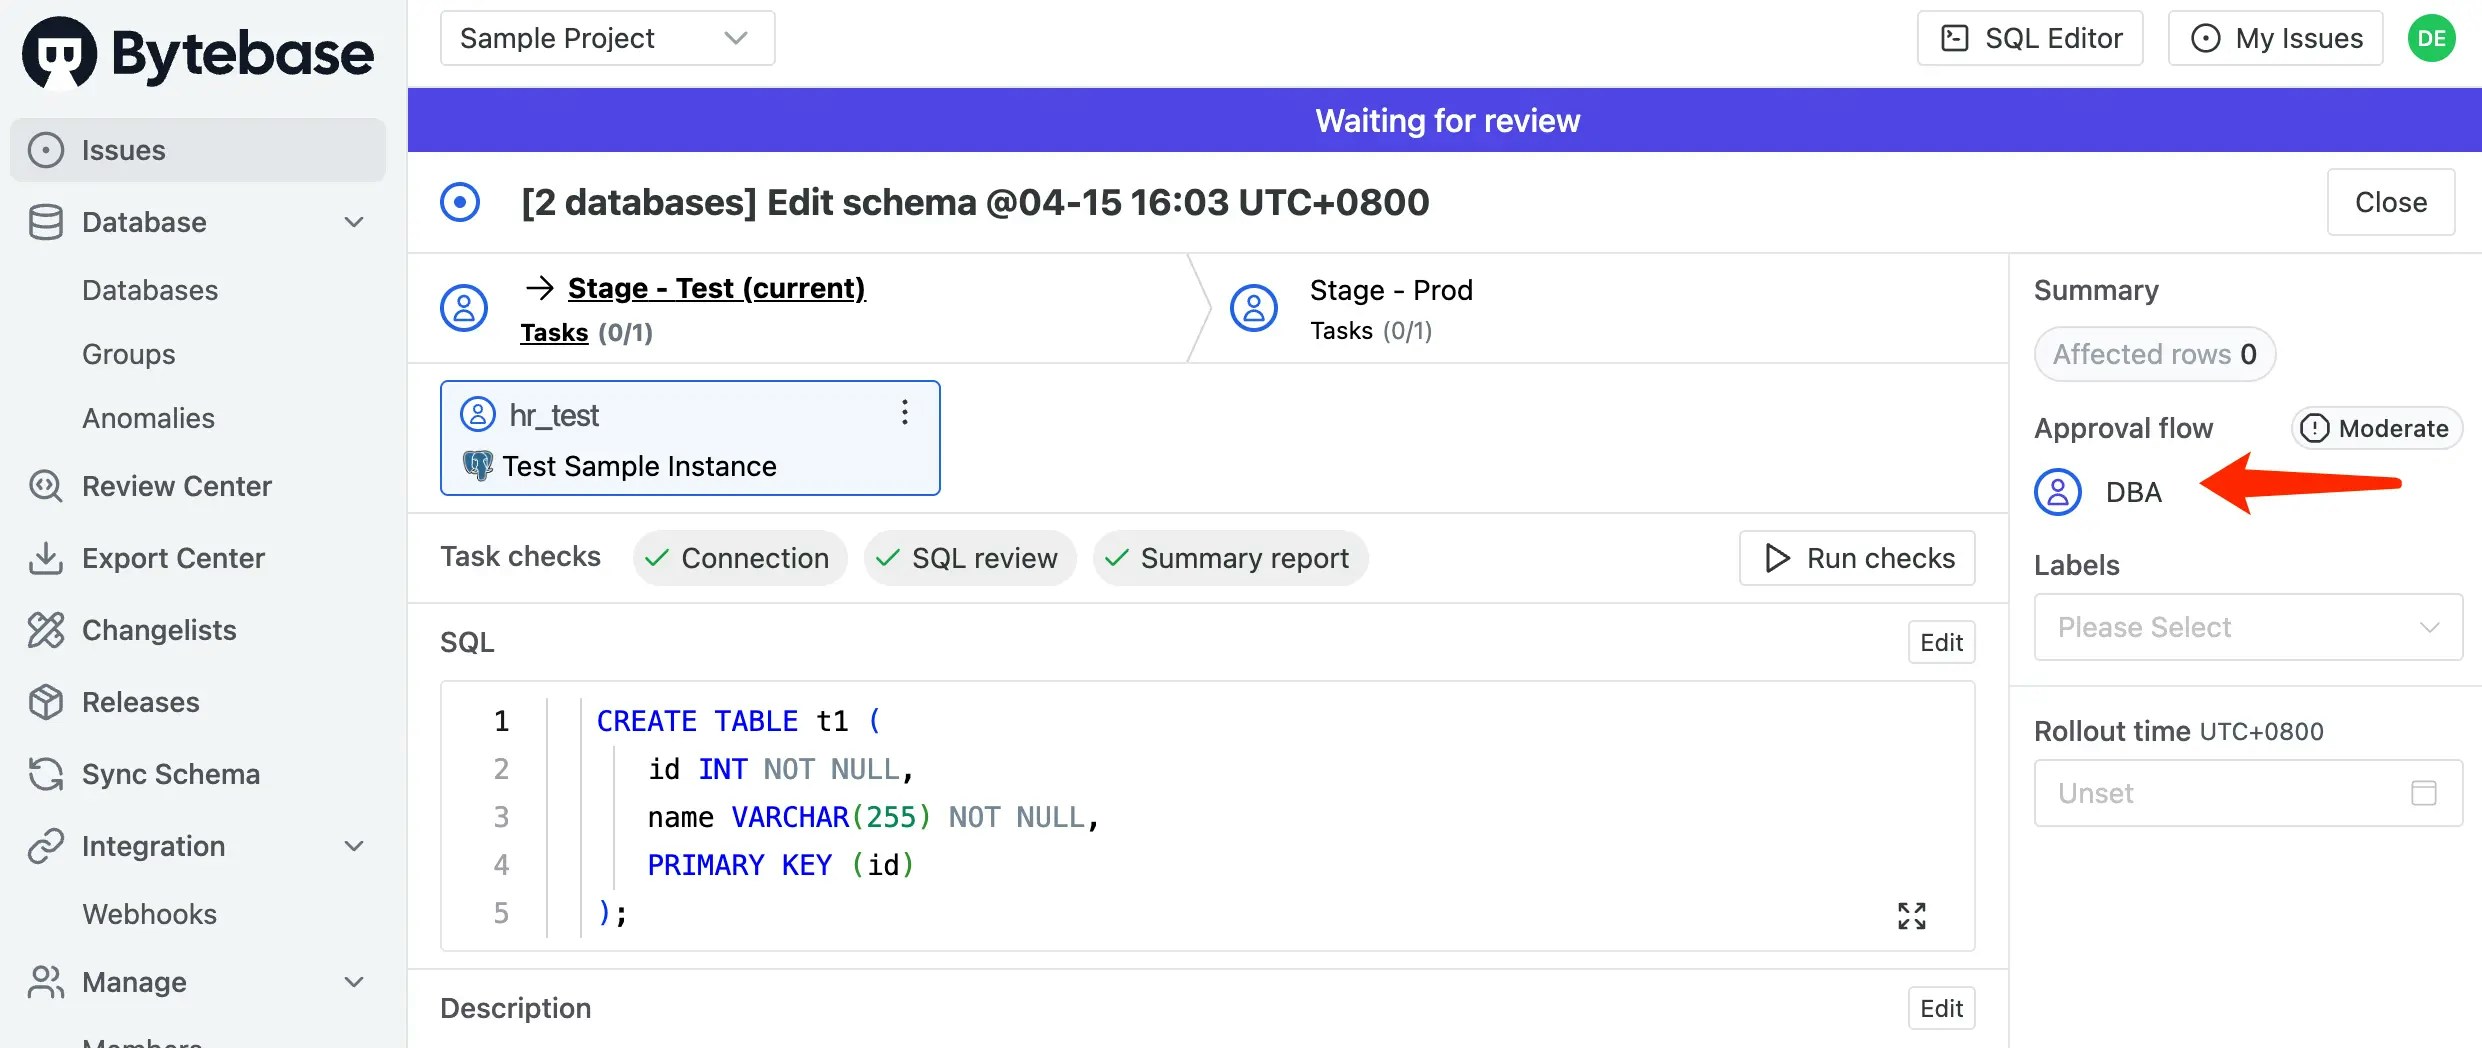
Logout and login as Developer. Go into the project, select both databases and click Edit Schema. Paste the same SQL as before and click Create.
-
This time, the CREATE TABLE statement matches the second rule, so it will be reviewed by the DBA approval flow.
-
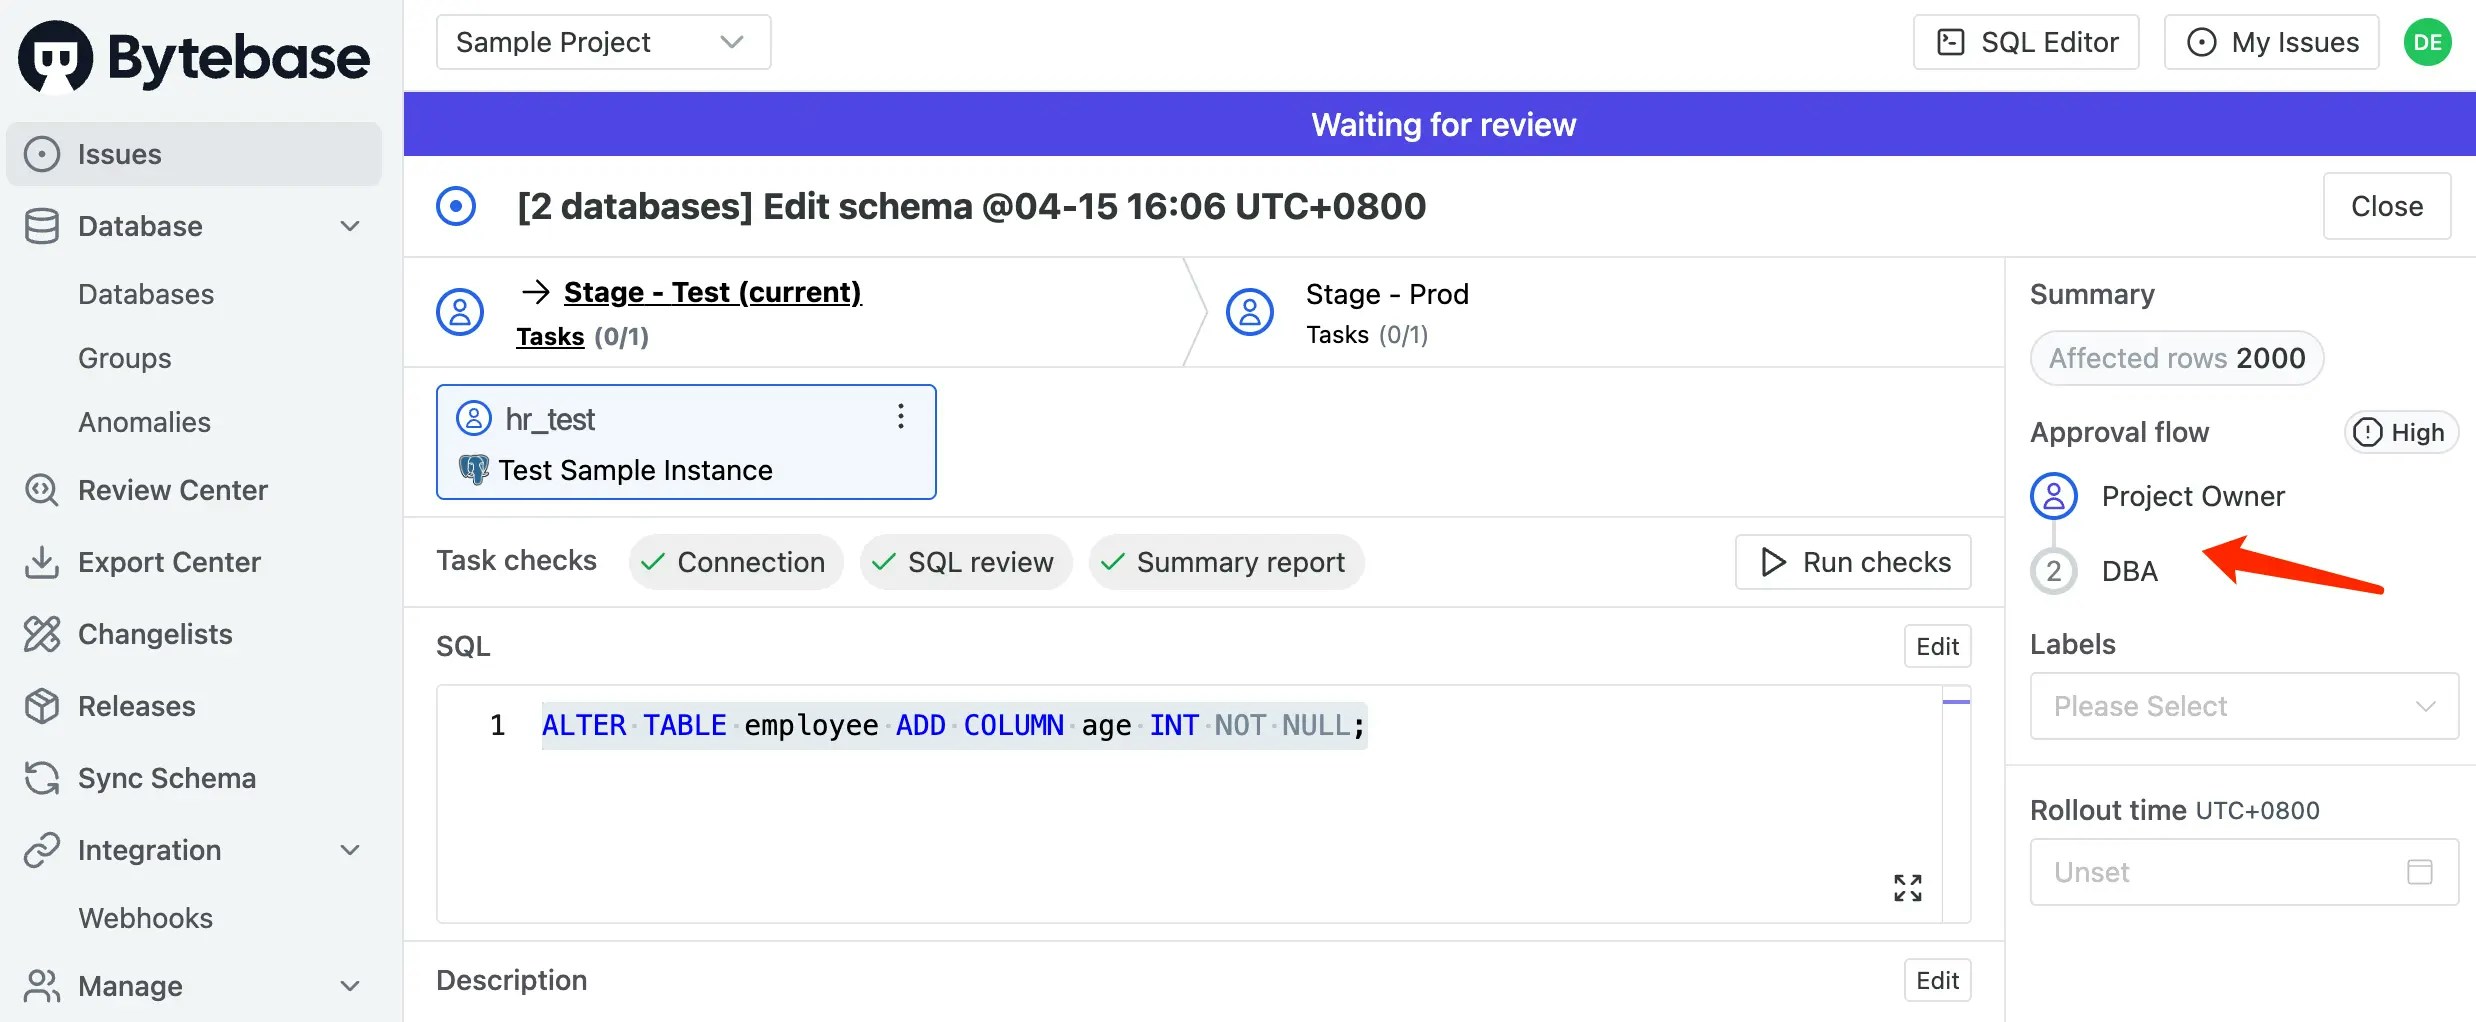
Try another DDL with ALTER type.
-
This time, the ALTER TABLE statement matches the first rule, so it will be reviewed by the Project Owner -> DBA approval flow.
Step 5 - Build Your Own Approval Flow
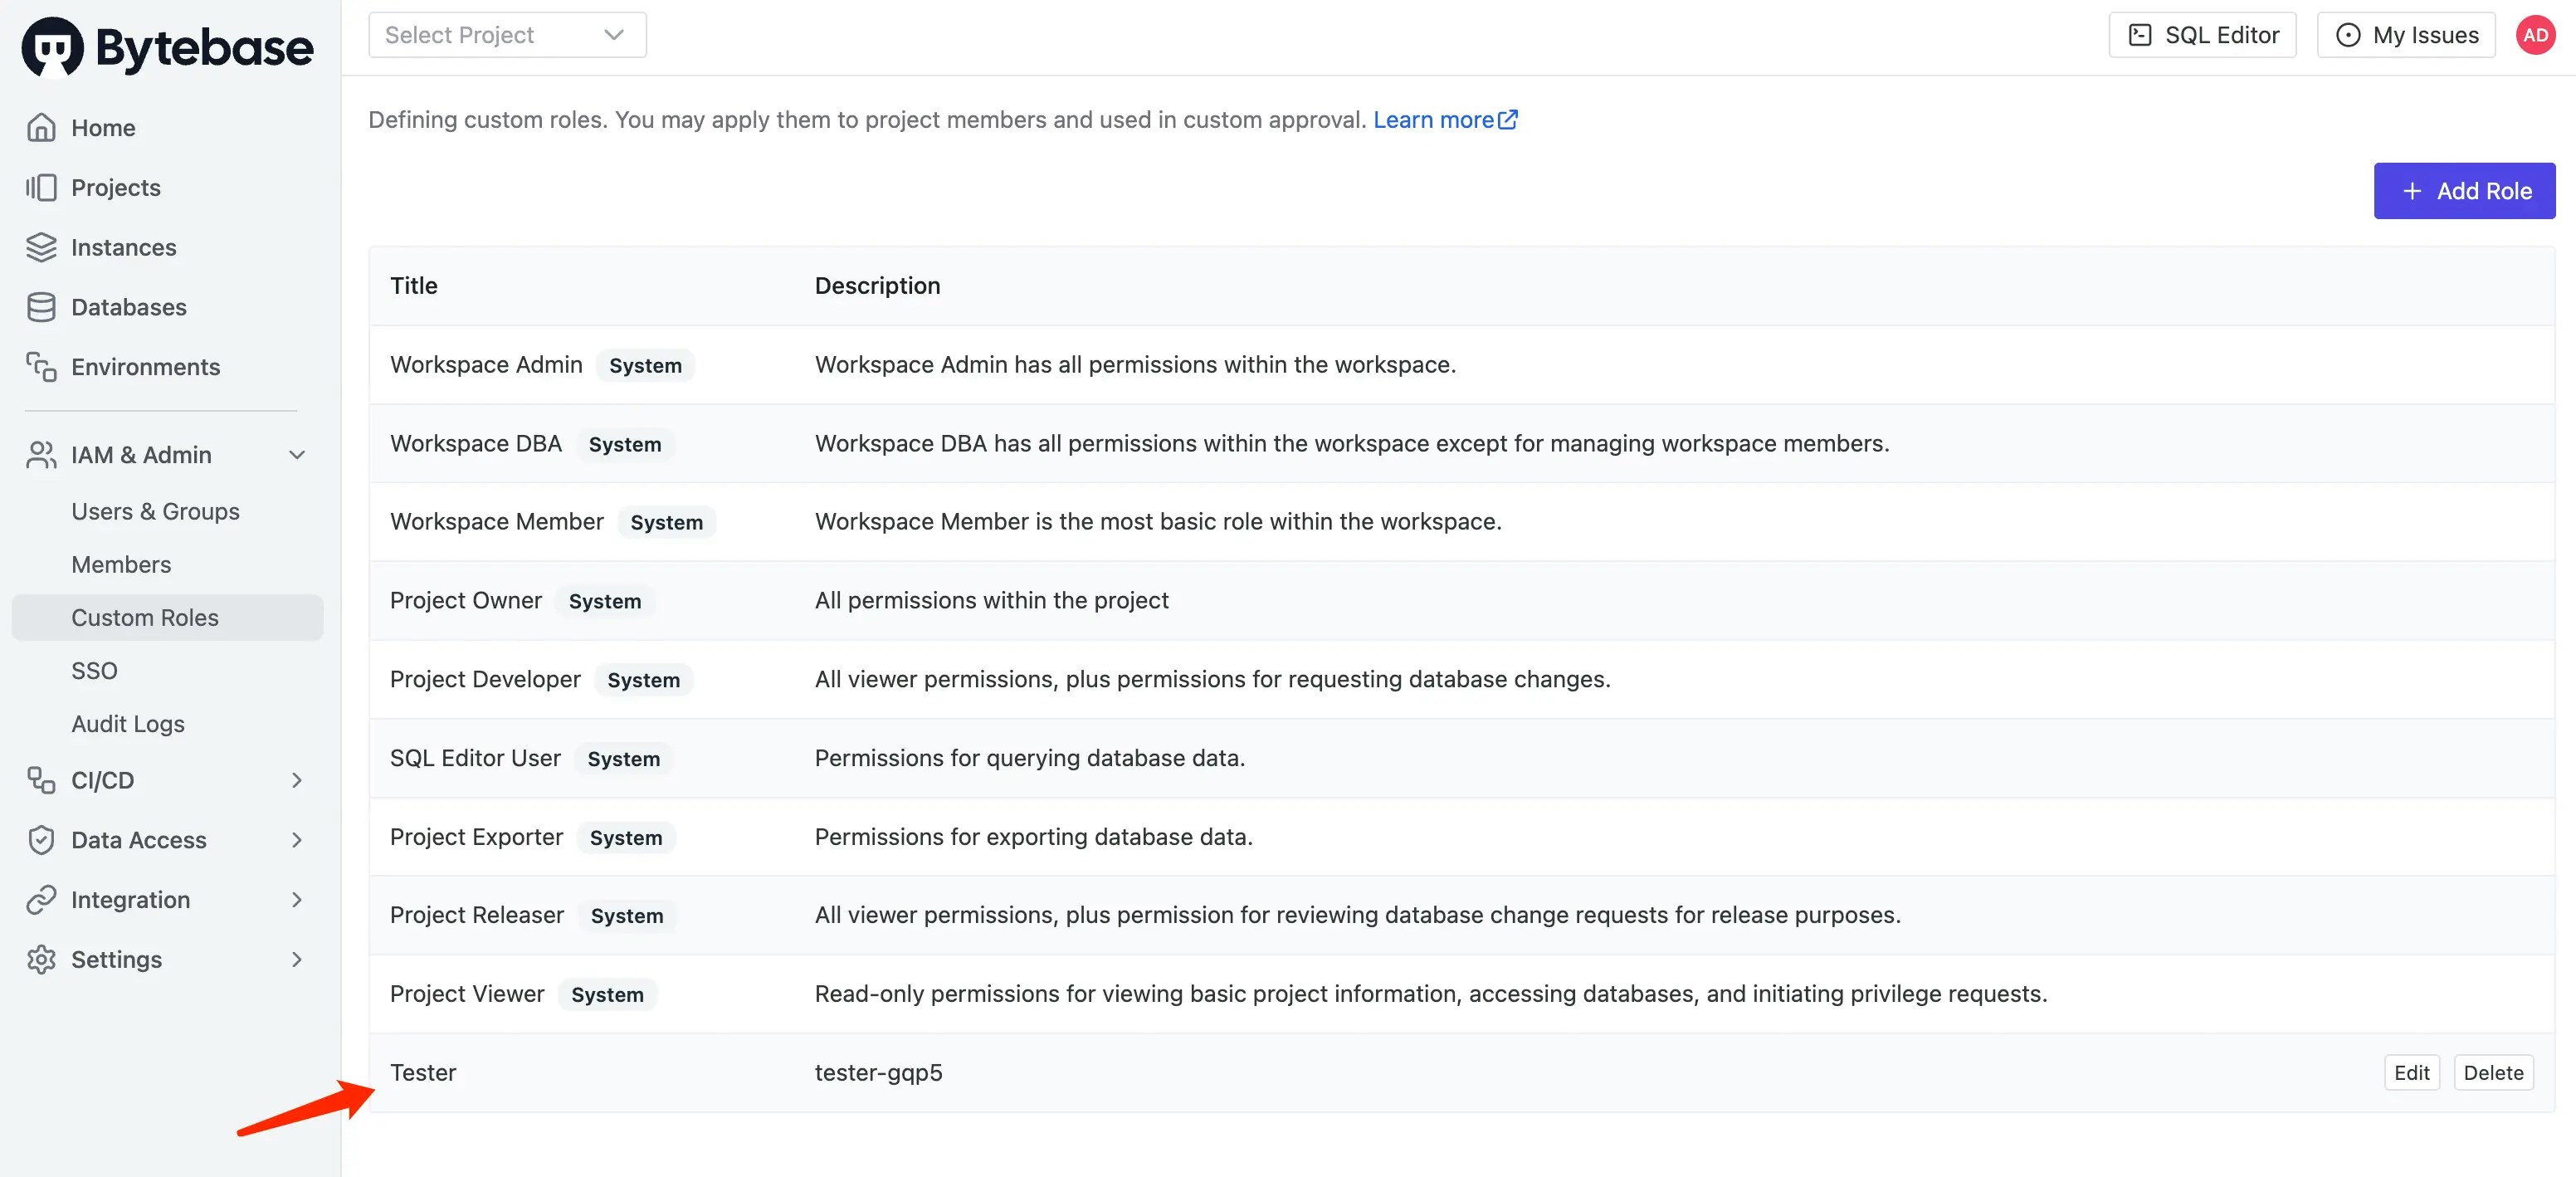
What if there is other roles in the team, for example, a Tester . Bytebase has another feature called Custom Roles.-
Login as Admin. Click IAM&Admin > Custom Roles on the left bar. You may also add a new role, e.g. Tester, here to make it simple, we can import permissions from Project Releaser role.
-
Click CI/CD > Custom Approval. Under the Change Database section, click Add Rule and create a new approval flow with
Tester -> DBAas the approval nodes.
- Create a new user with the role Tester.
-
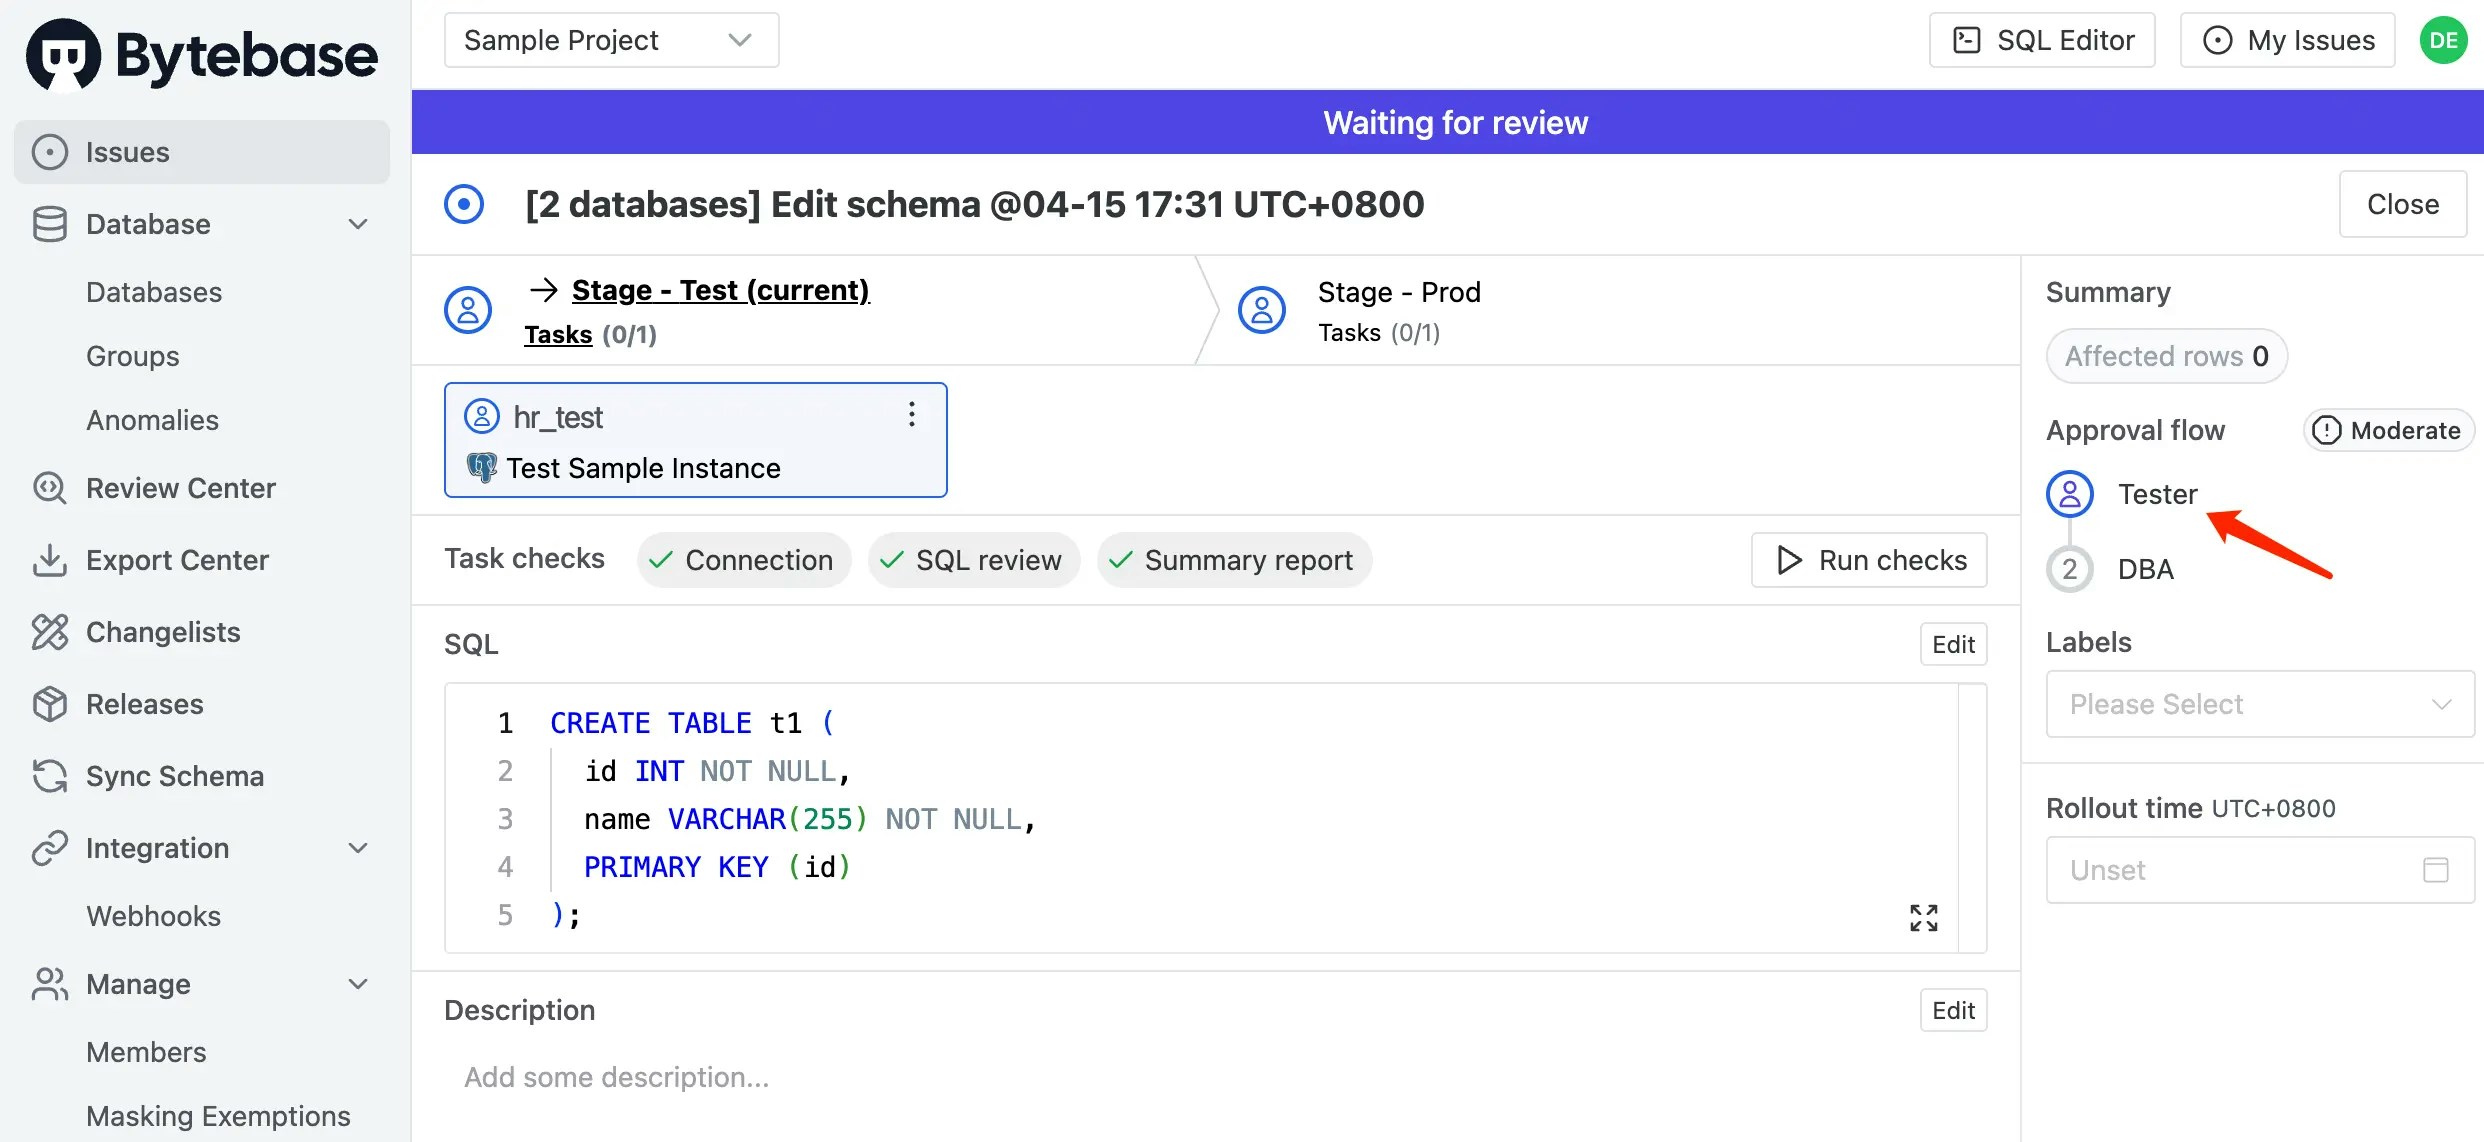
Go to CI/CD > Custom Approval, and edit the CREATE TABLE rule to use the
Tester -> DBAapproval flow instead. -
Logout and login as Developer. Go into the project, select both databases and click Edit Schema. Paste the same SQL as before and click Create.
-
This time, the CREATE TABLE statement matches the rule and will be reviewed by the Tester -> DBA approval flow.