{
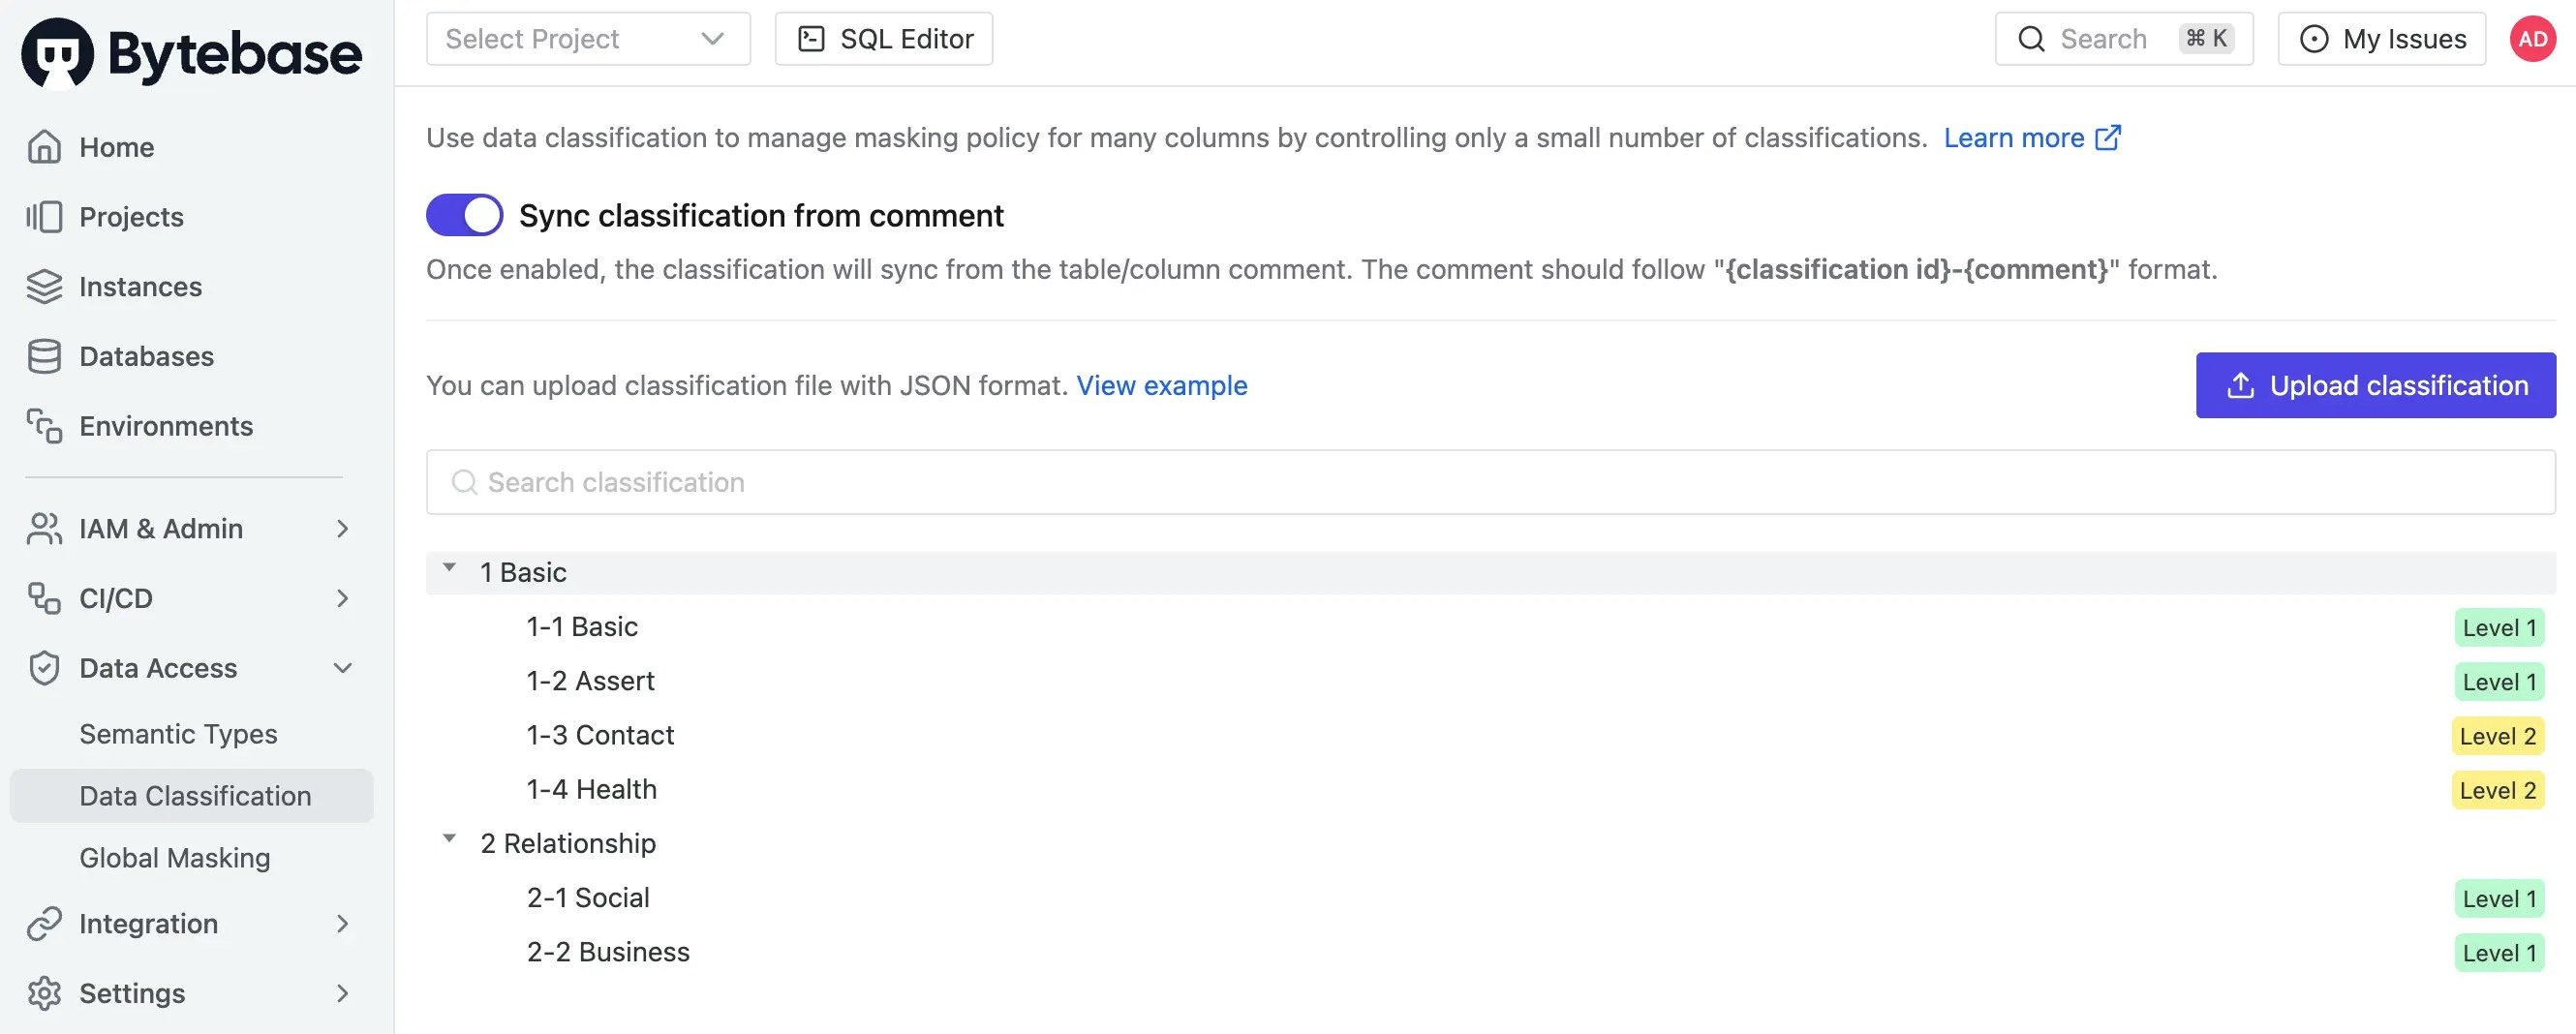
"title": "Classification Example",
"levels": [
{
"id": "1",
"title": "Level 1",
"description": ""
},
{
"id": "2",
"title": "Level 2",
"description": ""
}
],
"classification": {
"1": {
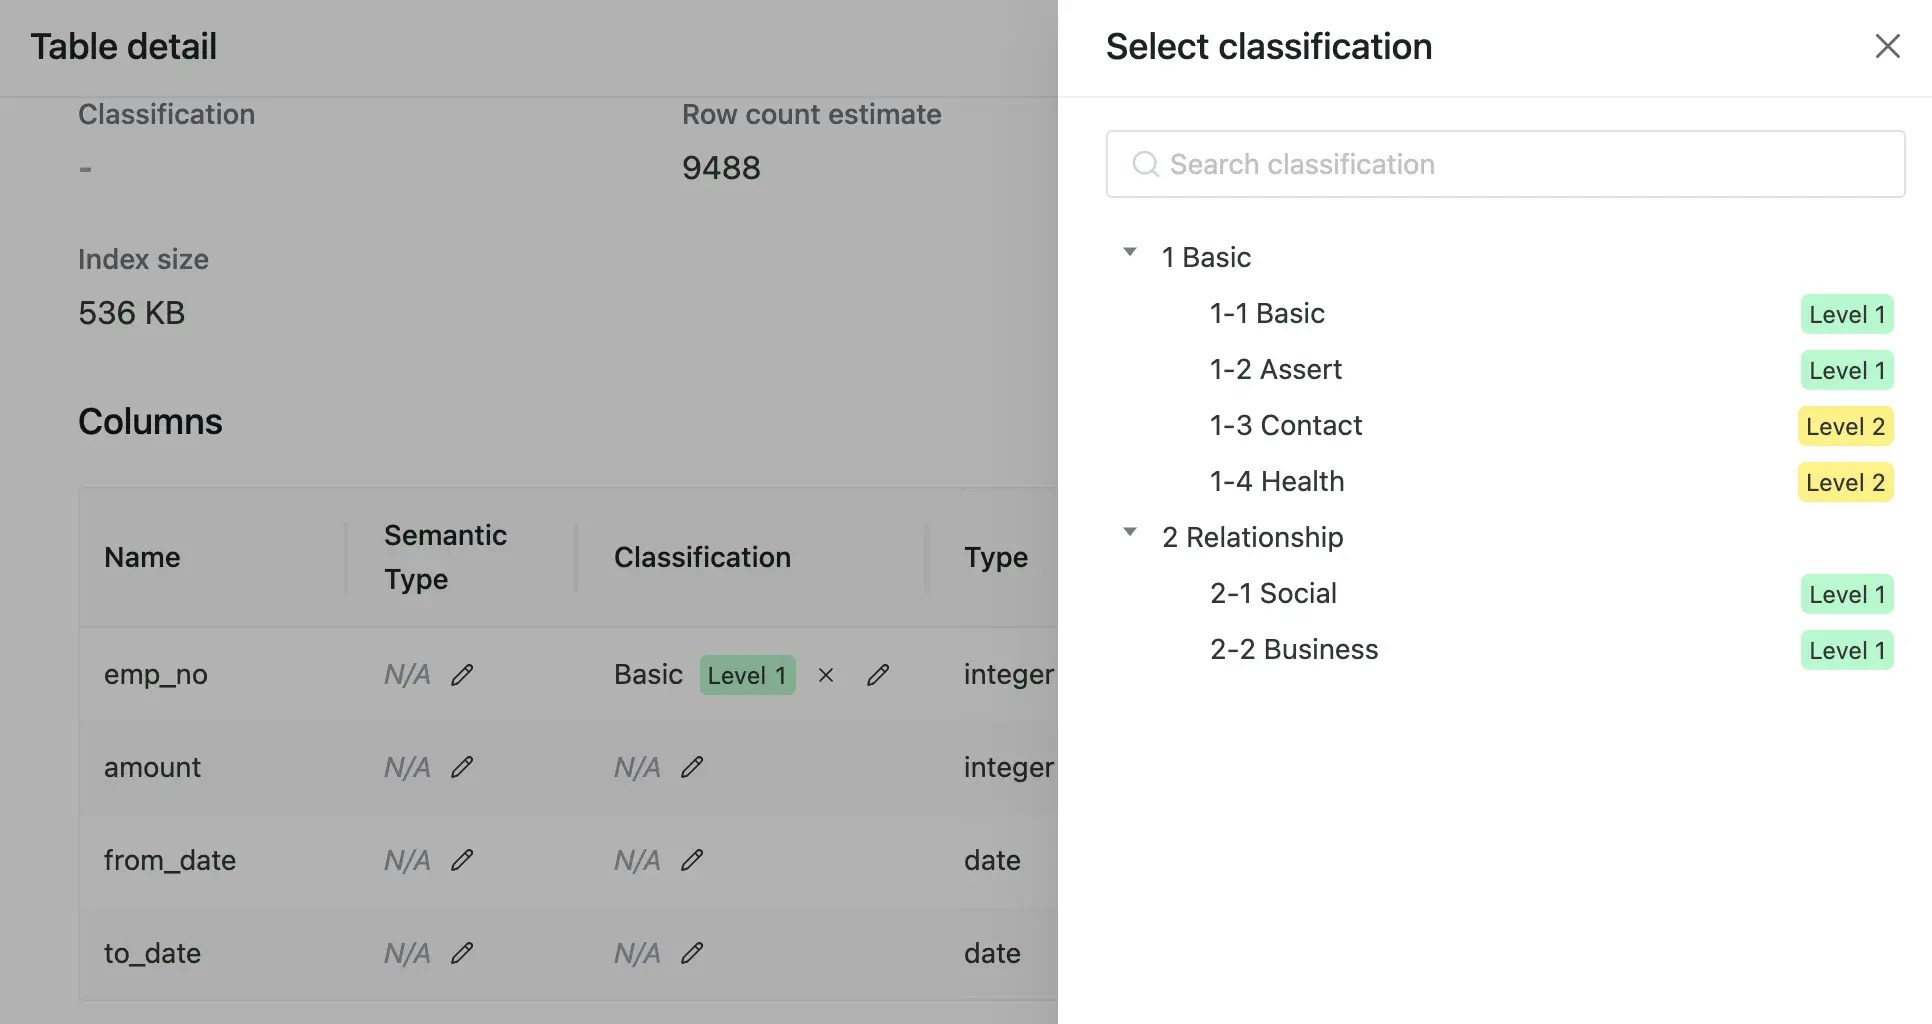
"id": "1",
"title": "Basic",
"description": ""
},
"1-1": {
"id": "1-1",
"title": "Basic",
"description": "",
"levelId": "1"
},
"1-2": {
"id": "1-2",
"title": "Assert",
"description": "",
"levelId": "1"
},
"1-3": {
"id": "1-3",
"title": "Contact",
"description": "",
"levelId": "2"
},
"1-4": {
"id": "1-4",
"title": "Health",
"description": "",
"levelId": "2"
},
"2": {
"id": "2",
"title": "Relationship",
"description": ""
},
"2-1": {
"id": "2-1",
"title": "Social",
"description": "",
"levelId": "1"
},
"2-2": {
"id": "2-2",
"title": "Business",
"description": "",
"levelId": "1"
}
}
}