How it works
Online schema migration tools operate through a careful orchestration of steps:- Ghost table creation: Creates a new table with the desired schema structure
- Data migration: Incrementally copies data from the original table to the ghost table while capturing ongoing changes (INSERT, DELETE, UPDATE operations)
- Table swap: Atomically replaces the original table with the fully synchronized ghost table
Requirements and limitations
Requirements
- MySQL version 5.7 or higher
- Row-based logging enabled
- Primary key on the table
- Primary database for migration (replica migration not currently supported)
Limitations
- Foreign key constraints are not supported
- Triggers are not supported
- Large tables may require extended migration time
Performing an online schema migration
Step 1 - Create a schema change issue
- Navigate to your database and click Edit Schema
- Enter your ALTER TABLE statement in the SQL editor
- Click Preview issue to review the changes
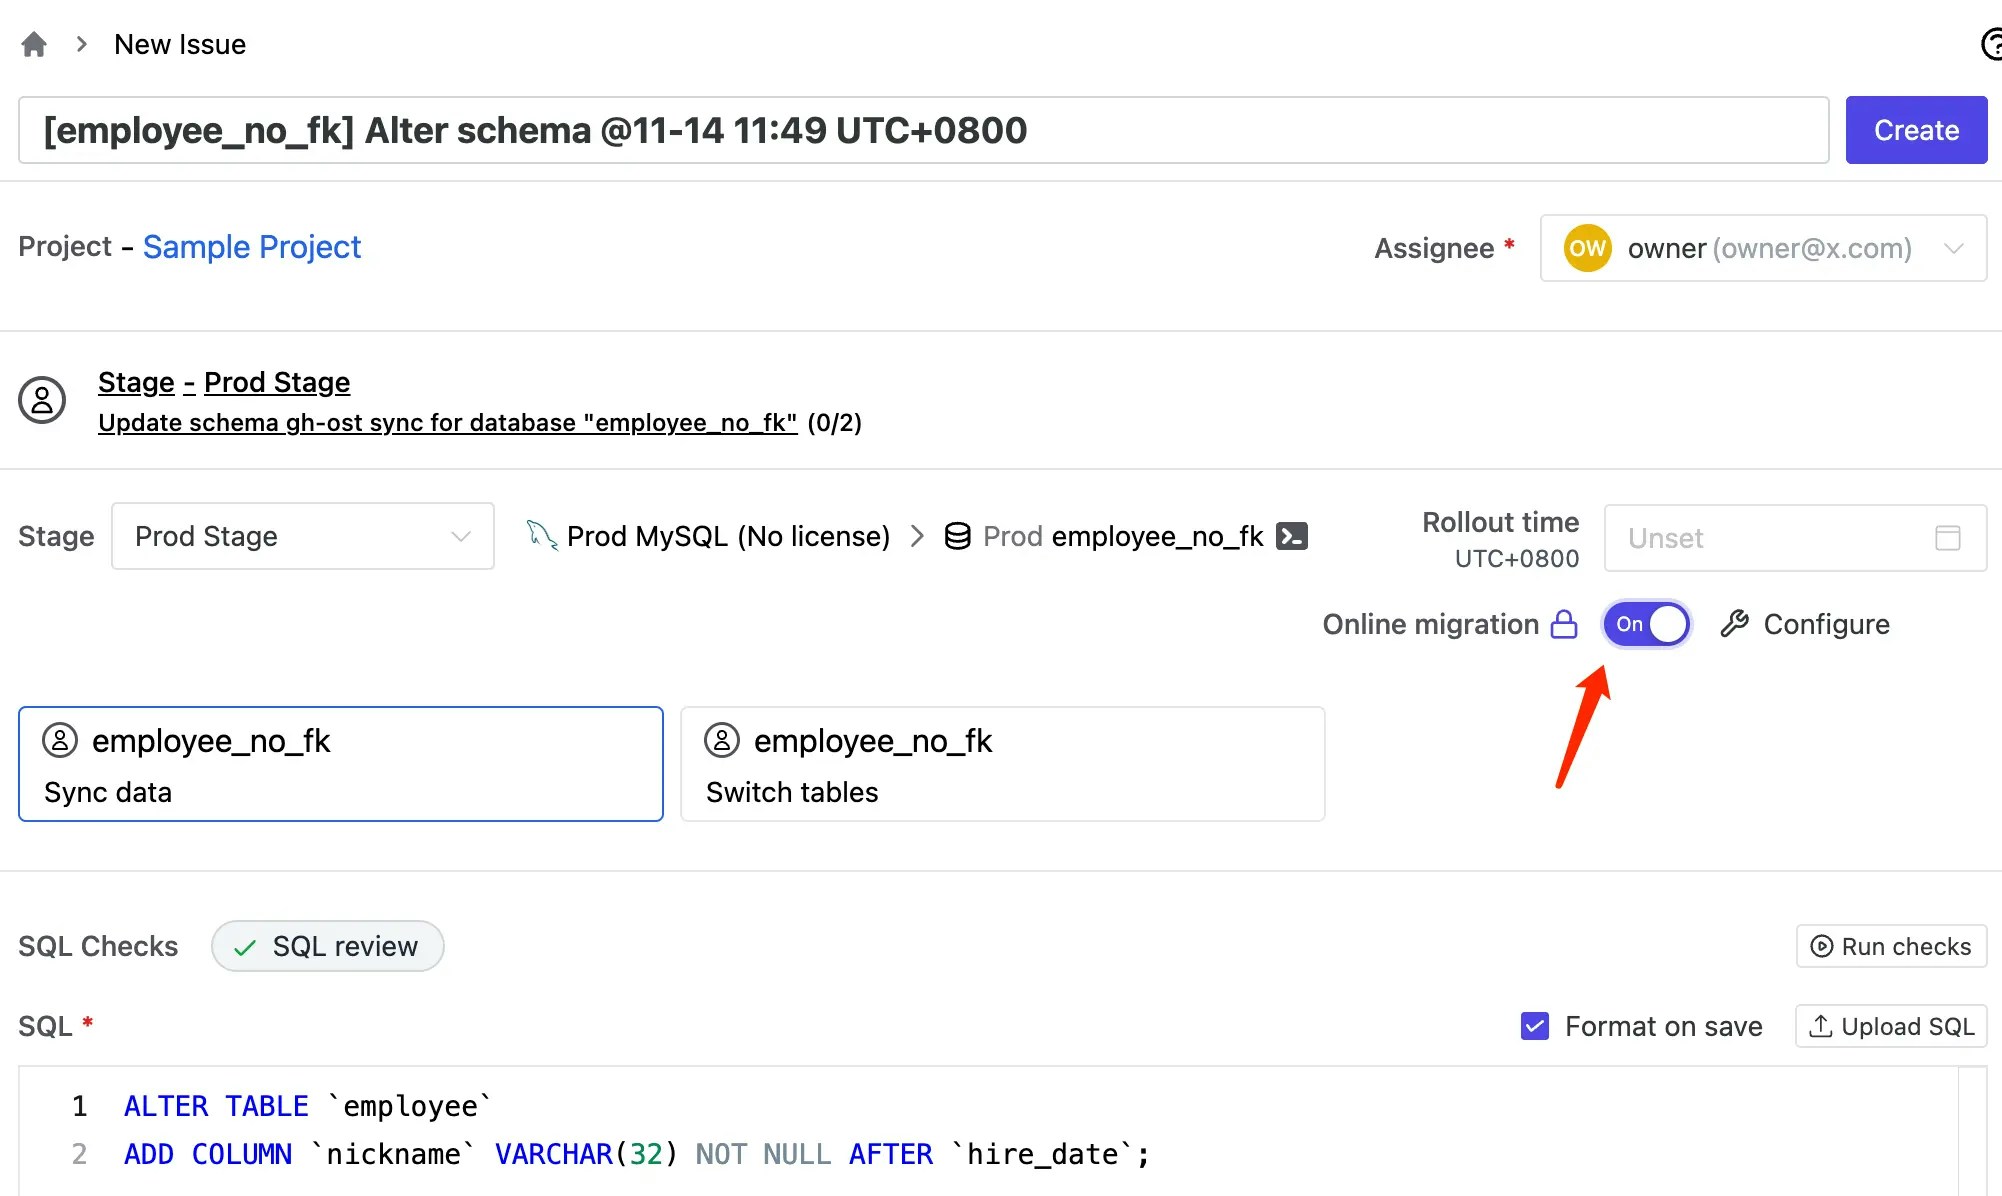
Step 2 - Enable online migration
Before creating the issue:- Toggle on Online migration option
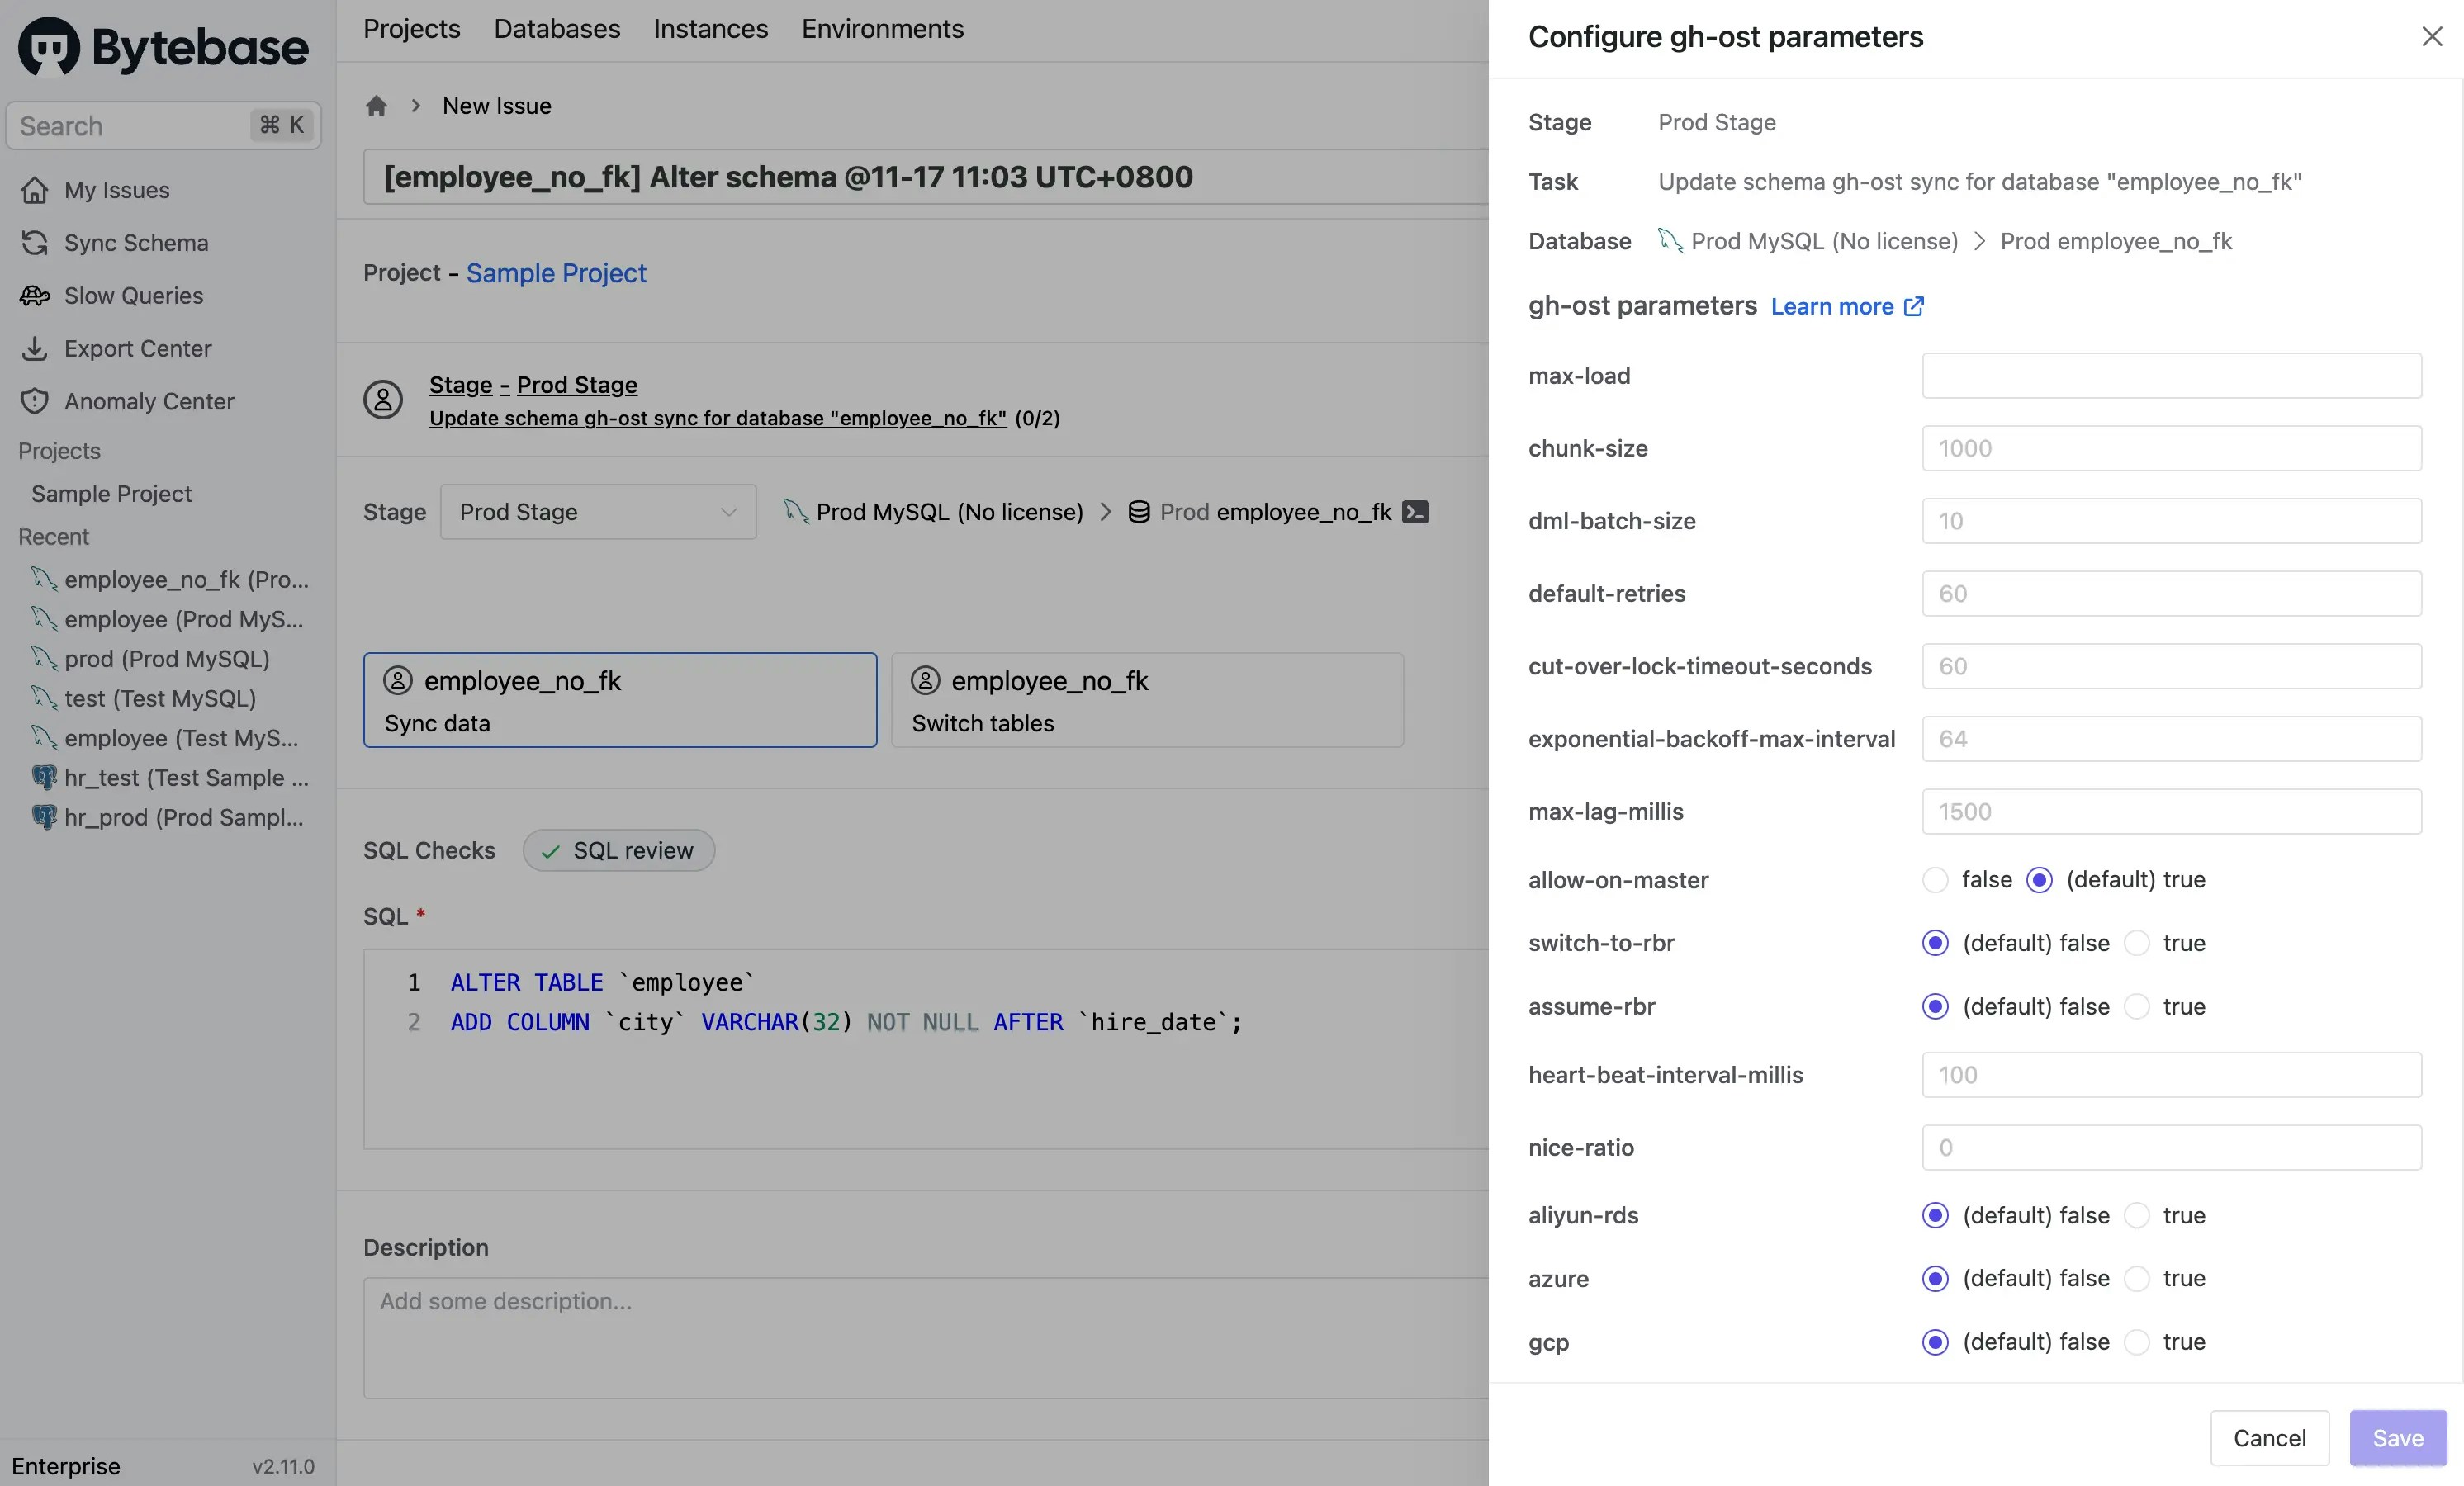
- Click Configure to customize migration parameters if needed


- Review your SQL statement and click Create to create the issue
Step 3 - Deploy the migration
Once the issue is created, the online migration task will be in one of these states:- Waiting for approval: If custom approval flow is configured
- Waiting for rollout: Ready to execute
-
Create temporary tables:
- Changelog table:
~yourtablename_{timestamp}_ghc - Ghost table:
~yourtablename_{timestamp}_gho
- Changelog table:
- Begin copying data from the original table to the ghost table
- Continuously synchronize ongoing changes to keep tables in sync
-
When synchronization is complete (tables are nearly identical), automatically perform the table swap:
- Original table →
~yourtablename_{timestamp}_del - Ghost table →
yourtablename
- Original table →
Step 4 - Post-migration cleanup
After successful migration:- The original table is preserved as
~yourtablename_{timestamp}_del - Verify your data integrity and application functionality
- To view the original table, click Show Bytebase reserved tables on the database page


- Once verified, you can manually drop the
~yourtablename_{timestamp}_deltable

