- Replicating schemas to new databases
- Synchronizing changes across environments (dev → staging → prod)
- Rolling back to previous schema versions
Start Bytebase with sample data
-
Ensure Docker is running, then start the Bytebase container:

-
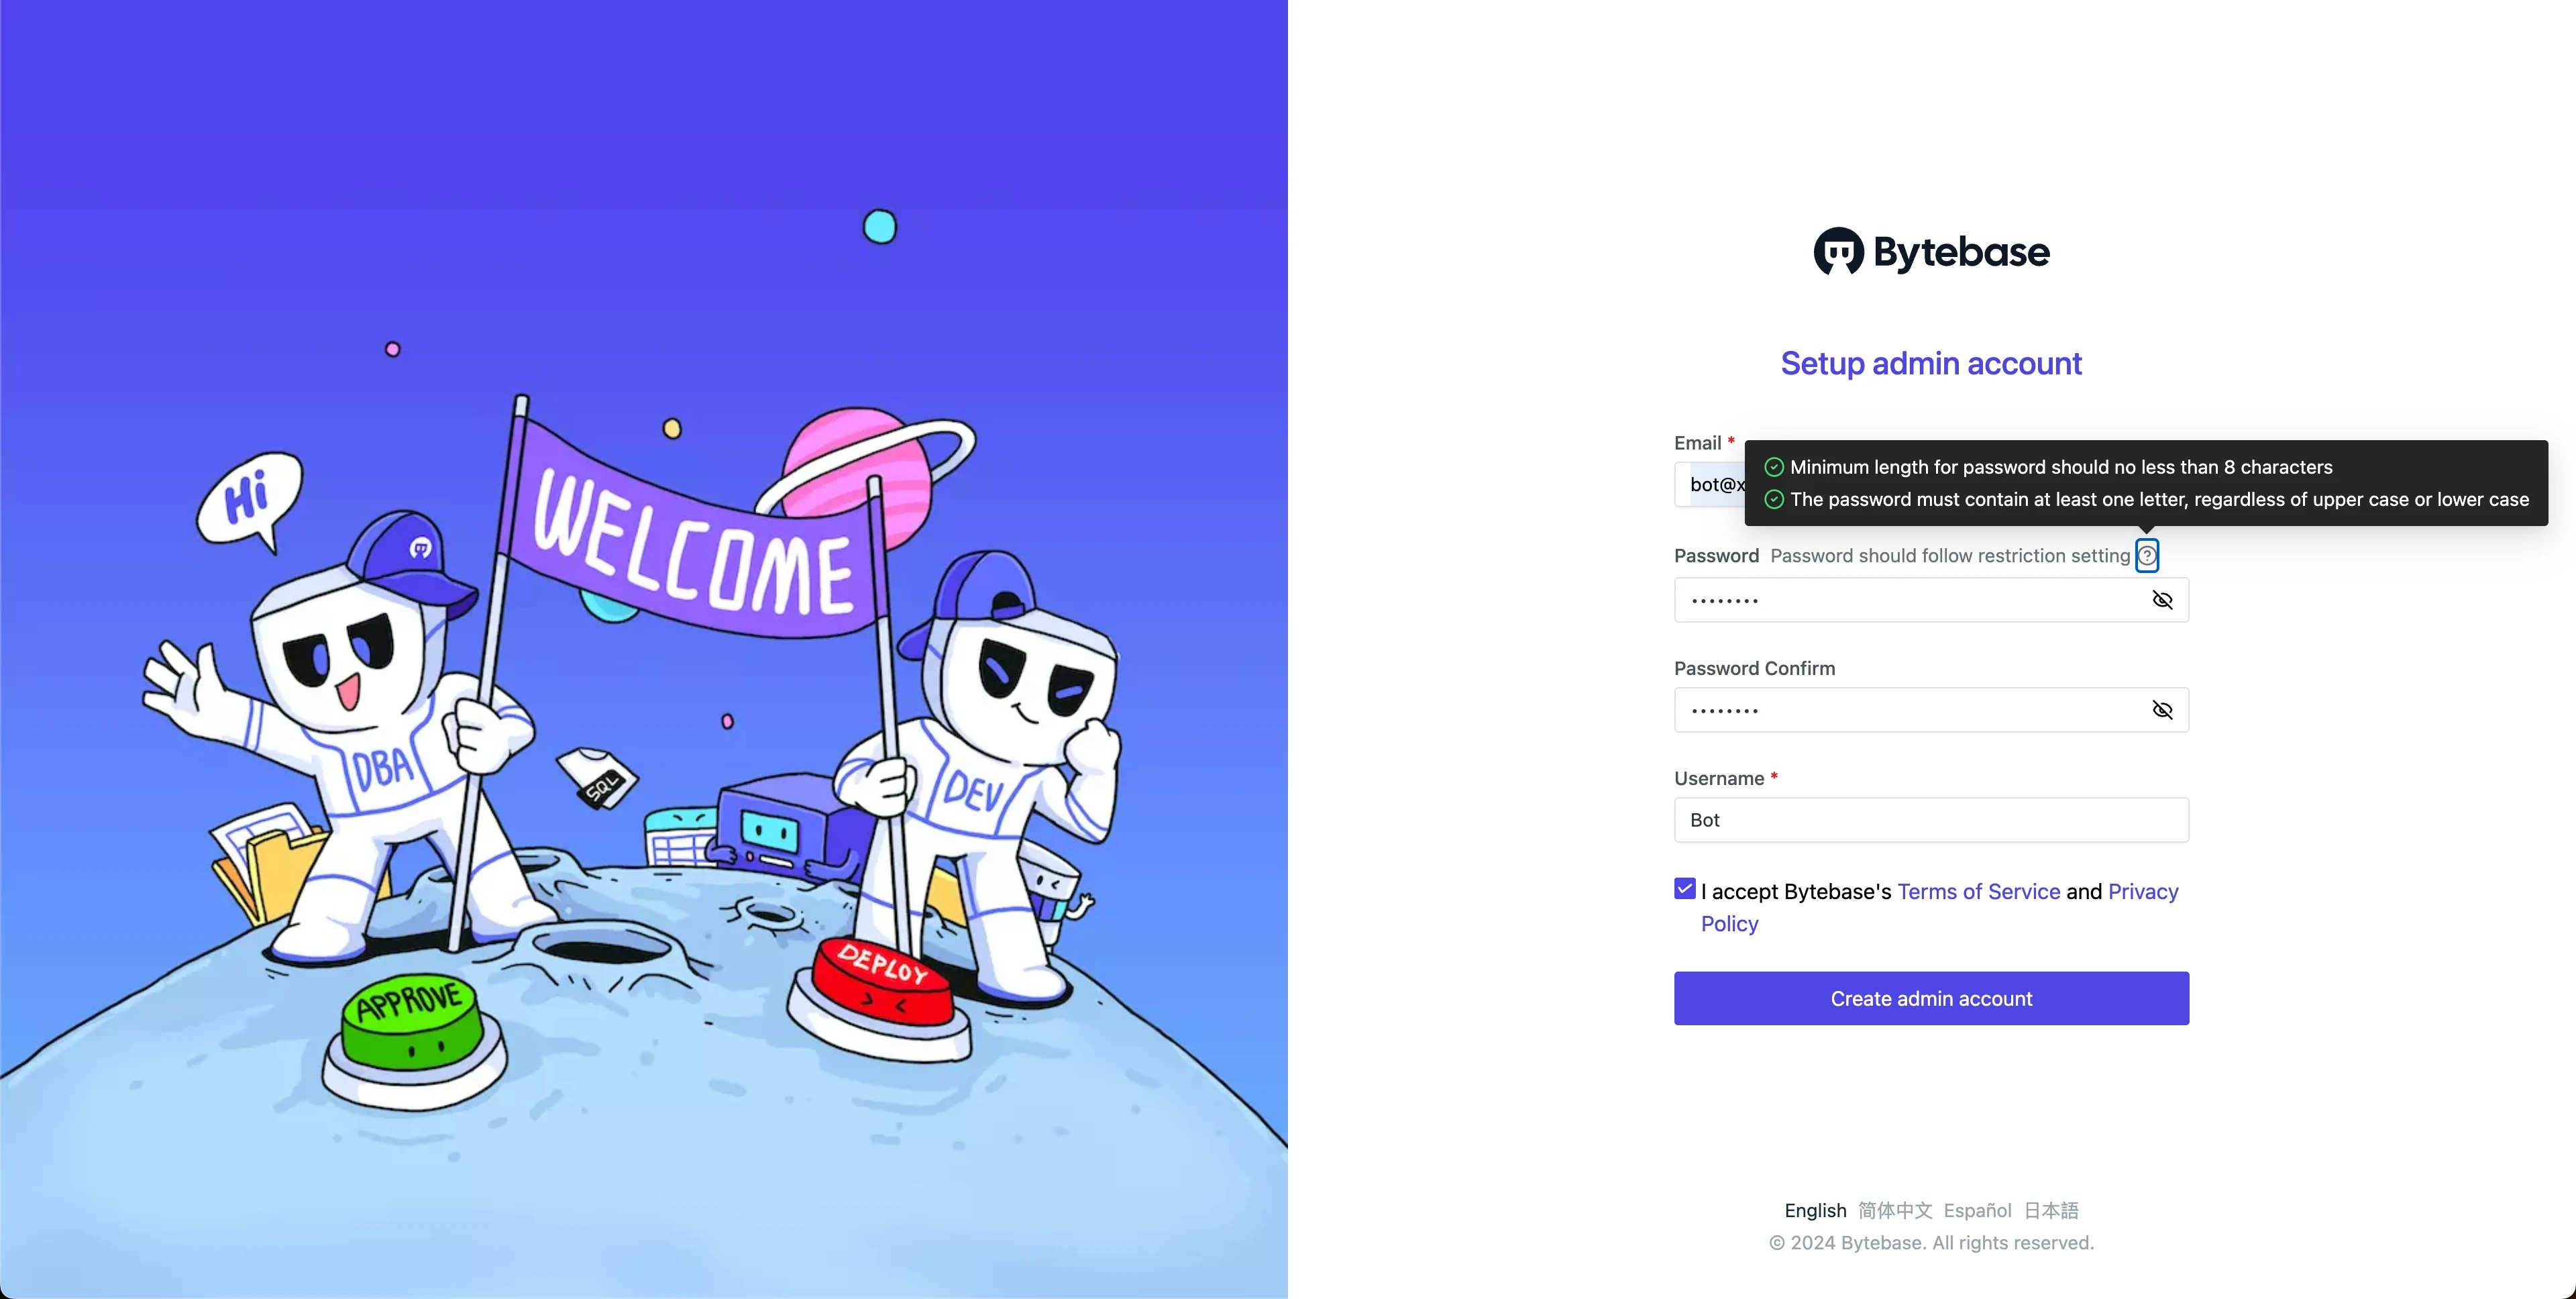
Open Bytebase in localhost:8080, fill in the fields and click Create admin account. You’ll be redirected to Workspace.
-
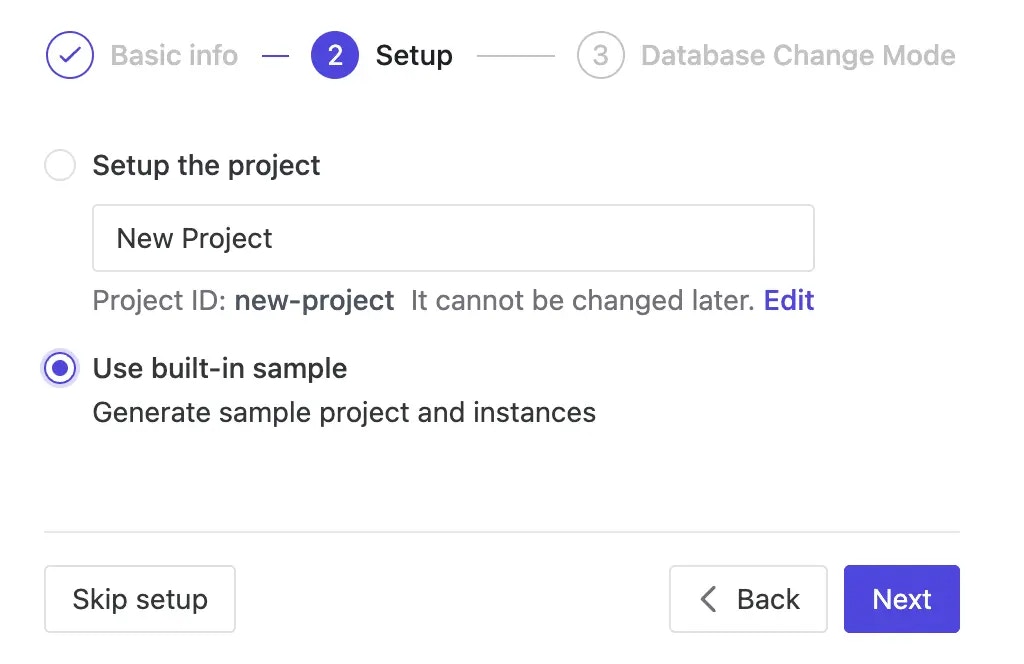
During workspace setup, choose the built-in sample data.
Case 1 - Sync schema to a new database
Use this when setting up a new environment or scaling out your database infrastructure.-
In
Sample Project, navigate to Database > Databases. You’ll seehr_test(Test) andhr_prod(Prod) databases. -
Click + New DB and configure:
- Name:
hr_prod_2 - Environment:
Prod - Instance:
Prod Sample Instance - Database owner name:
bbsample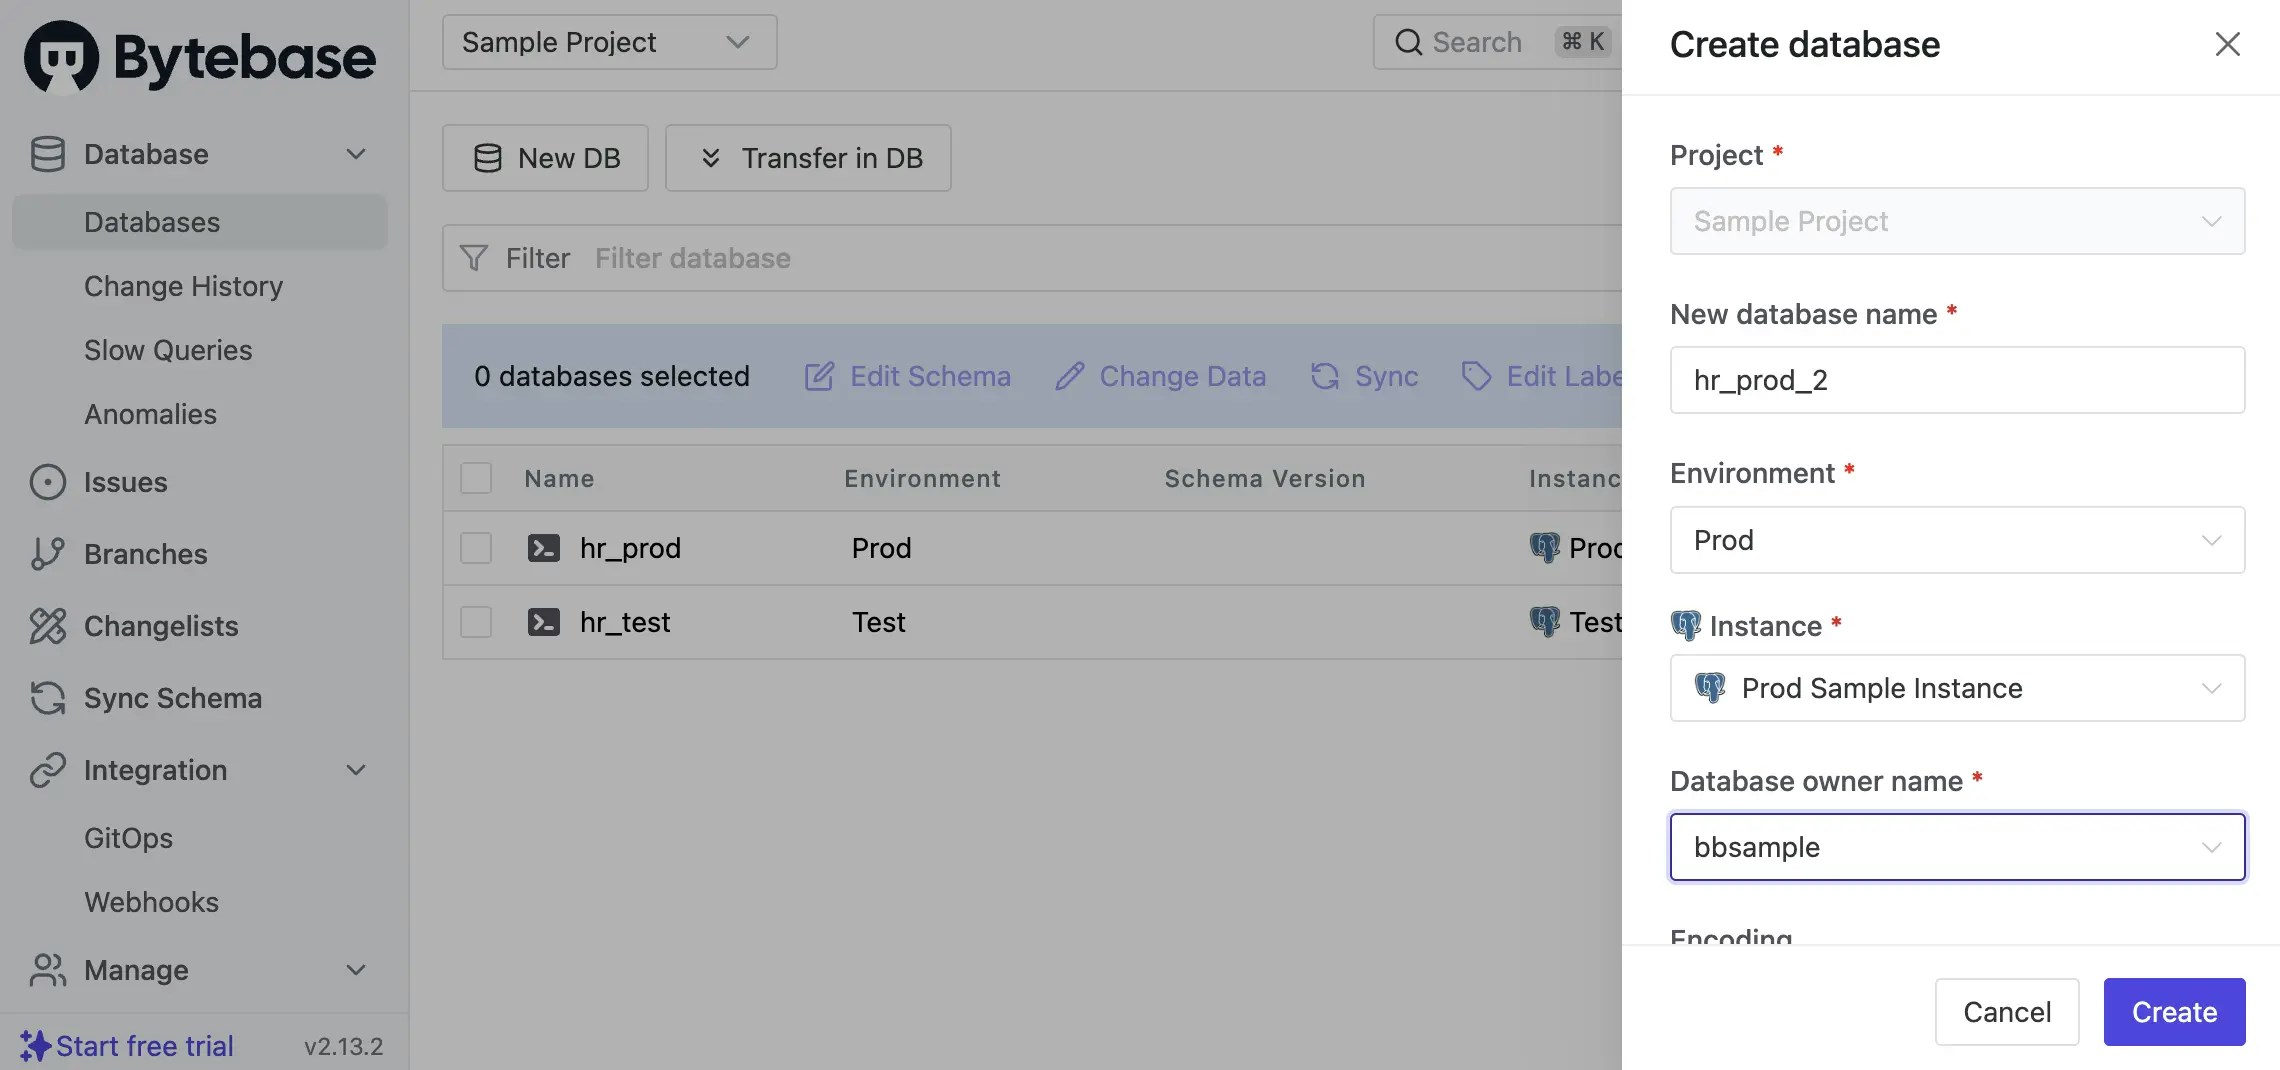
- Name:
-
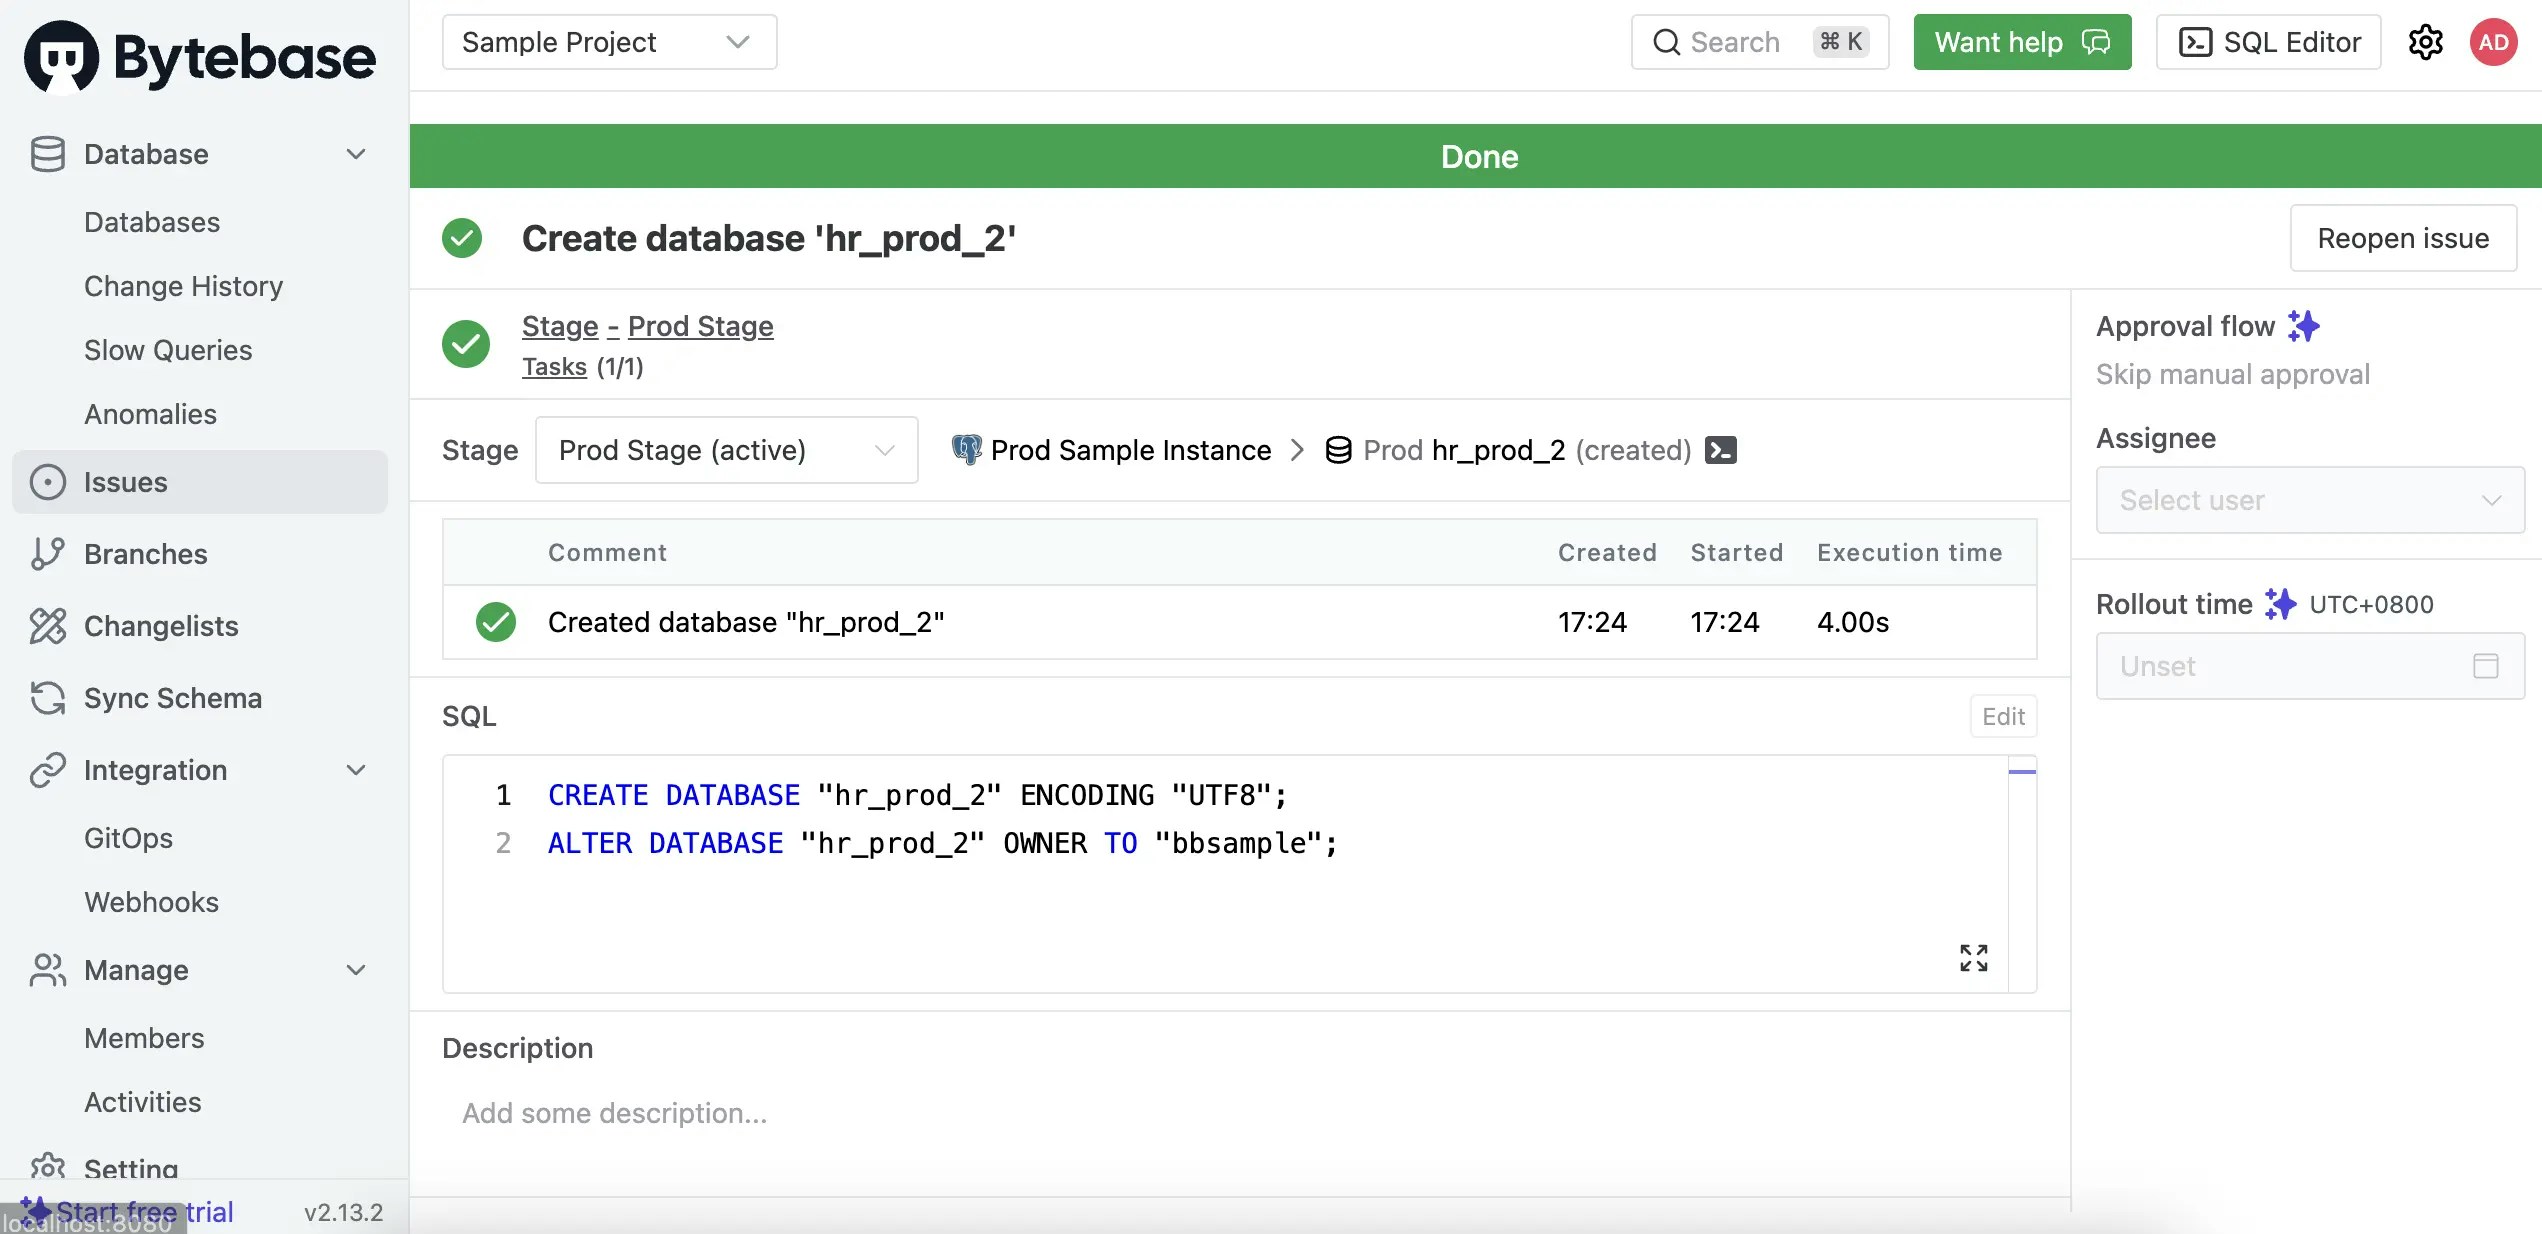
Click Create. An issue is created and executed automatically. Wait for it to complete.
-
Click Sync Schema in the left sidebar. Select
hr_prodas the source and click Next.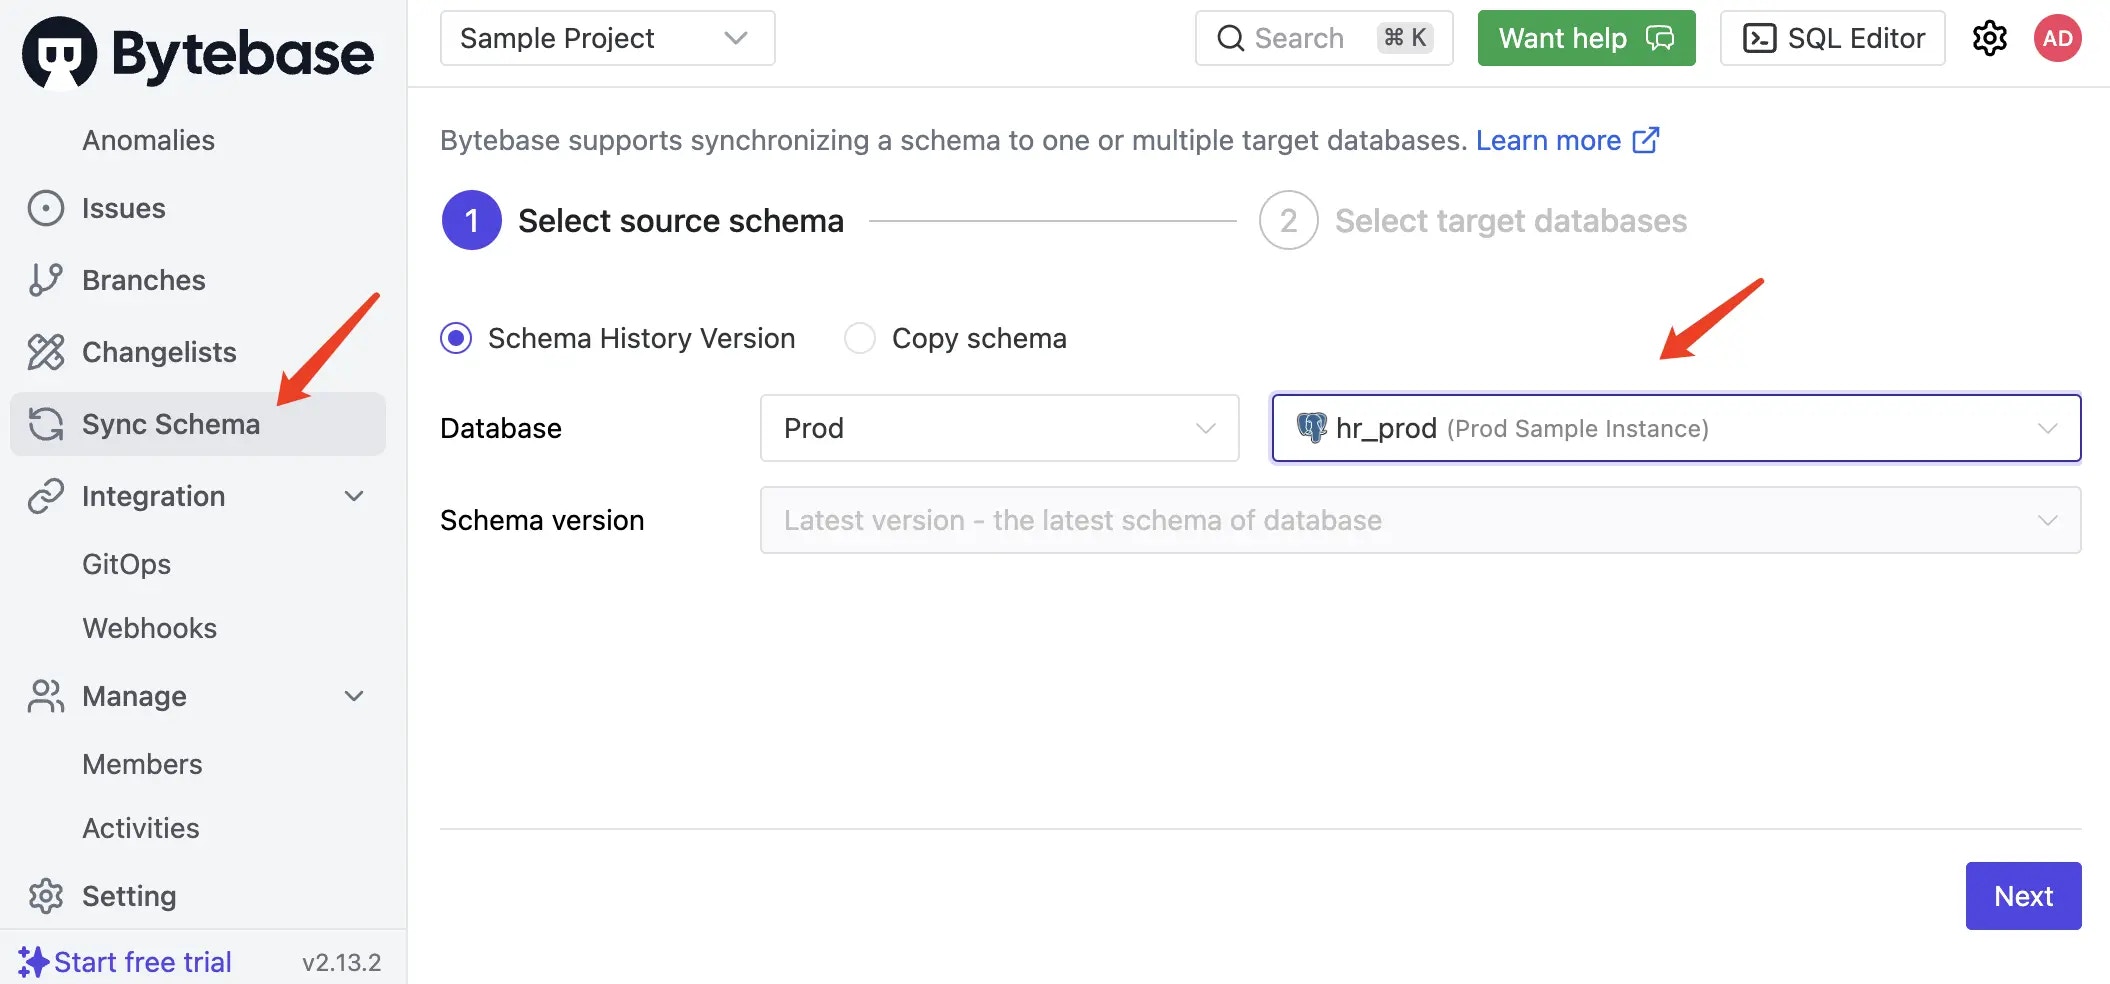
-
Select
hr_prod_2as the target database and click Select.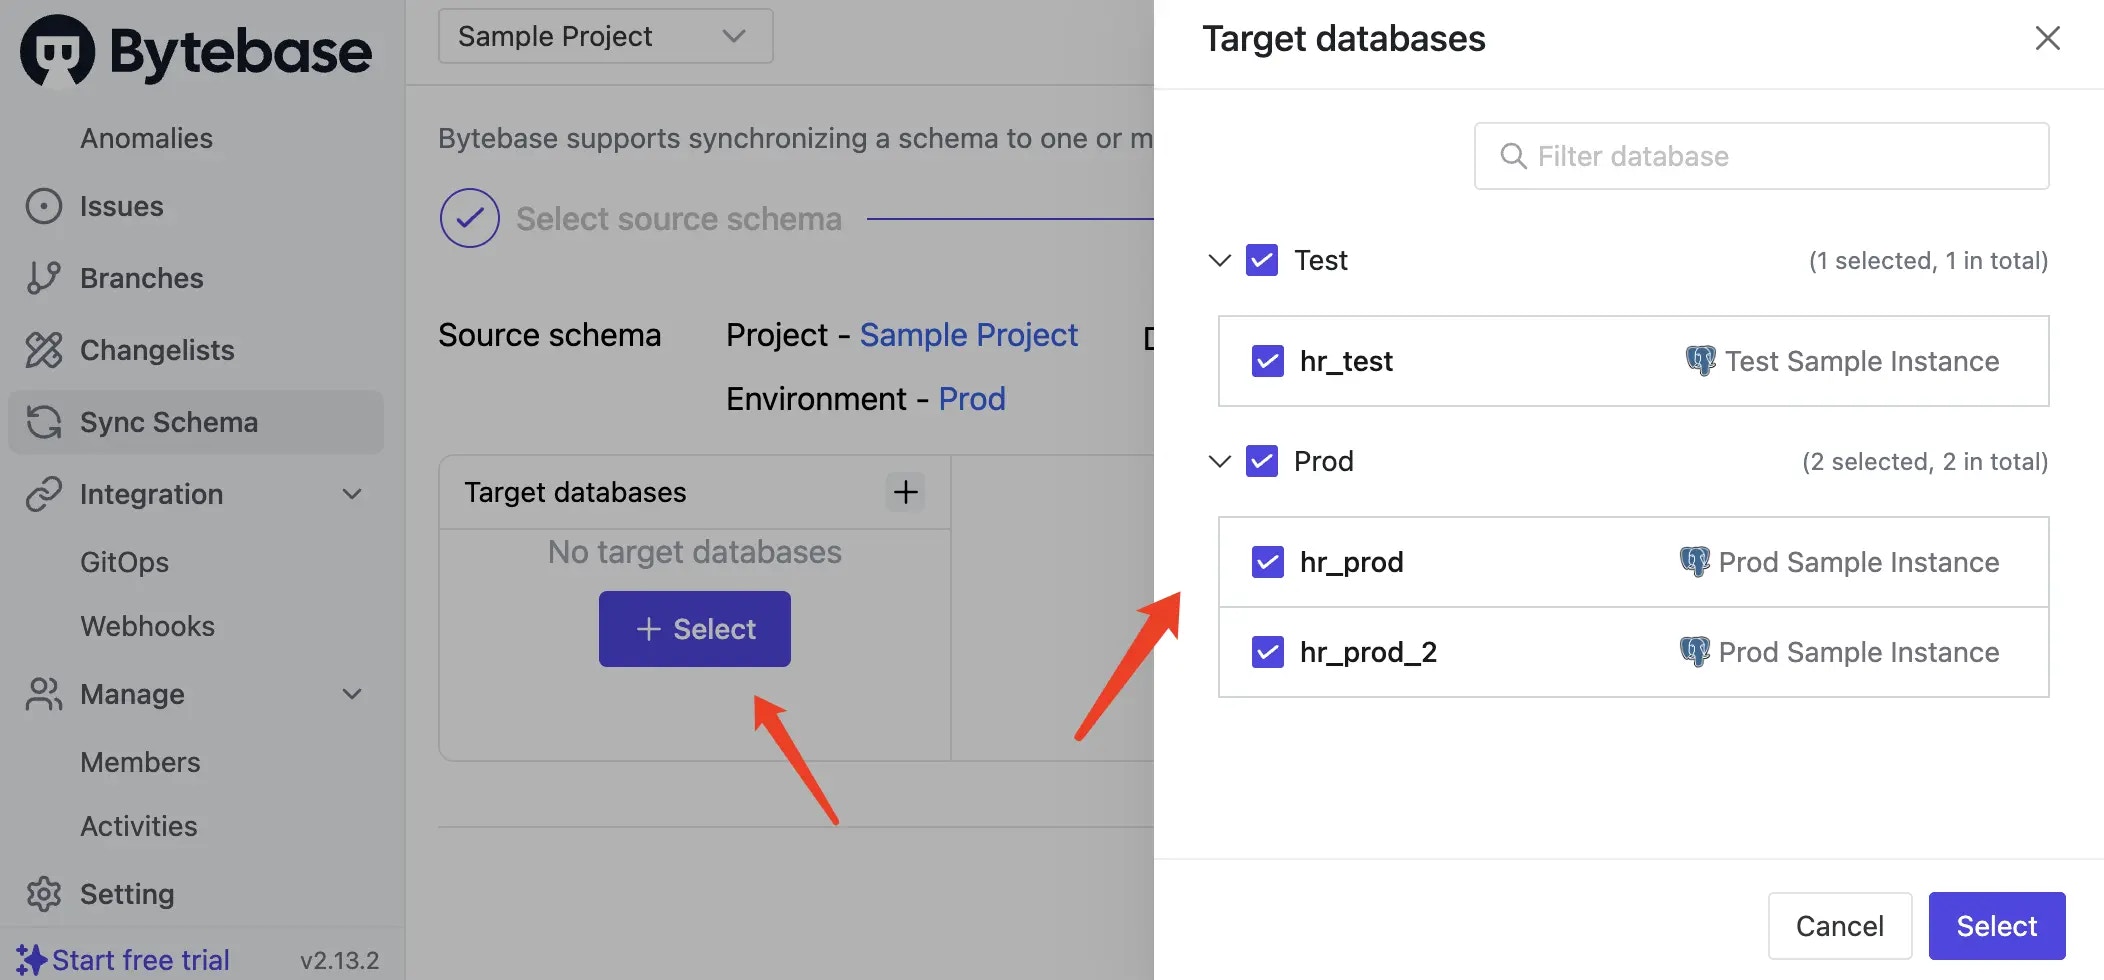
-
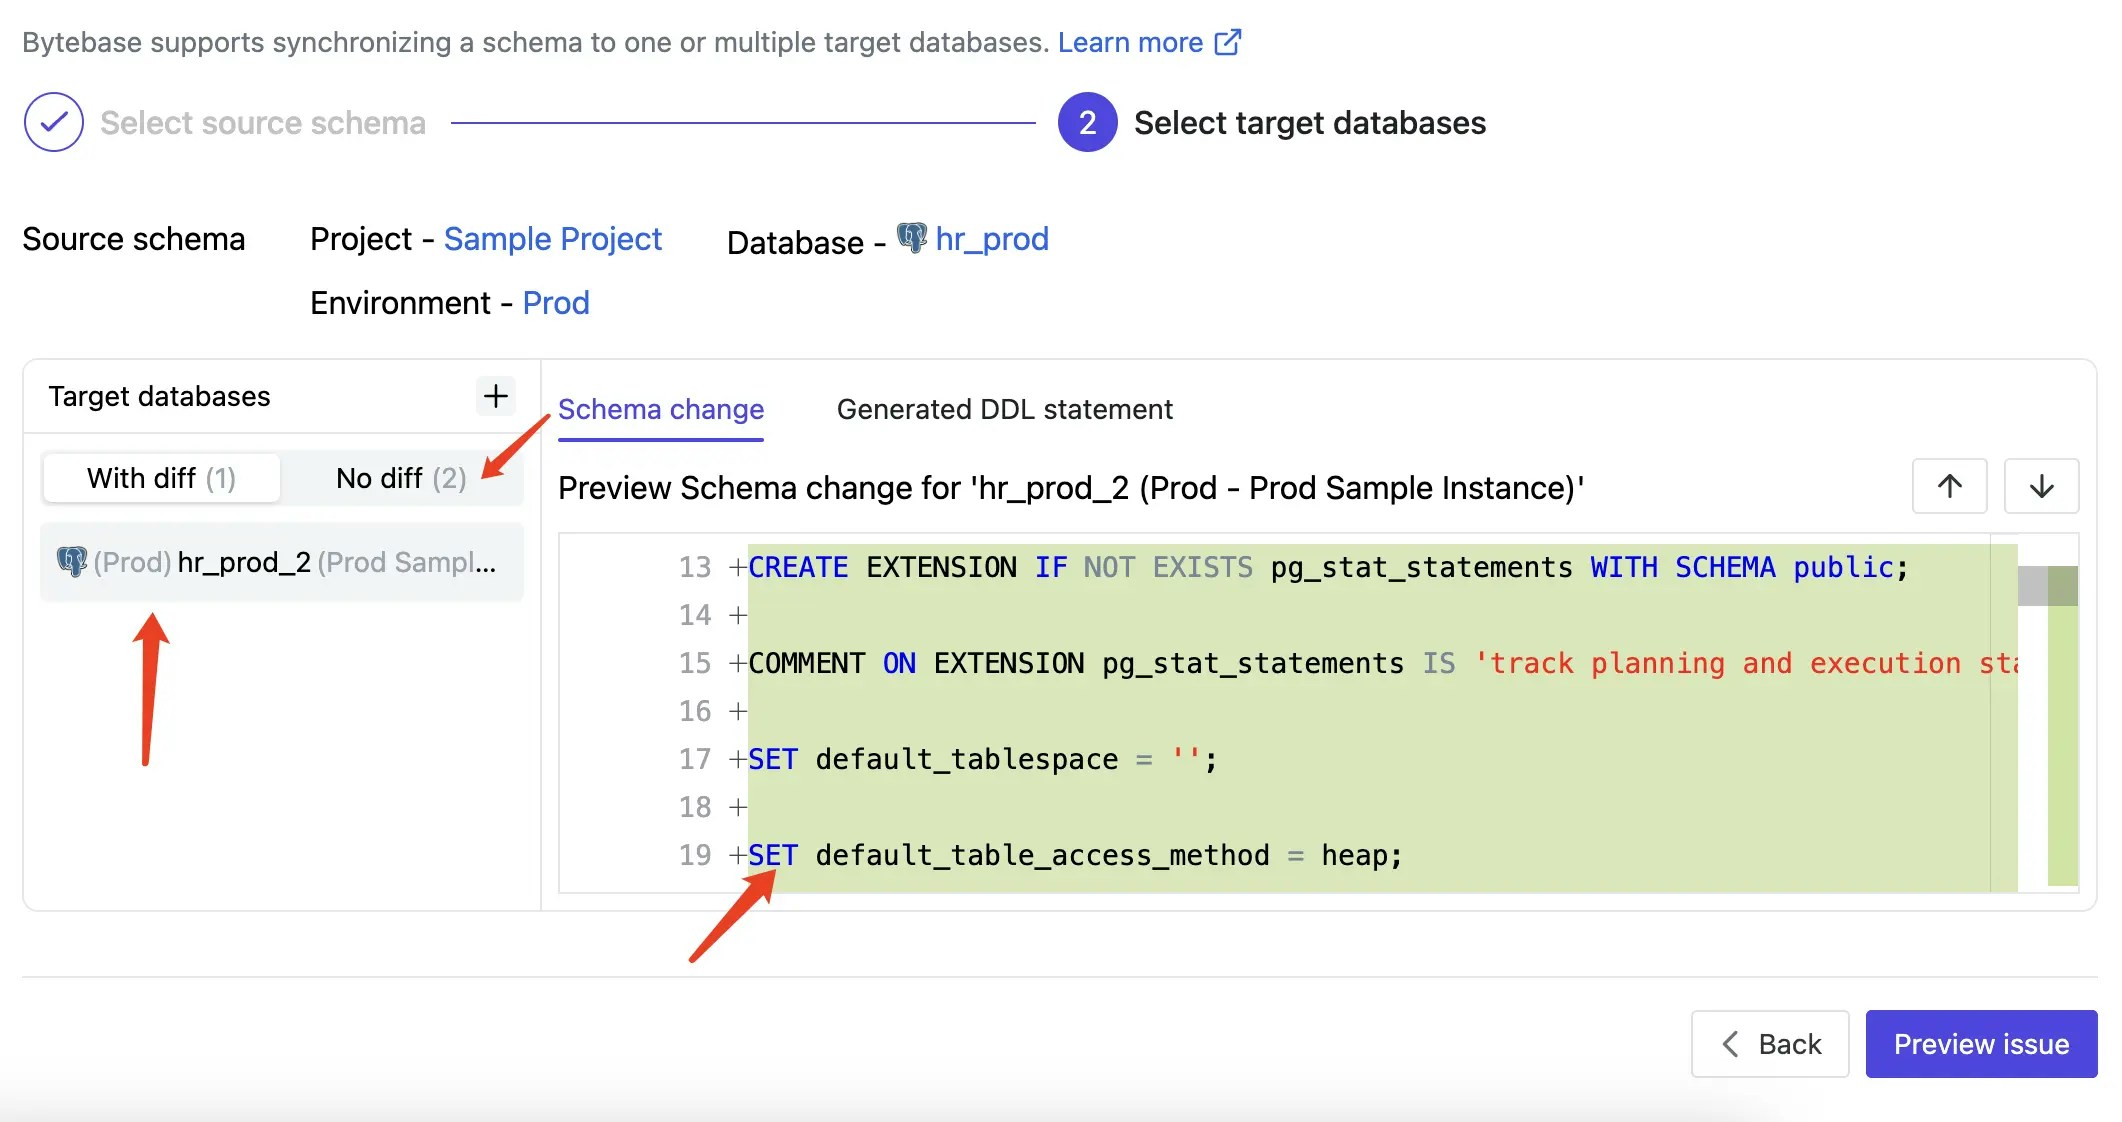
Review the calculated schema differences and generated DDL statements. Click Preview Issue.
- Click Create, then Ready for Review. Navigate to Rollout and click Run. The schema is now synchronized to the new database.
Case 2 - Sync schema from one to many
Use this for:- Promoting changes across environments (dev → staging → prod)
- Multi-tenant SaaS deployments
- Multi-region database synchronization
- Navigate to CI/CD > Plans and click + New Plan.
-
Select Schema Migration and choose only
hr_testas the target database. -
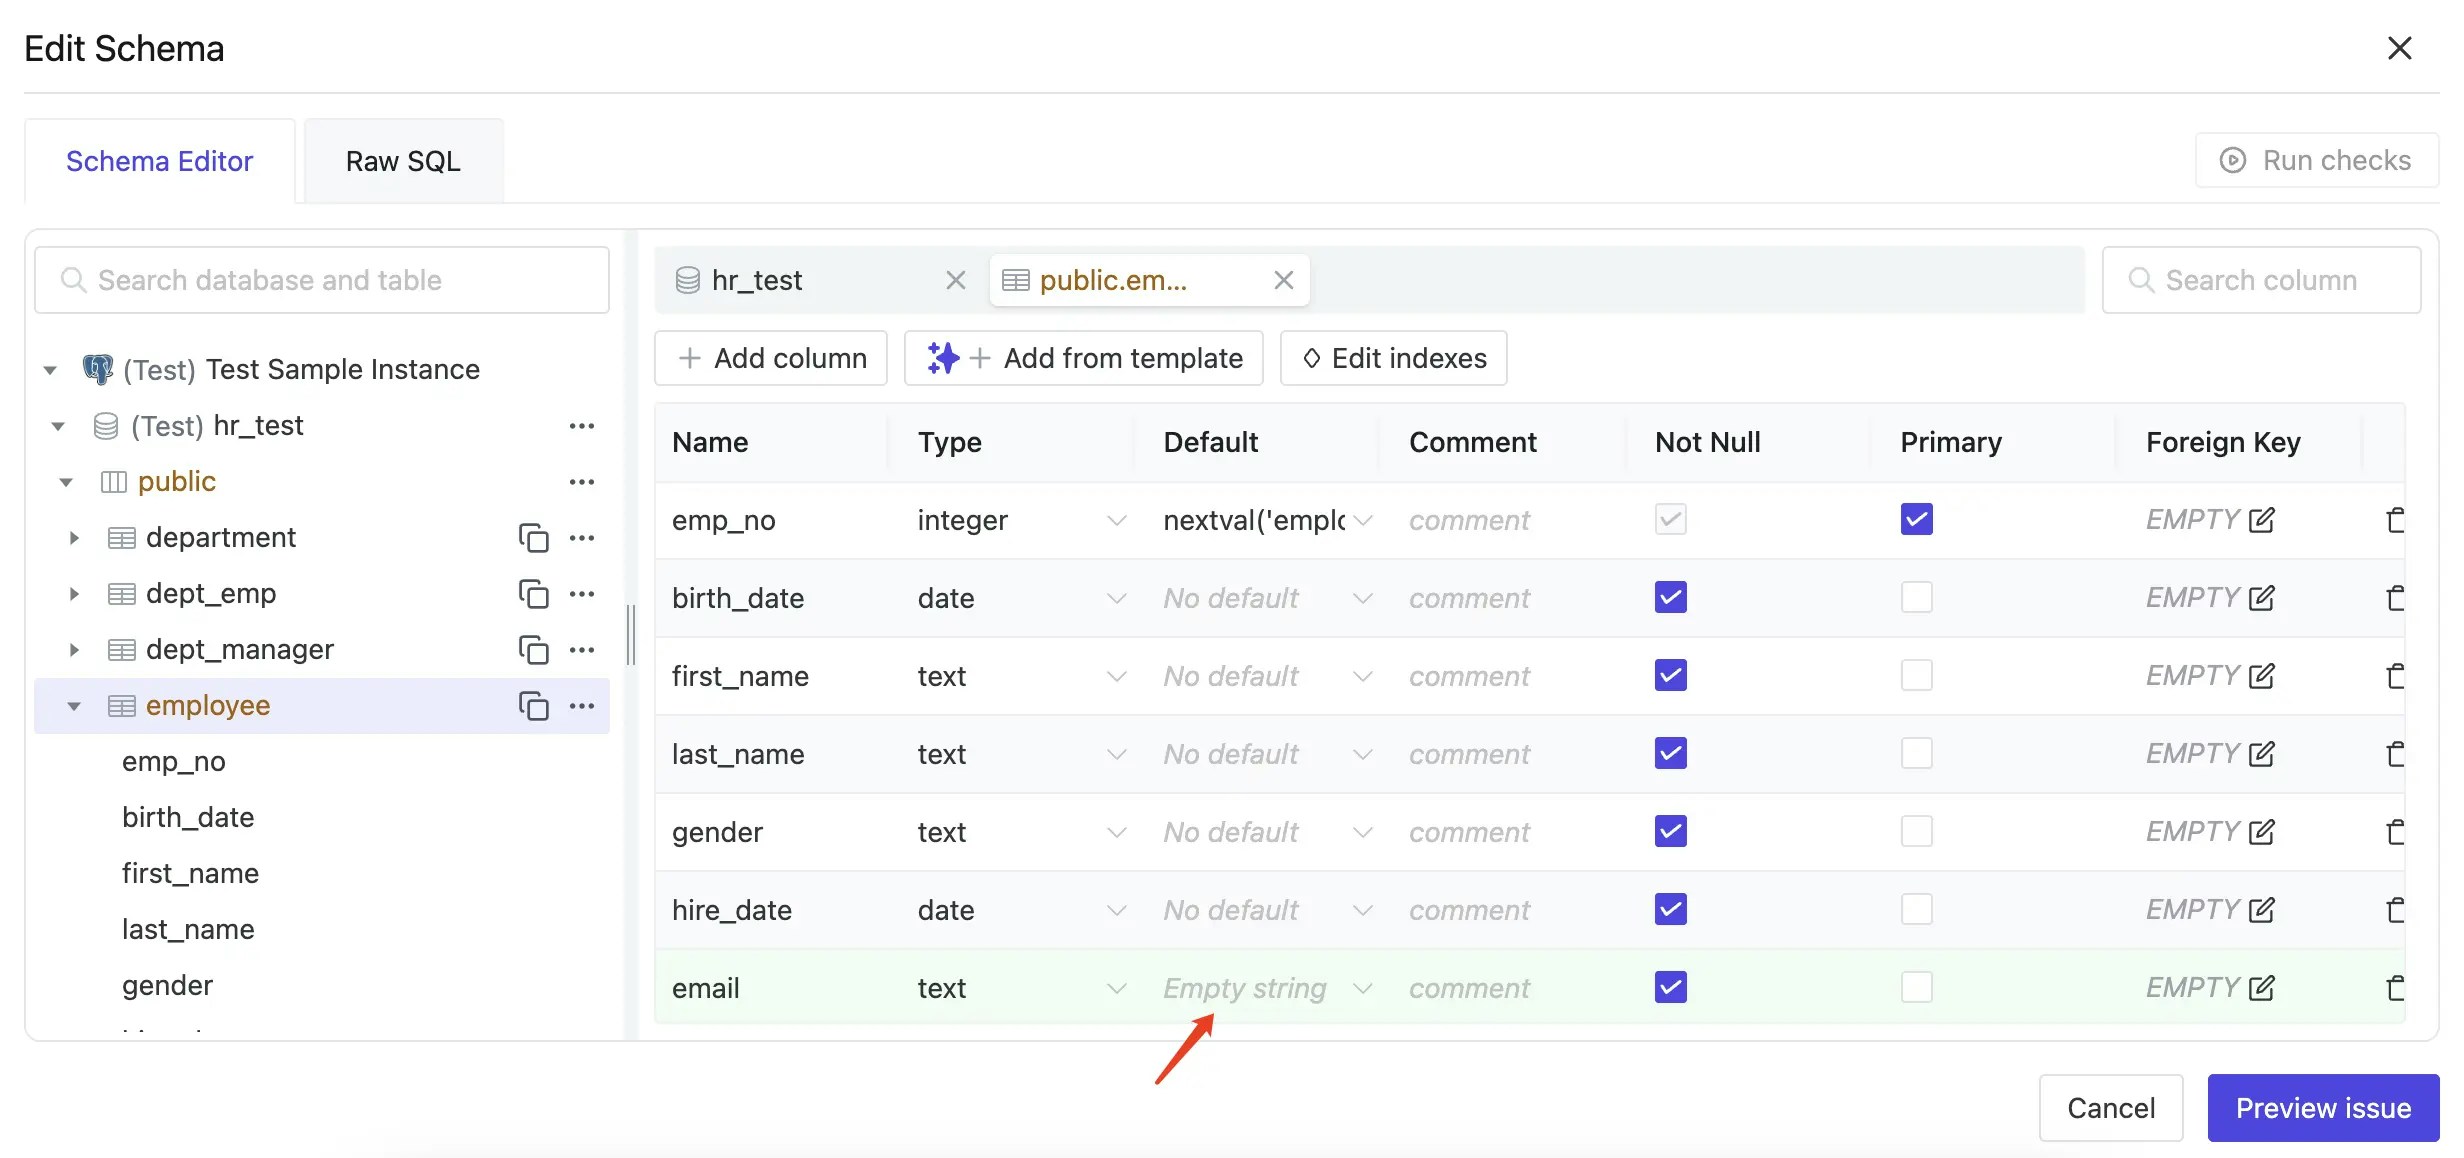
Use the Schema Editor to add a new column:
- Name:
email - Type:
text - Default:
Empty string - Not Null: checked
- Name:
- Click Create, then Ready for Review. Go to Rollout and click Run. Wait for completion.
-
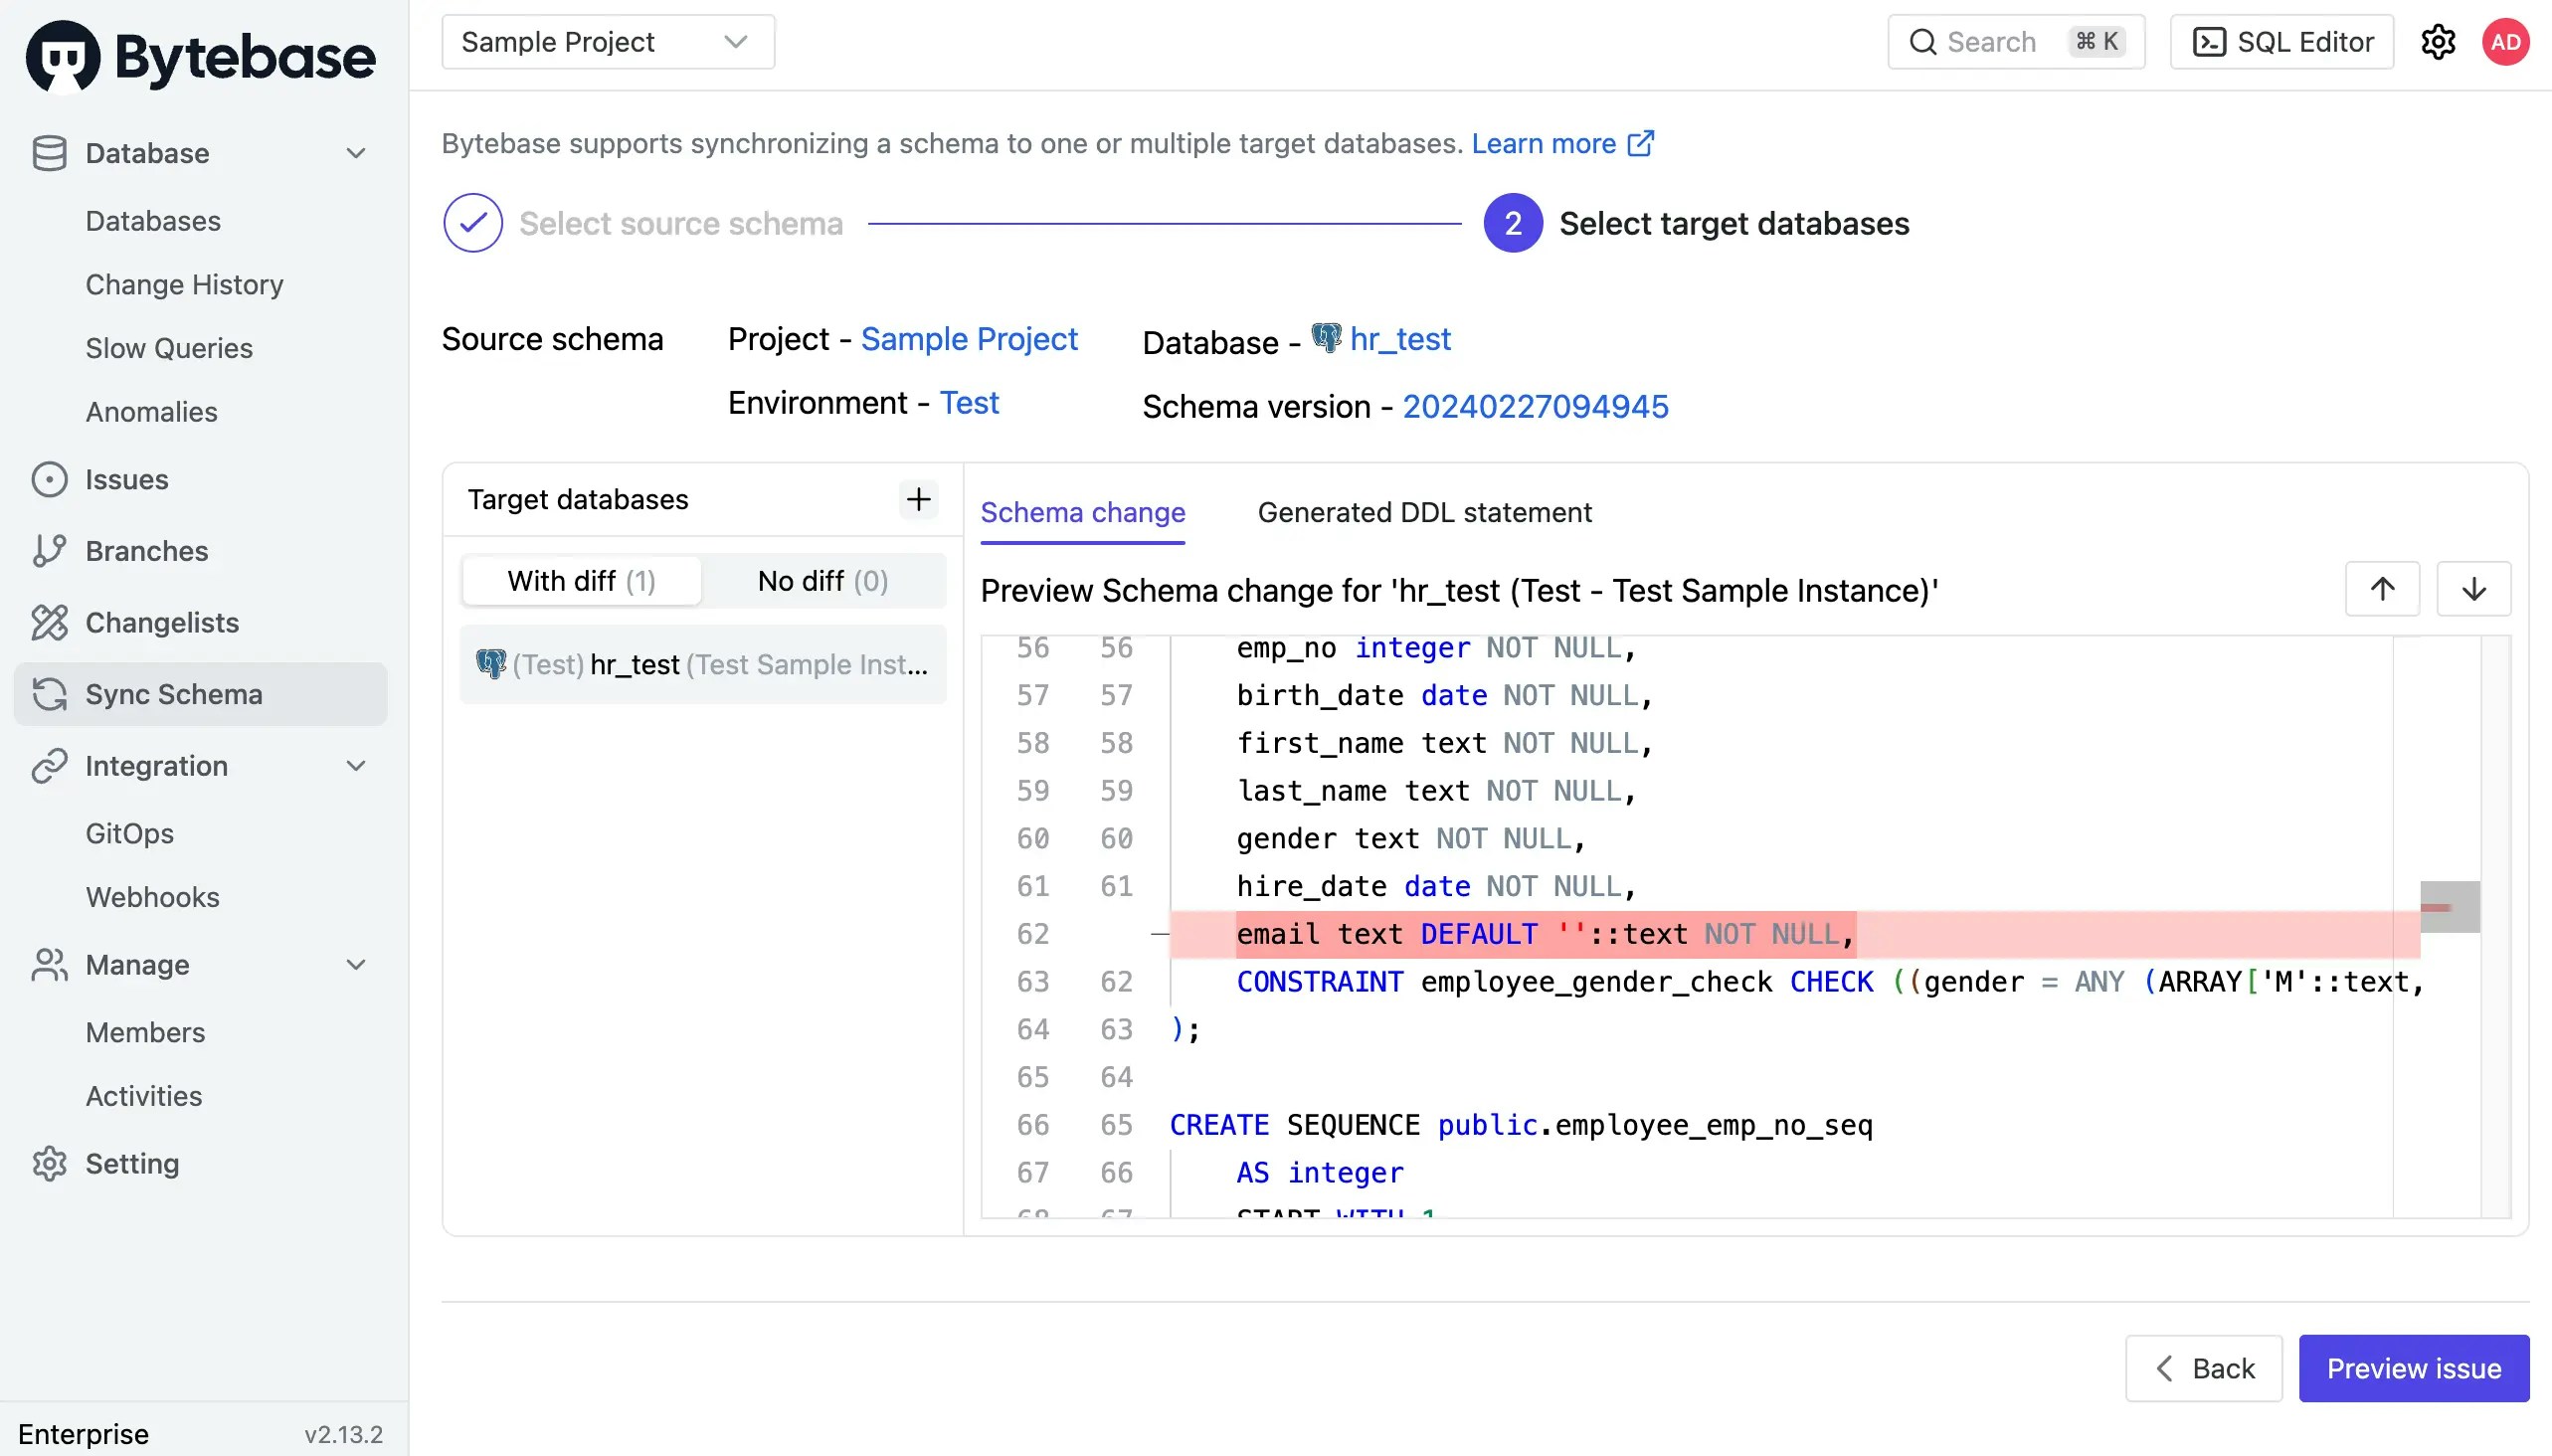
Click Sync Schema in the left sidebar. Select
hr_testas the source and click Next.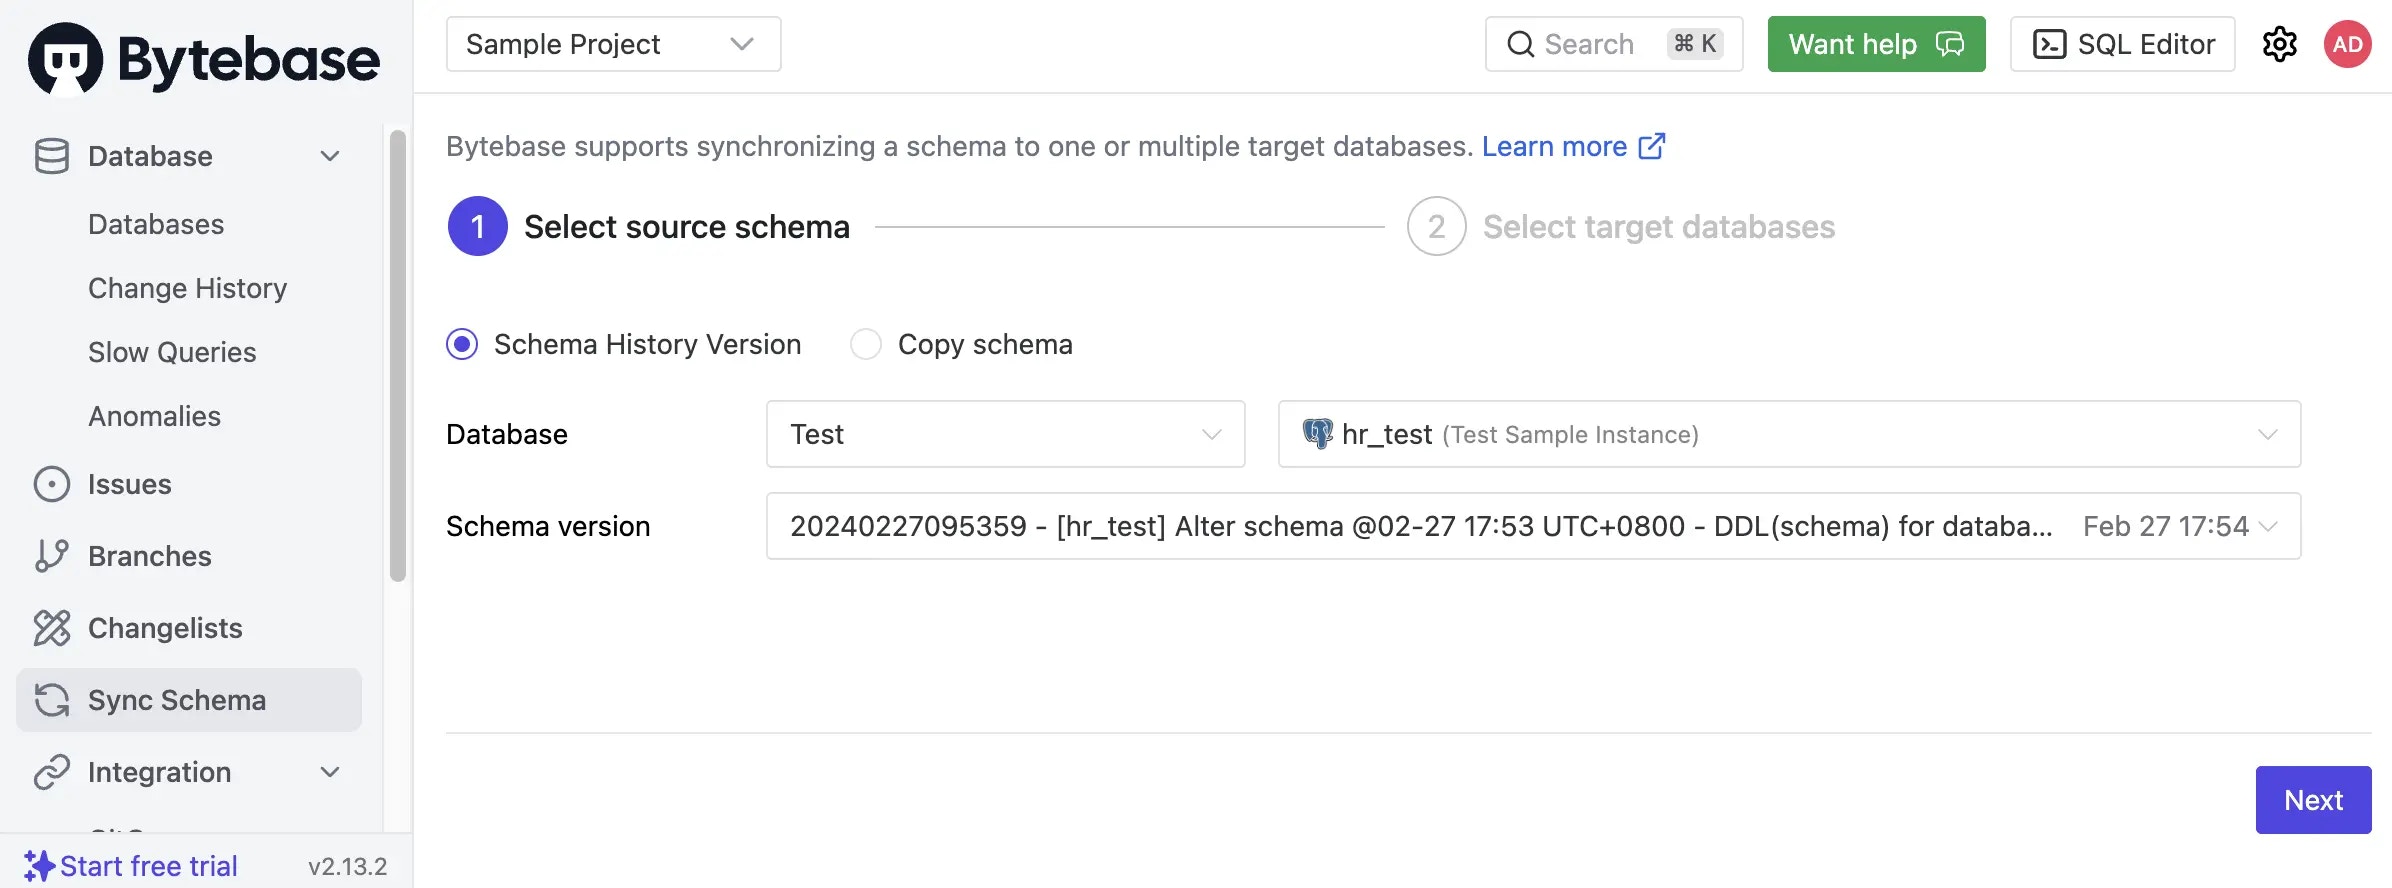
-
Select both
hr_prodandhr_prod_2as targets. Review the schema differences and click Preview issue.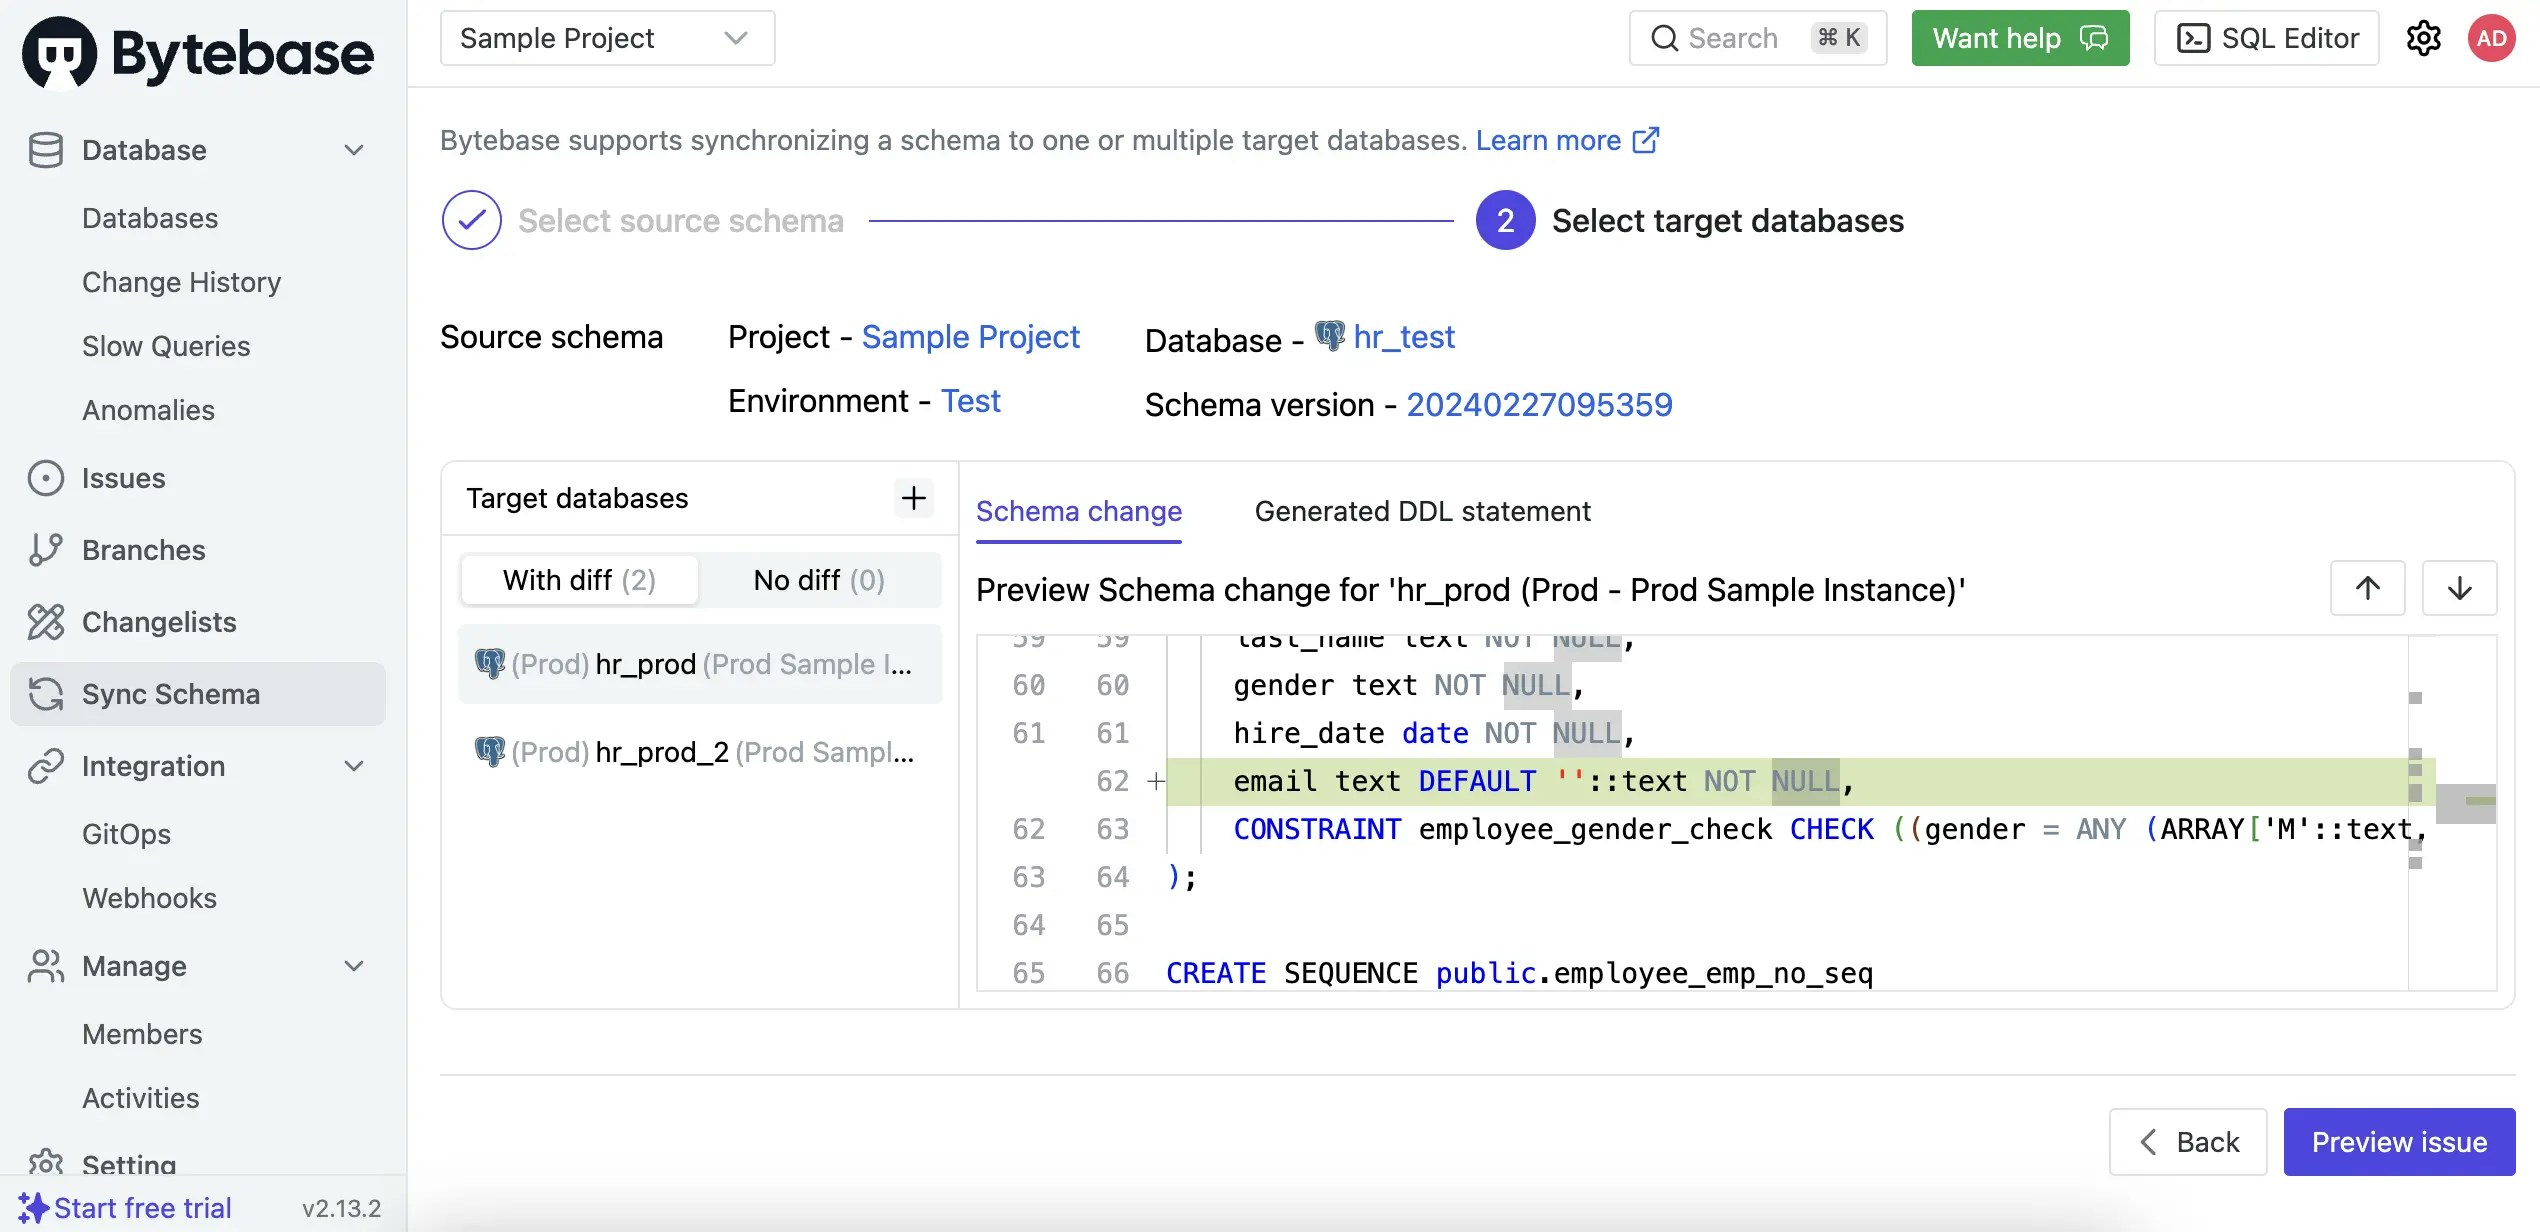
-
Click Create, then Ready for Review. Navigate to Rollout and click Run for each stage. The
emailcolumn is now synchronized to both production databases.
Case 3 - Rollback to previous schema versions
Use schema synchronization to roll back databases to any previous version from their migration history.-
Navigate to Sync Schema and select
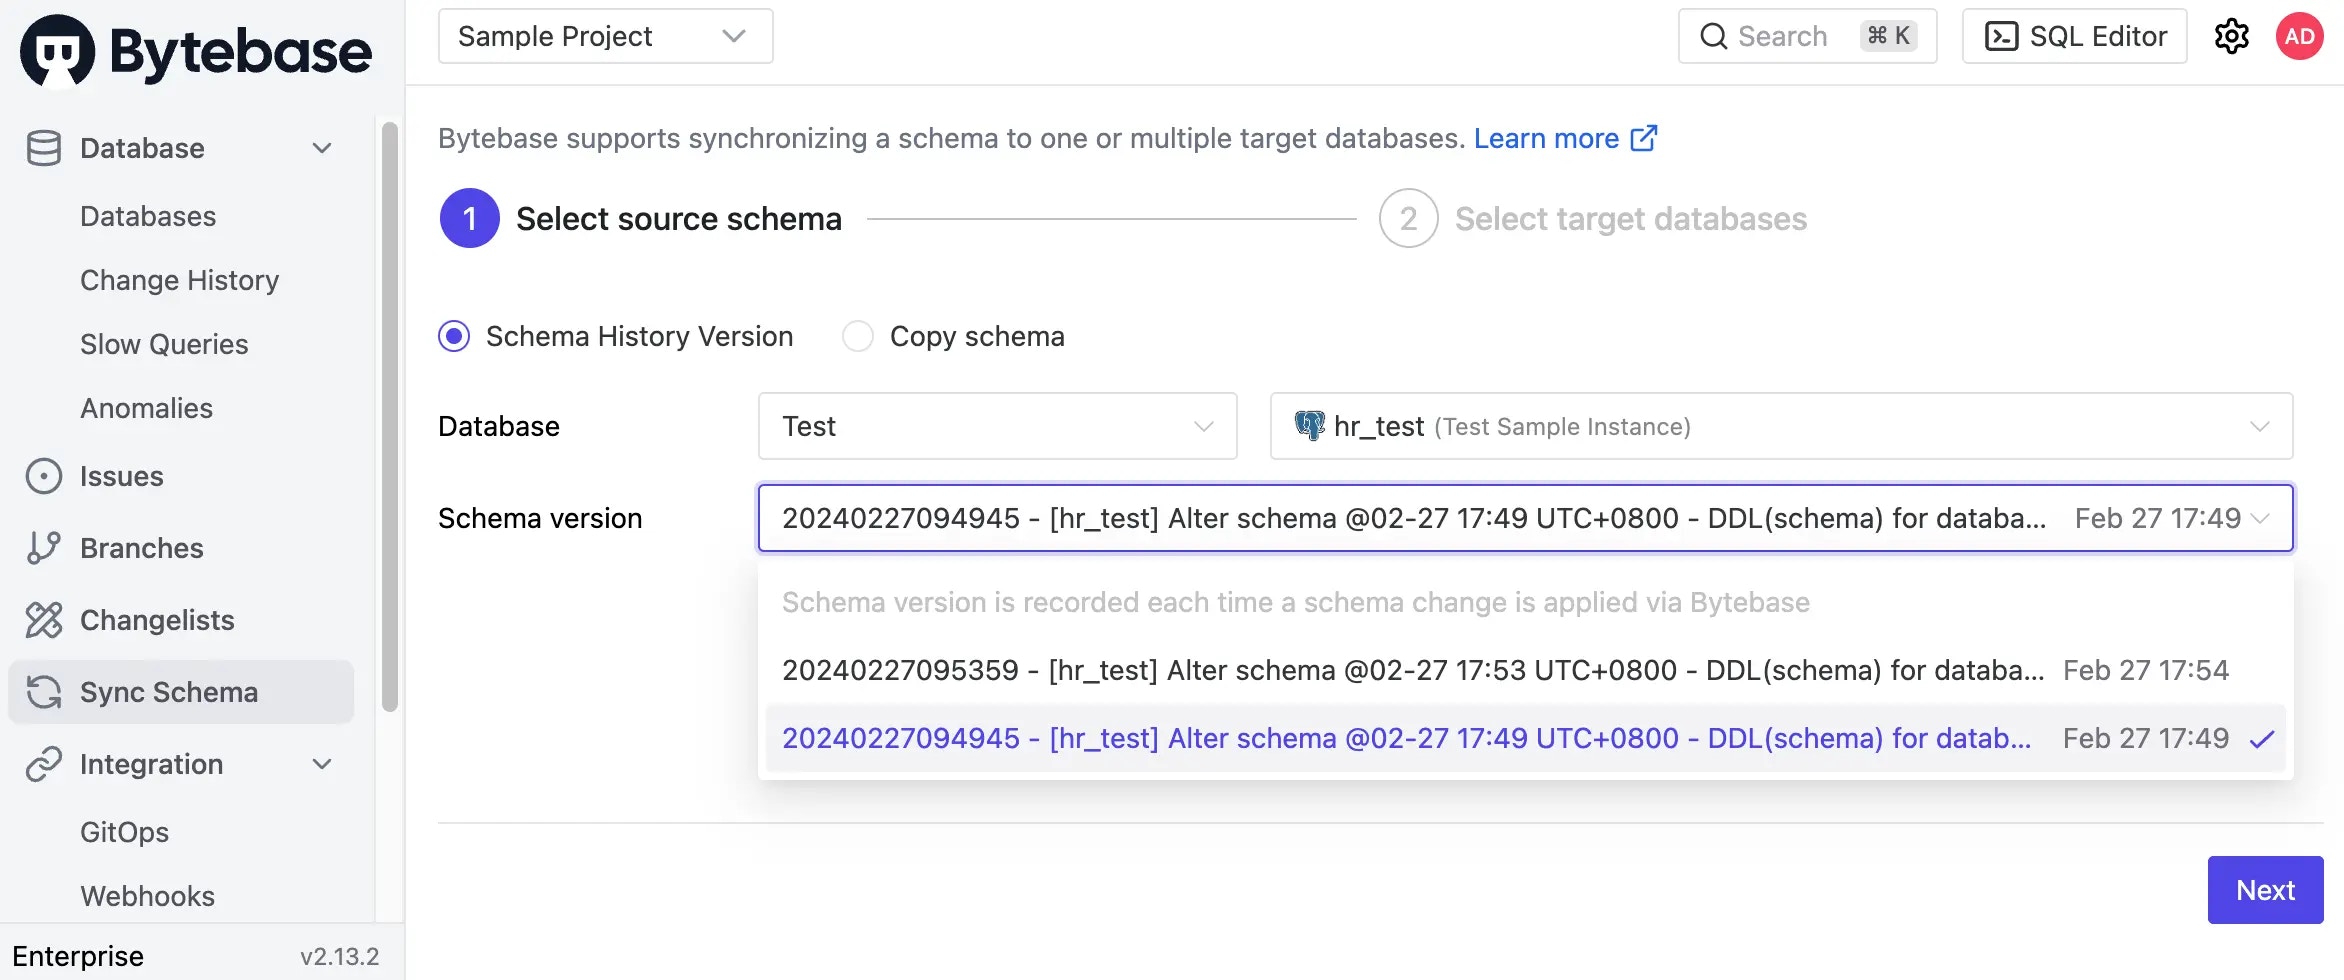
hr_testas the source database. -
Select a previous schema version from the dropdown and click Next.
-
Select
hr_testitself as the target (rolling back the same database) and click Select.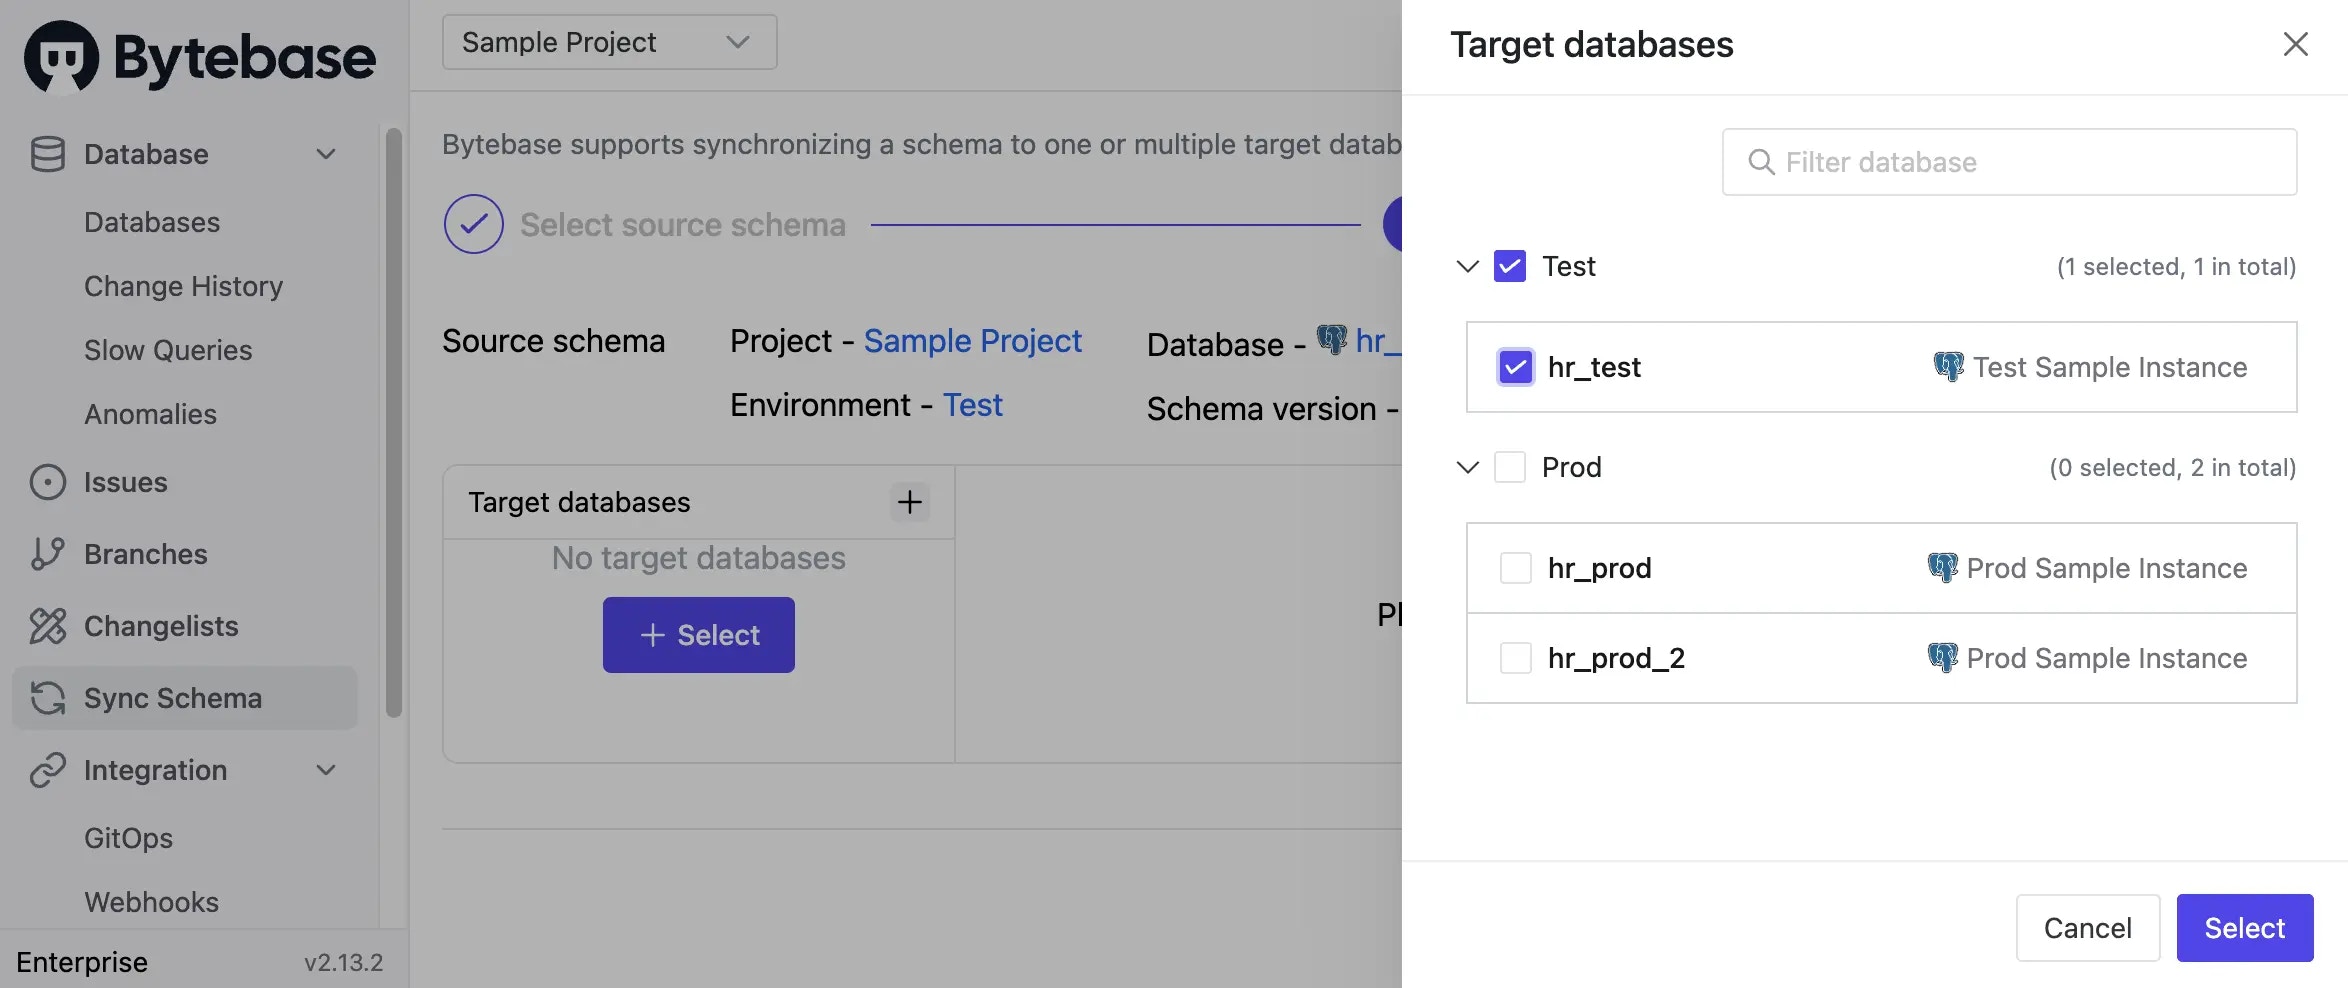
-
Review the rollback changes. The DDL will show what needs to be removed or modified. Click Preview Issue.
- Click Create, then Ready for Review. Navigate to Rollout and click Run. The schema successfully rolls back to the selected version.
Summary
You’ve learned how to:- Synchronize schemas to new databases
- Propagate changes across multiple environments
- Roll back to previous schema versions
Next steps
- Learn about batch changes
- Explore GitOps integration