

- Part 1: Manage Environments with Terraform - Set up environments with policies
- Part 2: Manage Databases with Terraform - Register database instances
- Part 3: Manage Projects with Terraform 👈
- Part 4: Manage Bytebase Settings with Terraform - Configure workspace profile and approval policies
- Part 5: Manage SQL Review Rules with Terraform - Define SQL review policies
- Part 6: Manage Users and Groups with Terraform - Configure users and groups
- Part 7: Manage Database Access Control with Terraform - Grant database permissions
- Part 8: Manage Data Masking with Terraform - Protect sensitive data
This tutorial series uses separate Terraform files for better organization. Files are numbered by tutorial part and sub-step (e.g., 1-1-env-setting.tf, 1-2-env-policy-rollout.tf for Part 1, 2-instances.tf for Part 2, etc.). Terraform automatically handles dependencies between files.
What You’ll Learn
In this tutorial, you’ll learn how to:- Organize databases into logical project groups for better management
- Configure project-specific settings and policies
- Set up webhooks for project notifications
- Choose between dynamic and explicit database assignment patterns
Prerequisites
Before starting this tutorial, ensure you have:- Completed Part 1: Manage Environments with Terraform and Part 2: Manage Databases with Terraform
- Access to the built-in
Test Sample InstanceandProd Sample Instancefrom Bytebase sample data - Your Terraform workspace from the previous tutorials
Step 1 - Understand Current Setup
From the previous tutorials, your Bytebase workspace contains:- Test instance: Contains
hr_testandpostgresdatabases - Prod instance: Contains
hr_prodandpostgresdatabases
hr_test and hr_prod databases are assigned to the default Sample Project, while the postgres databases remain unassigned. You can verify this by navigating to Databases in the left sidebar. We’ll now organize these databases into dedicated projects for better management.
Step 2 - Create Projects
Create
3-projects.tf:
3-projects.tf
The configuration above demonstrates project-level settings including webhook notifications. For a complete list of available project configurations, refer to the Terraform provider documentation.You can also configure SQL review policies at the project level. Learn more in Part 5: Manage SQL Review Rules with Terraform.
Database Assignment Patterns
Choose the appropriate pattern based on your project’s needs:Dynamic Assignment
- Automatically includes all databases from a specified instance
- Best for: Development and testing environments where databases change frequently
- Benefit: Self-maintaining as new databases are automatically included
Explicit Assignment
- Manually specify each database by its full path
- Best for: Production environments requiring precise control
- Benefit: Granular control over which databases belong to the project
Step 3 - Apply Configuration
Step 4 - Verify Projects
- Navigate to Projects in the Bytebase GUI.
-
You should now see three projects organized as follows:
- Sample Project (original default project, now empty after database migration)
-
Project One (contains both
hr_testandpostgresdatabases fromTest Sample Instance)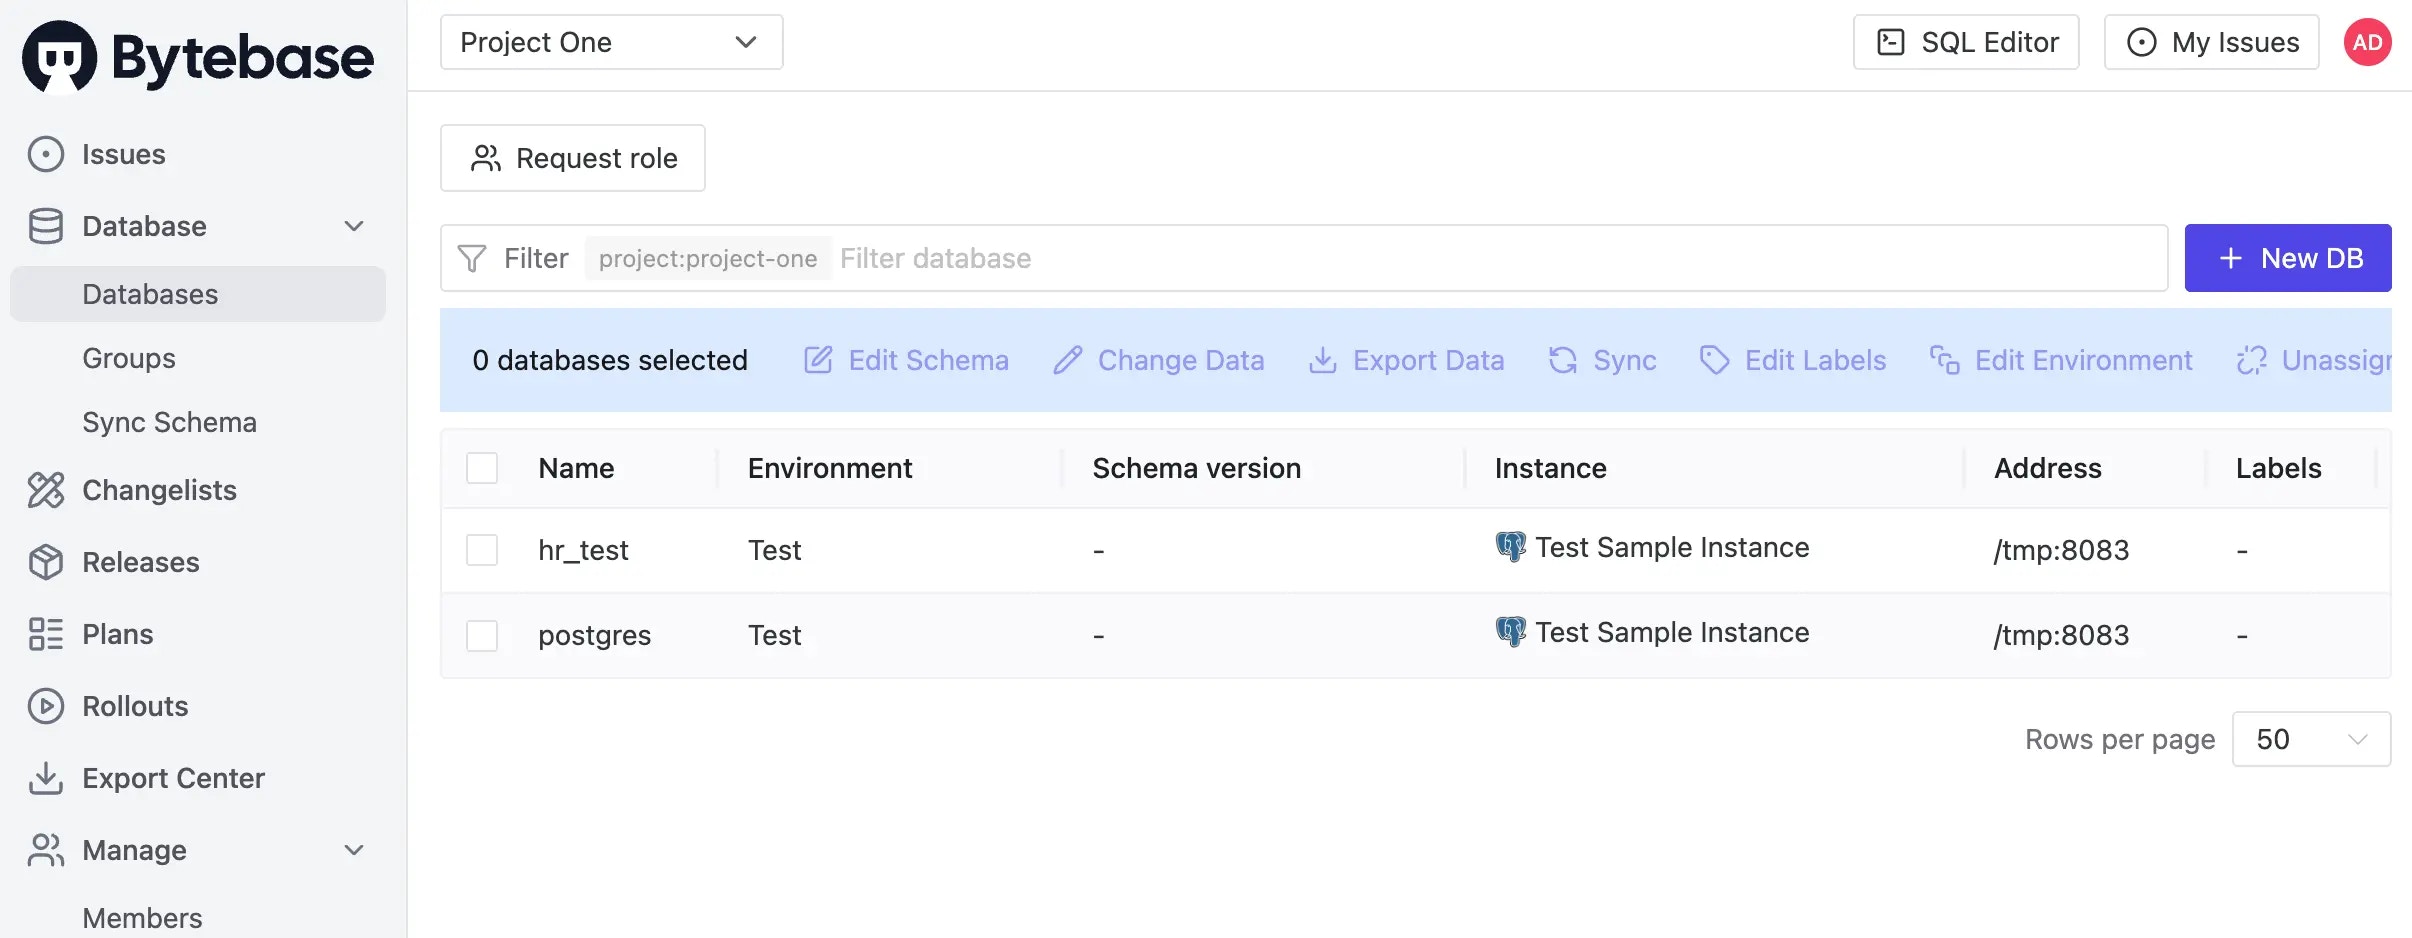
-
Project Two (contains the
hr_proddatabase fromProd Sample Instance)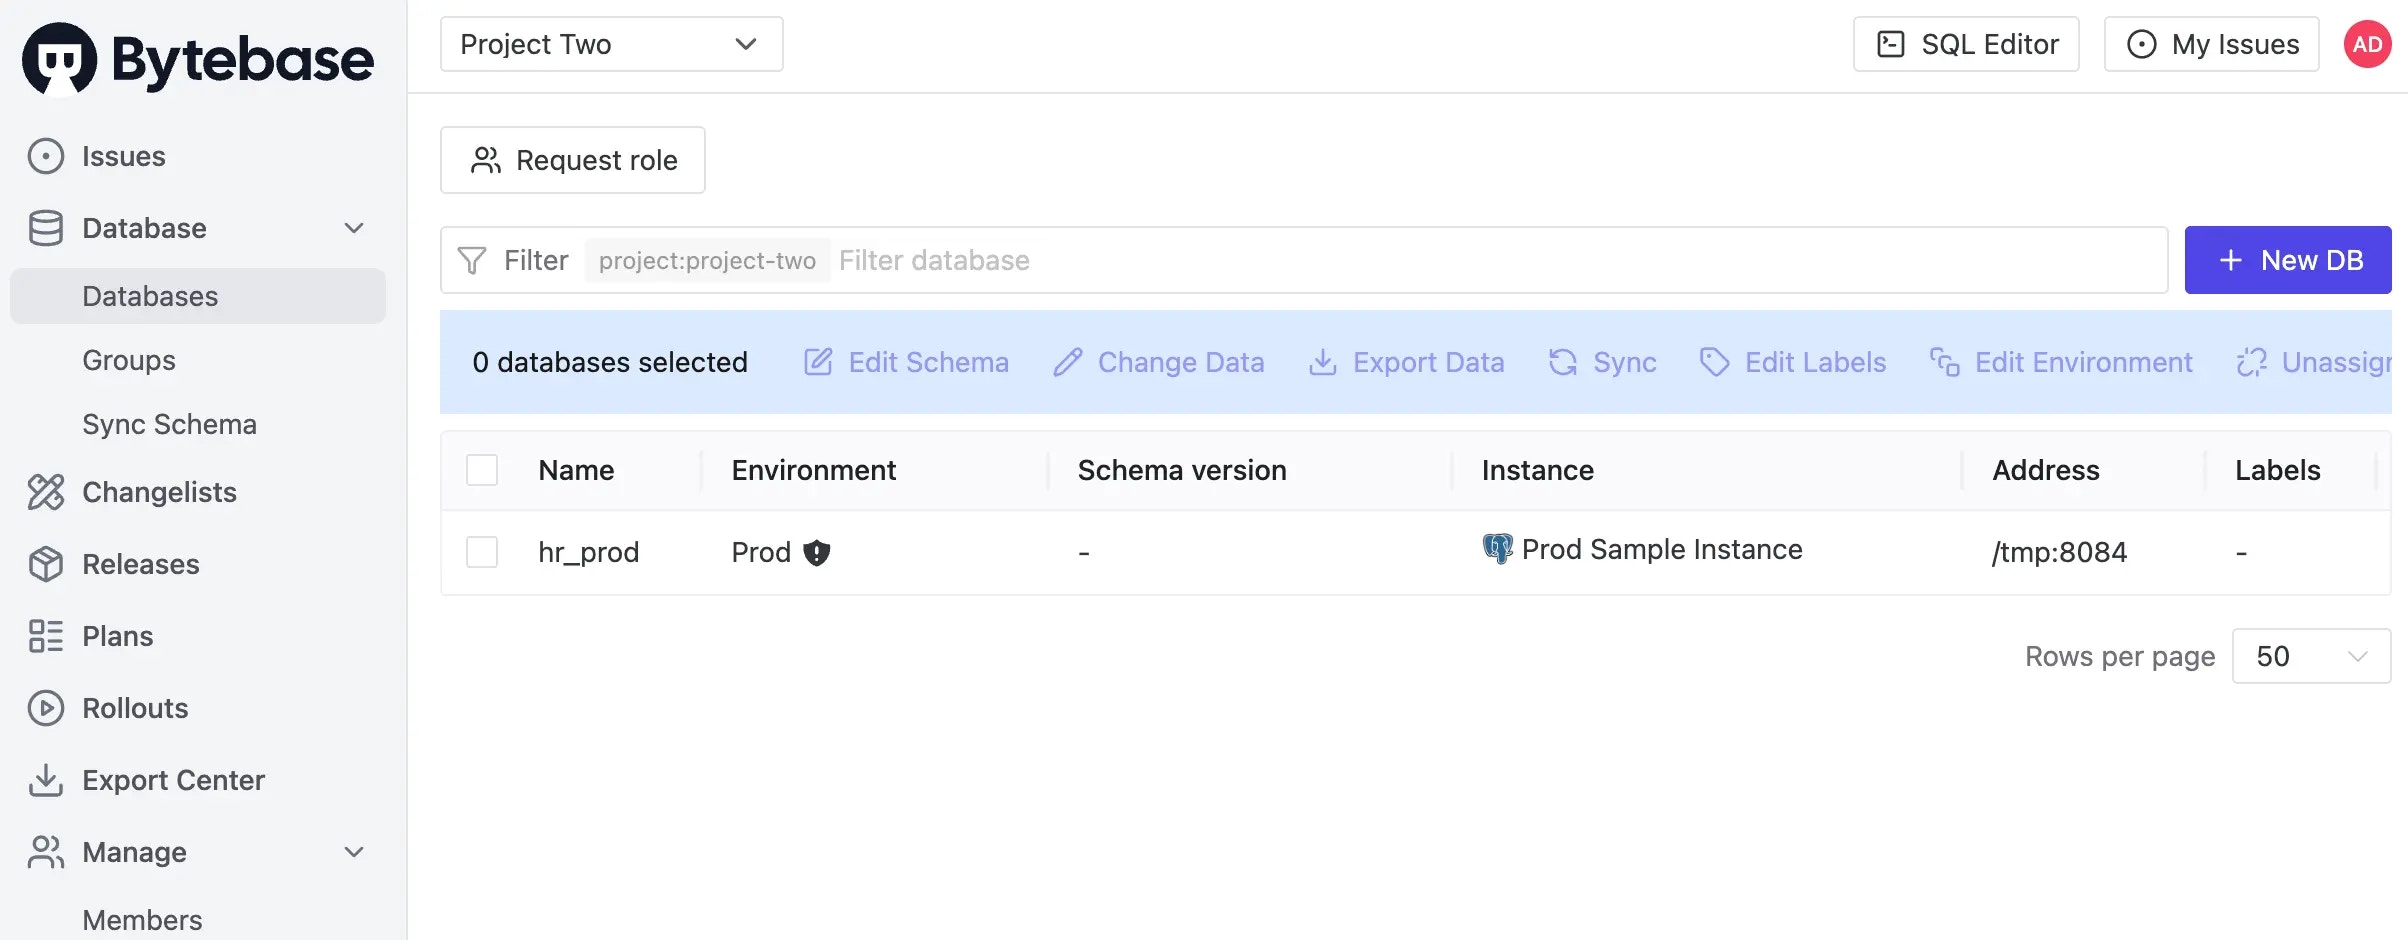
- Click on Project One and navigate to Settings to review the configurations you’ve applied.
- Click Webhooks and you’ll see the webhook you set.
Summary and Next Steps
Congratulations! You’ve successfully organized your databases into logical projects. Here are the key concepts you’ve learned:- Project Organization: Projects serve as logical containers that group related databases for improved management and governance
- Assignment Flexibility: Choose between dynamic assignment (automatic inclusion) for development environments or explicit assignment (manual control) for production
- Cross-Environment Projects: Projects can span multiple environments, though it’s often better to separate test and production databases into different projects
- Project Configuration: Customize project behavior with settings like SQL review enforcement, issue approval requirements, and access controls
- Notification Integration: Set up webhooks to keep your team informed about project activities through Slack or other channels