- Part 1: Manage Environments with Terraform 👈
- Part 2: Manage Databases with Terraform - Register database instances
- Part 3: Manage Projects with Terraform - Organize databases into projects
- Part 4: Manage Bytebase Settings with Terraform - Configure workspace profile and approval policies
- Part 5: Manage SQL Review Rules with Terraform - Define SQL review policies
- Part 6: Manage Users and Groups with Terraform - Configure users and groups
- Part 7: Manage Database Access Control with Terraform - Grant database permissions
- Part 8: Manage Data Masking with Terraform - Protect sensitive data
This tutorial series uses separate Terraform files for better organization. Files are numbered by tutorial part and sub-step (e.g., 1-1-env-setting.tf, 1-2-env-policy-rollout.tf for Part 1, 2-instances.tf for Part 2, etc.). Terraform automatically handles dependencies between files.
What You’ll Learn
In this tutorial, you’ll use Terraform to manage Bytebase environments programmatically. You’ll learn how to:- Define environments (Test, Prod) with different protection levels
- Configure automatic vs manual deployment policies
- Set up data access restrictions for production
- Manage everything via Infrastructure as Code (IaC)
Prerequisites
Before starting this tutorial, ensure you have:- Docker: Install Docker to run Bytebase
- Terraform: Install Terraform (version 1.0+)
- Bytebase Enterprise Plan (optional): For advanced features
Step 1 - Setup
Install Terraform
Follow the official Terraform installation guide.Start Bytebase
-
Run Bytebase in Docker:
-
Access Bytebase at
http://localhost:8080. -
Register an admin account with
Workspace Adminrole.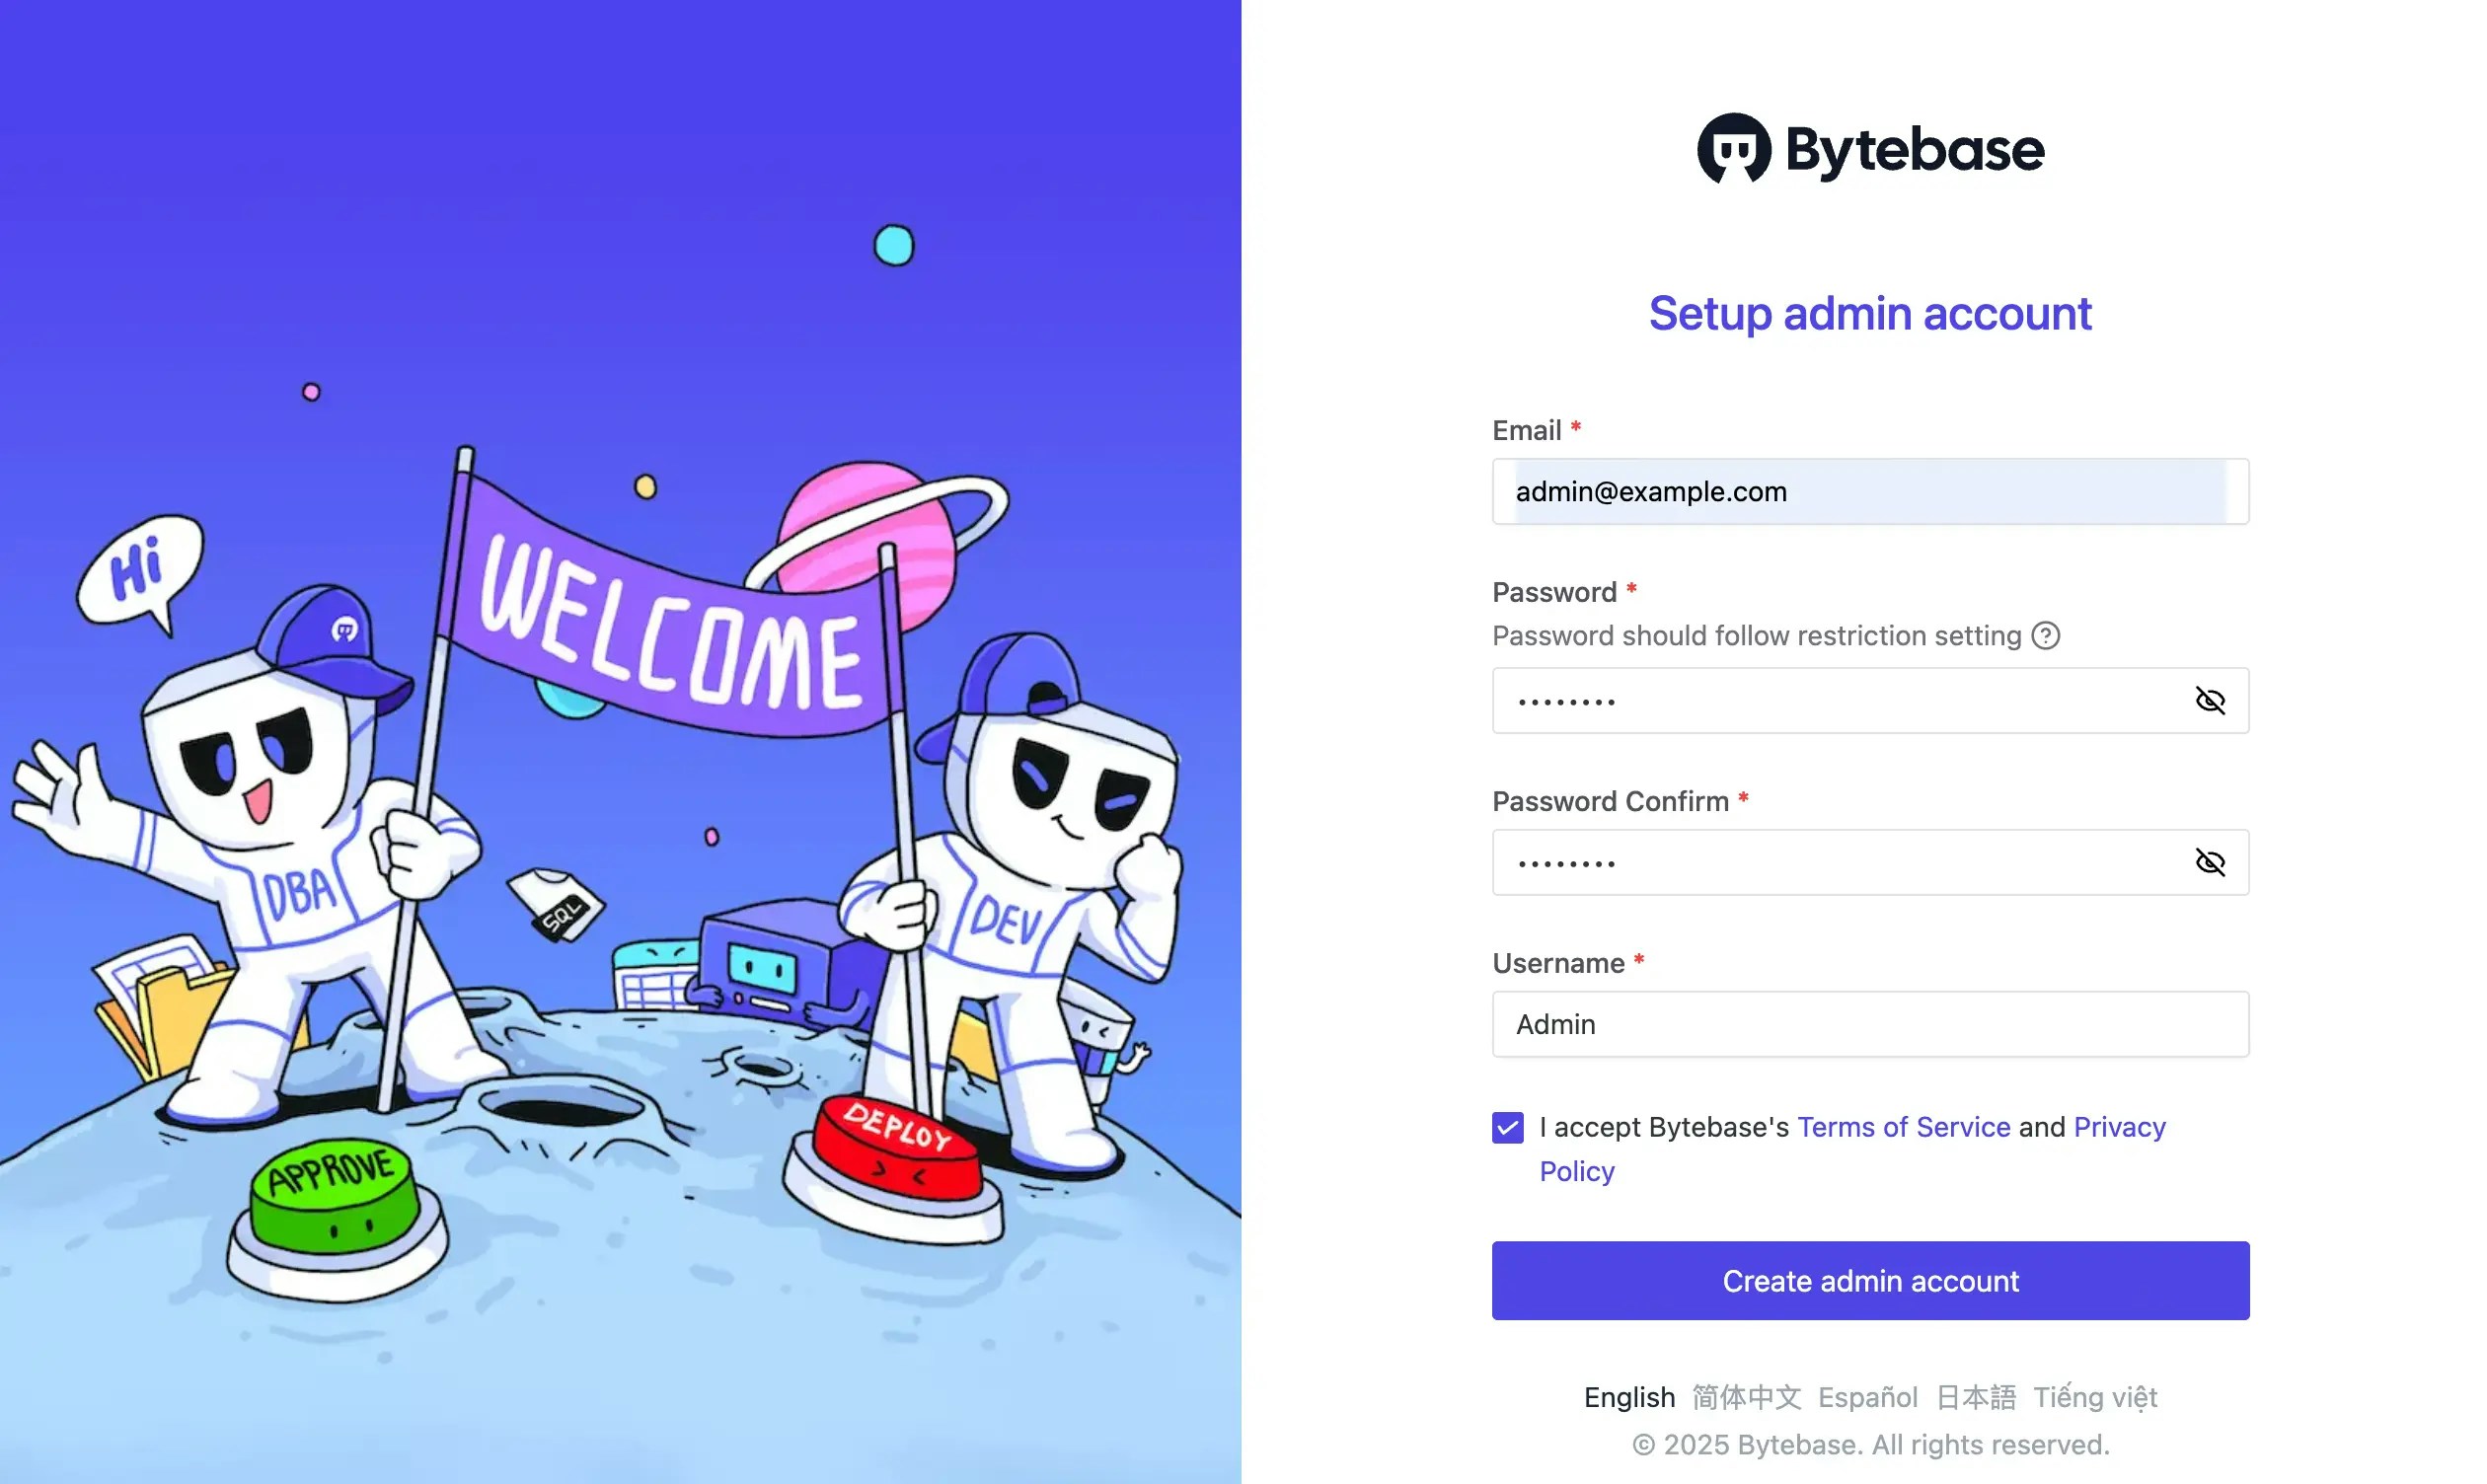
-
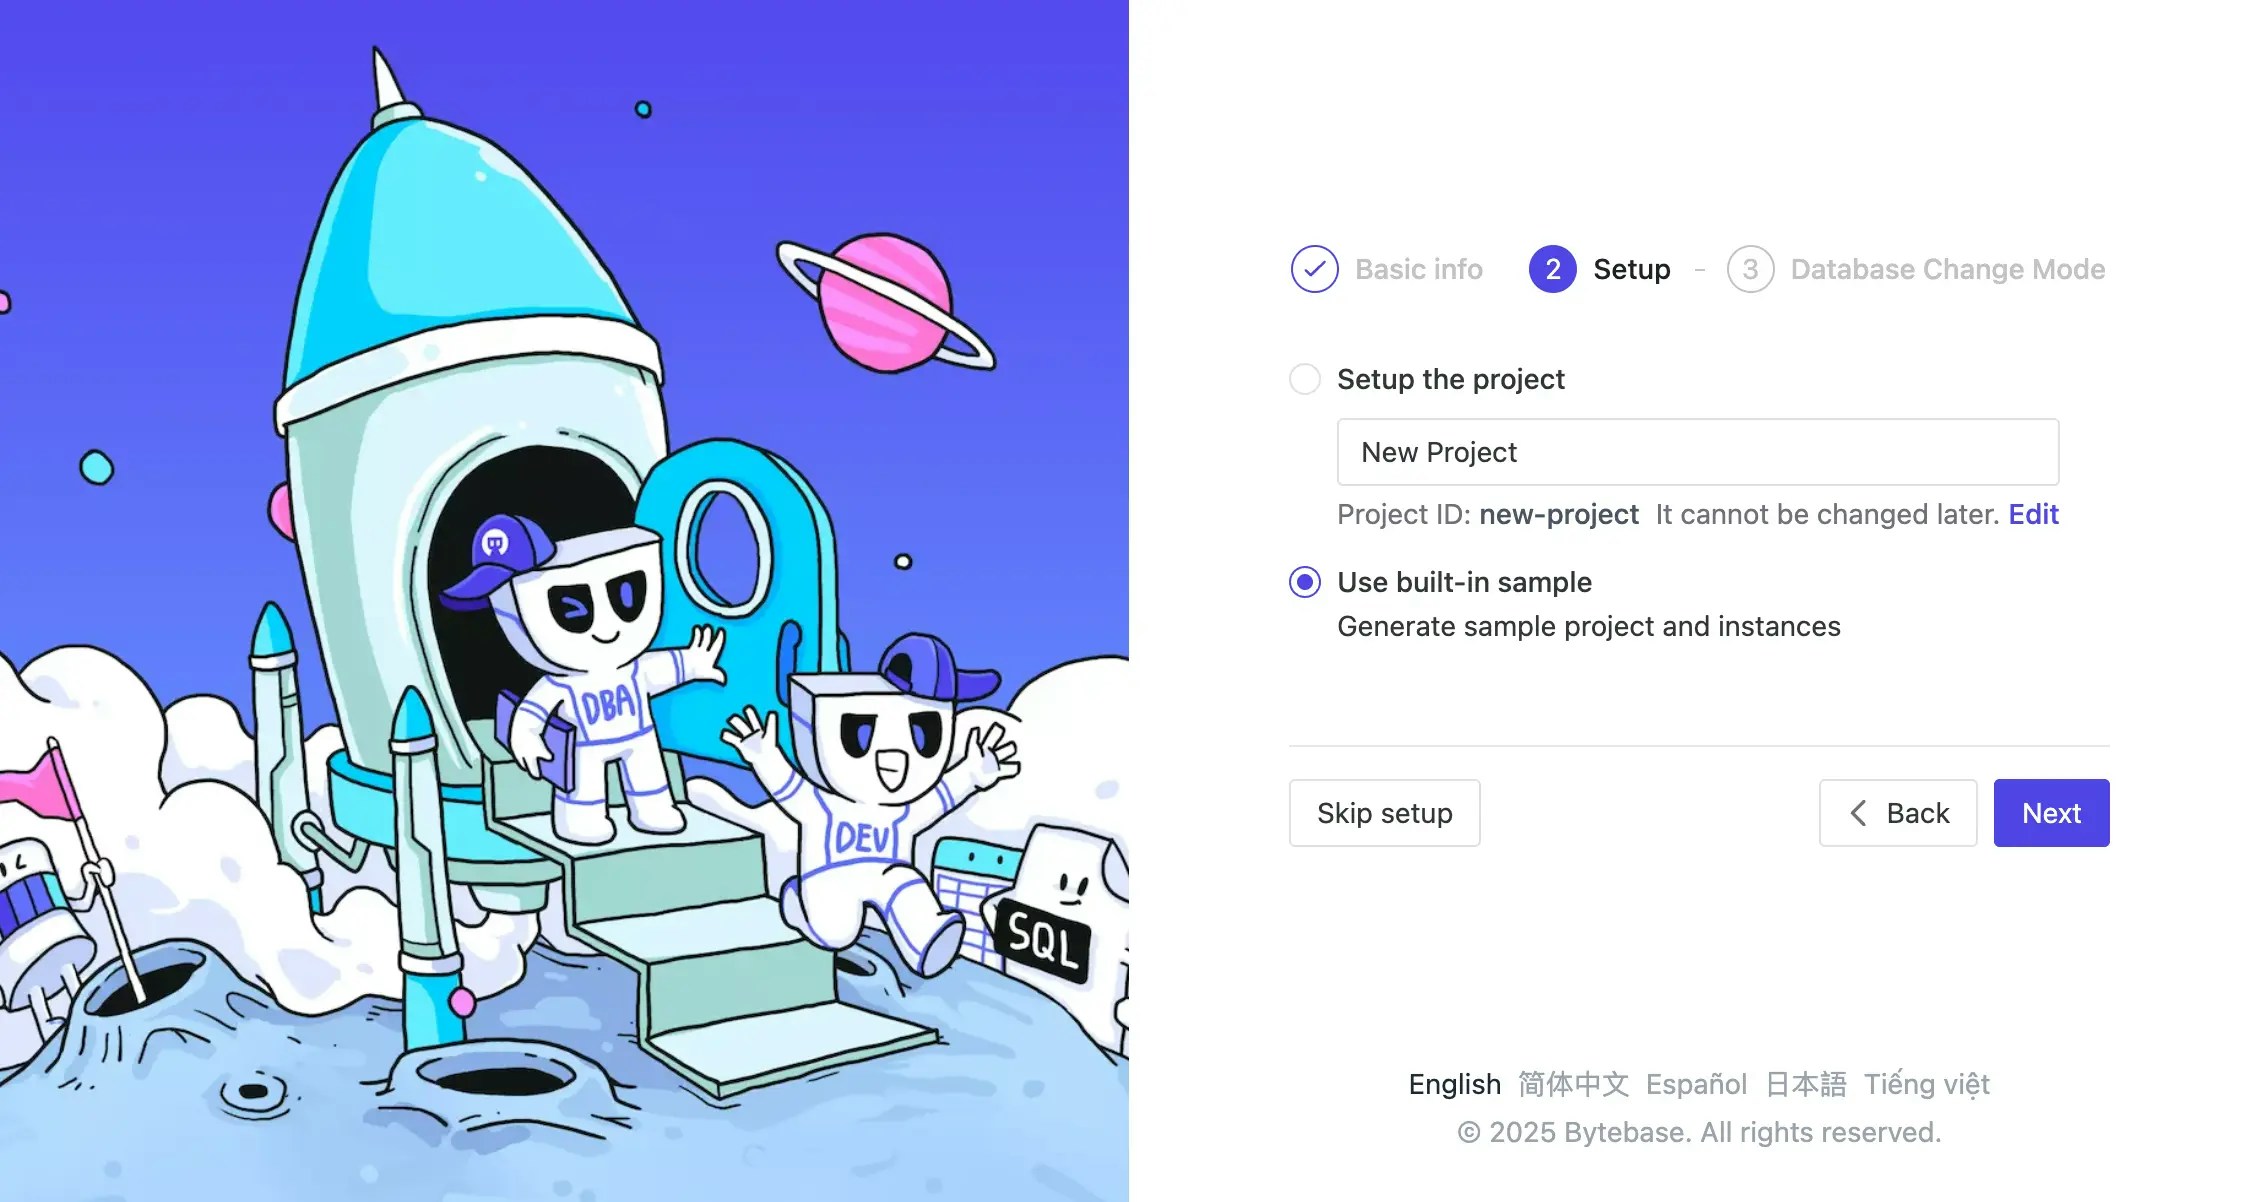
Complete the setup to configure Bytebase, you’ll need to select use built-in sample for this tutorial.
-
(Optional) After logging into Bytebase, activate official or trial license. Some features require the Enterprise Plan.
Explore Current Environments
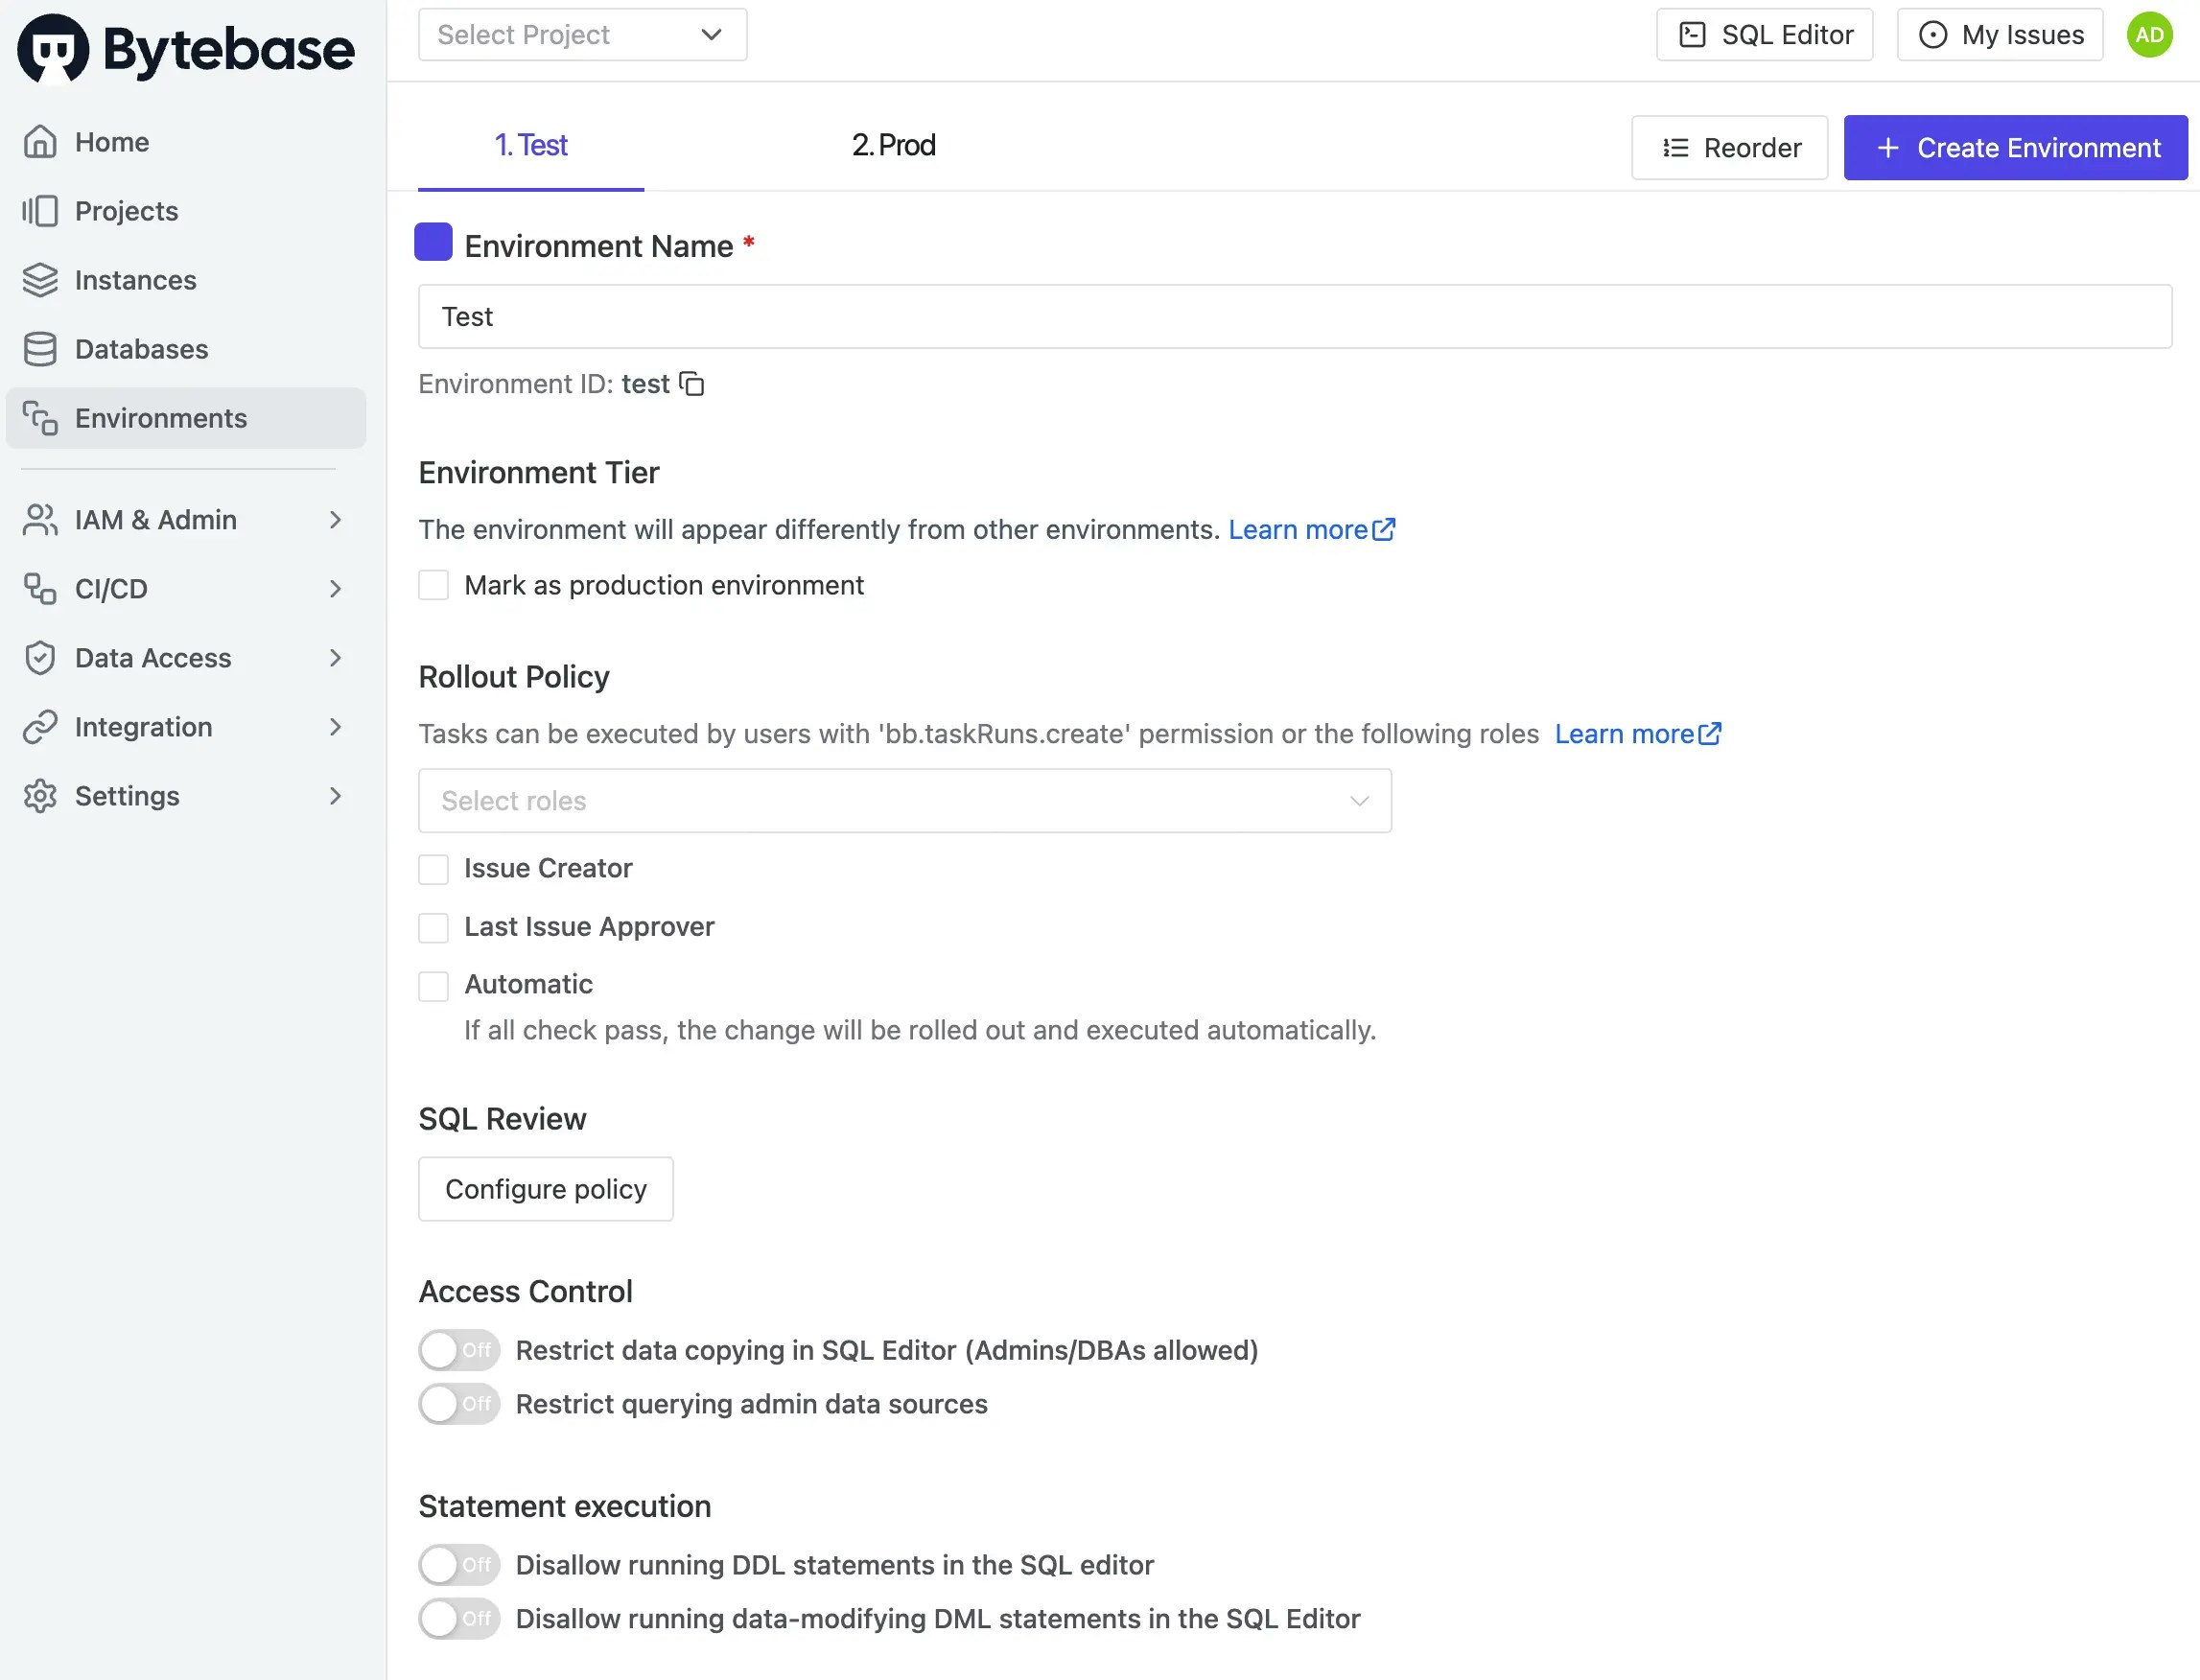
Navigate to Environments in Bytebase. You’ll see two default environments:Test and Prod. We’ll manage these environments using Terraform next.
Step 2 - Configure Terraform Provider
Set up the Provider
-
Create a new folder
learn-terraform-bytebaseand navigate to it. -
Create
0-provider.tf, visit Terraform Bytebase Provider, click USE PROVIDER and copy the configuration.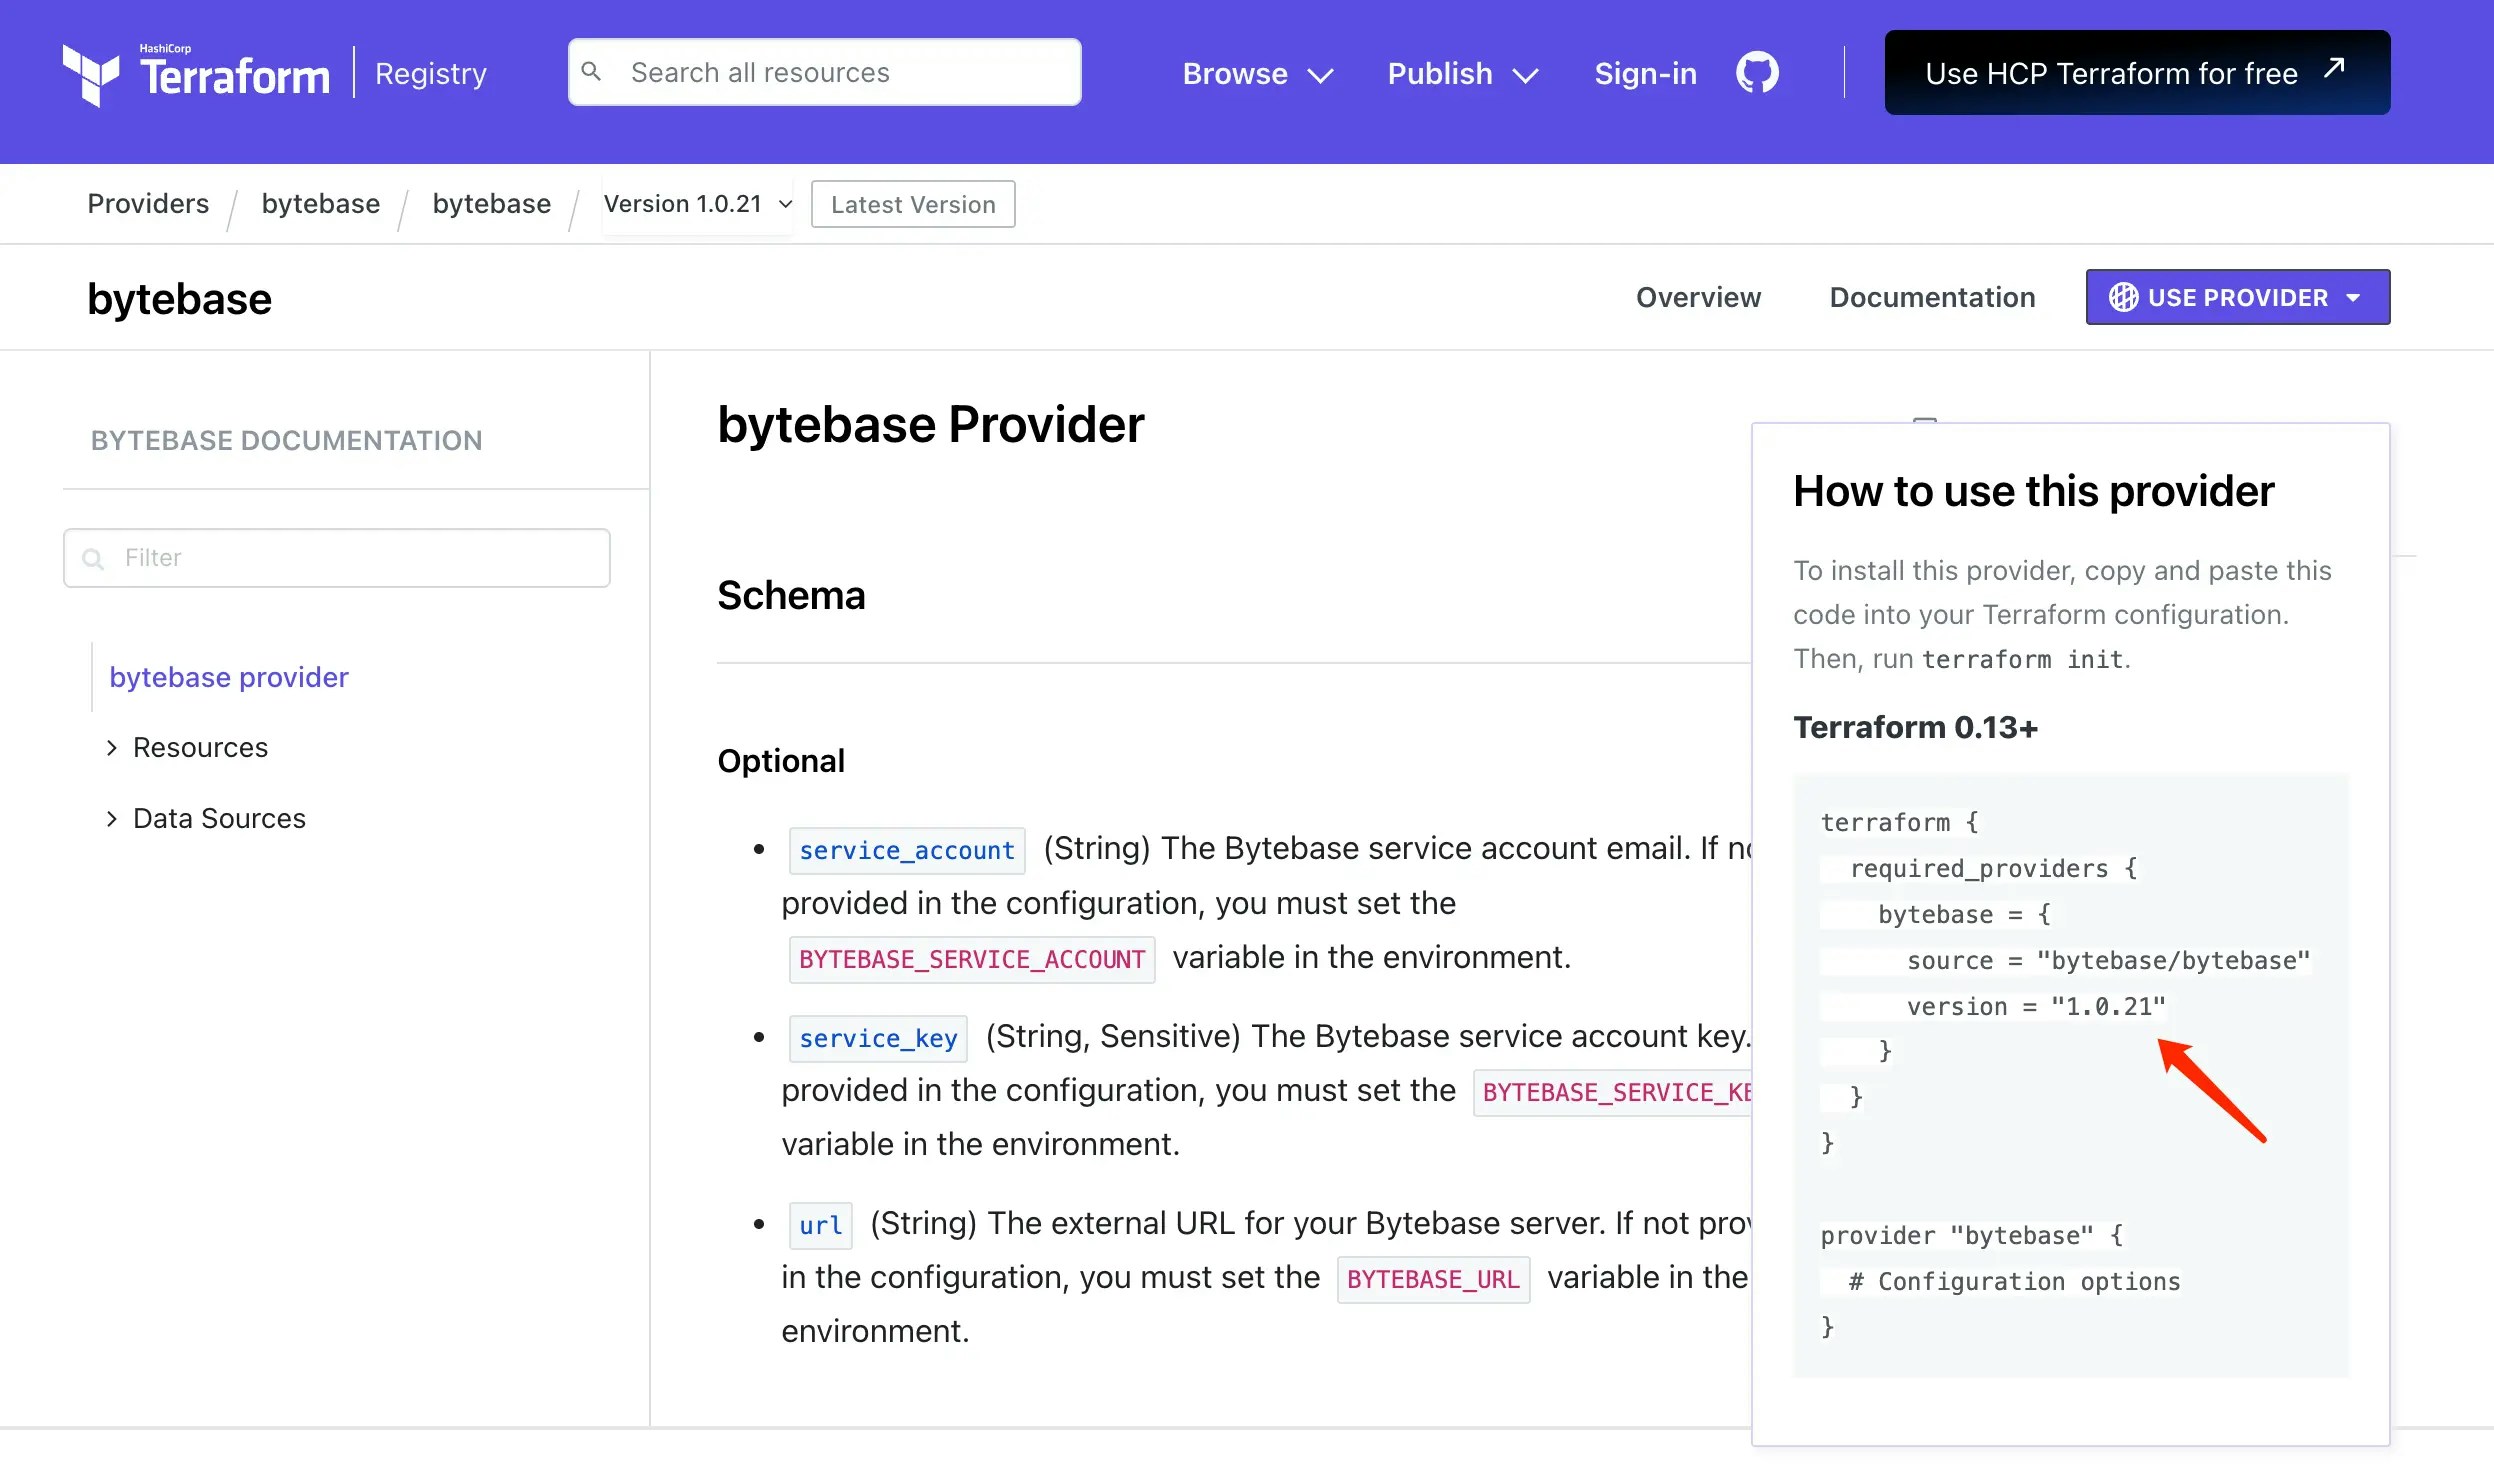 0-provider.tf
Create a Service Account
- In Bytebase, go to IAM & Admin > Users & Groups.
- Click + Add User and create a service account:
- Type:
Service Account - Email:
tf@service.bytebase.com - Roles:
Workspace Admin
- Type:
- Copy the generated Service Key.
Initialize Terraform
- Update
0-provider.tfwith your service account key. - Initialize Terraform:
Step 3 - Inspect Current Environments
Before making any changes, let’s see what environments currently exist.
Create
1-0-list-env.tf:
1-0-list-env.tf
test and prod environments.
Step 4 - Define the Environment Configuration
Create
1-1-env-setting.tf:
1-1-env-setting.tf
Step 5 - Configure Environment Policies
Let’s add rollout and data protection policies, for more details, see: Environment Policy and Rollout Policy.Rollout Policy
The rollout policy controls whether changes deploy automatically and which roles can manually roll out. Create
1-2-env-policy-rollout.tf:
1-2-env-policy-rollout.tf
automatic: Whentrue, changes deploy automatically after all checks pass. Whenfalse, requires manual click to deploy.roles: List of roles allowed to manually roll out changes. Required even with automatic rollout, as manual approval is needed when checks fail.
Data Protection Policy
Create
1-3-env-policy-data.tf:
1-3-env-policy-data.tf
-
The policy is only applied to the
Prodenvironment. InTest, the defaults apply (no row cap, copy/export allowed, admin data source usable). -
allow_admin_data_sourcecontrols access to the data source:true: Admin data source is allowed.false: When a read-only data source is configured, users are forced onto it; otherwise falls back to admin.
Step 6 - Apply Configuration
Apply all configurations:- Go to Environments.
- Check that
Prodshows a shield icon (protected). - Click each environment to see the configured policies.
Summary and Next Steps
You’ve successfully configured Bytebase environments using Terraform! Your setup now includes:- Test environment: Unprotected with automatic deployment for fast development
- Prod environment: Protected with manual deployment and data restrictions for safety