Step 1 - Setup Bytebase
-
Ensure Docker is running, then start the Bytebase container:

-
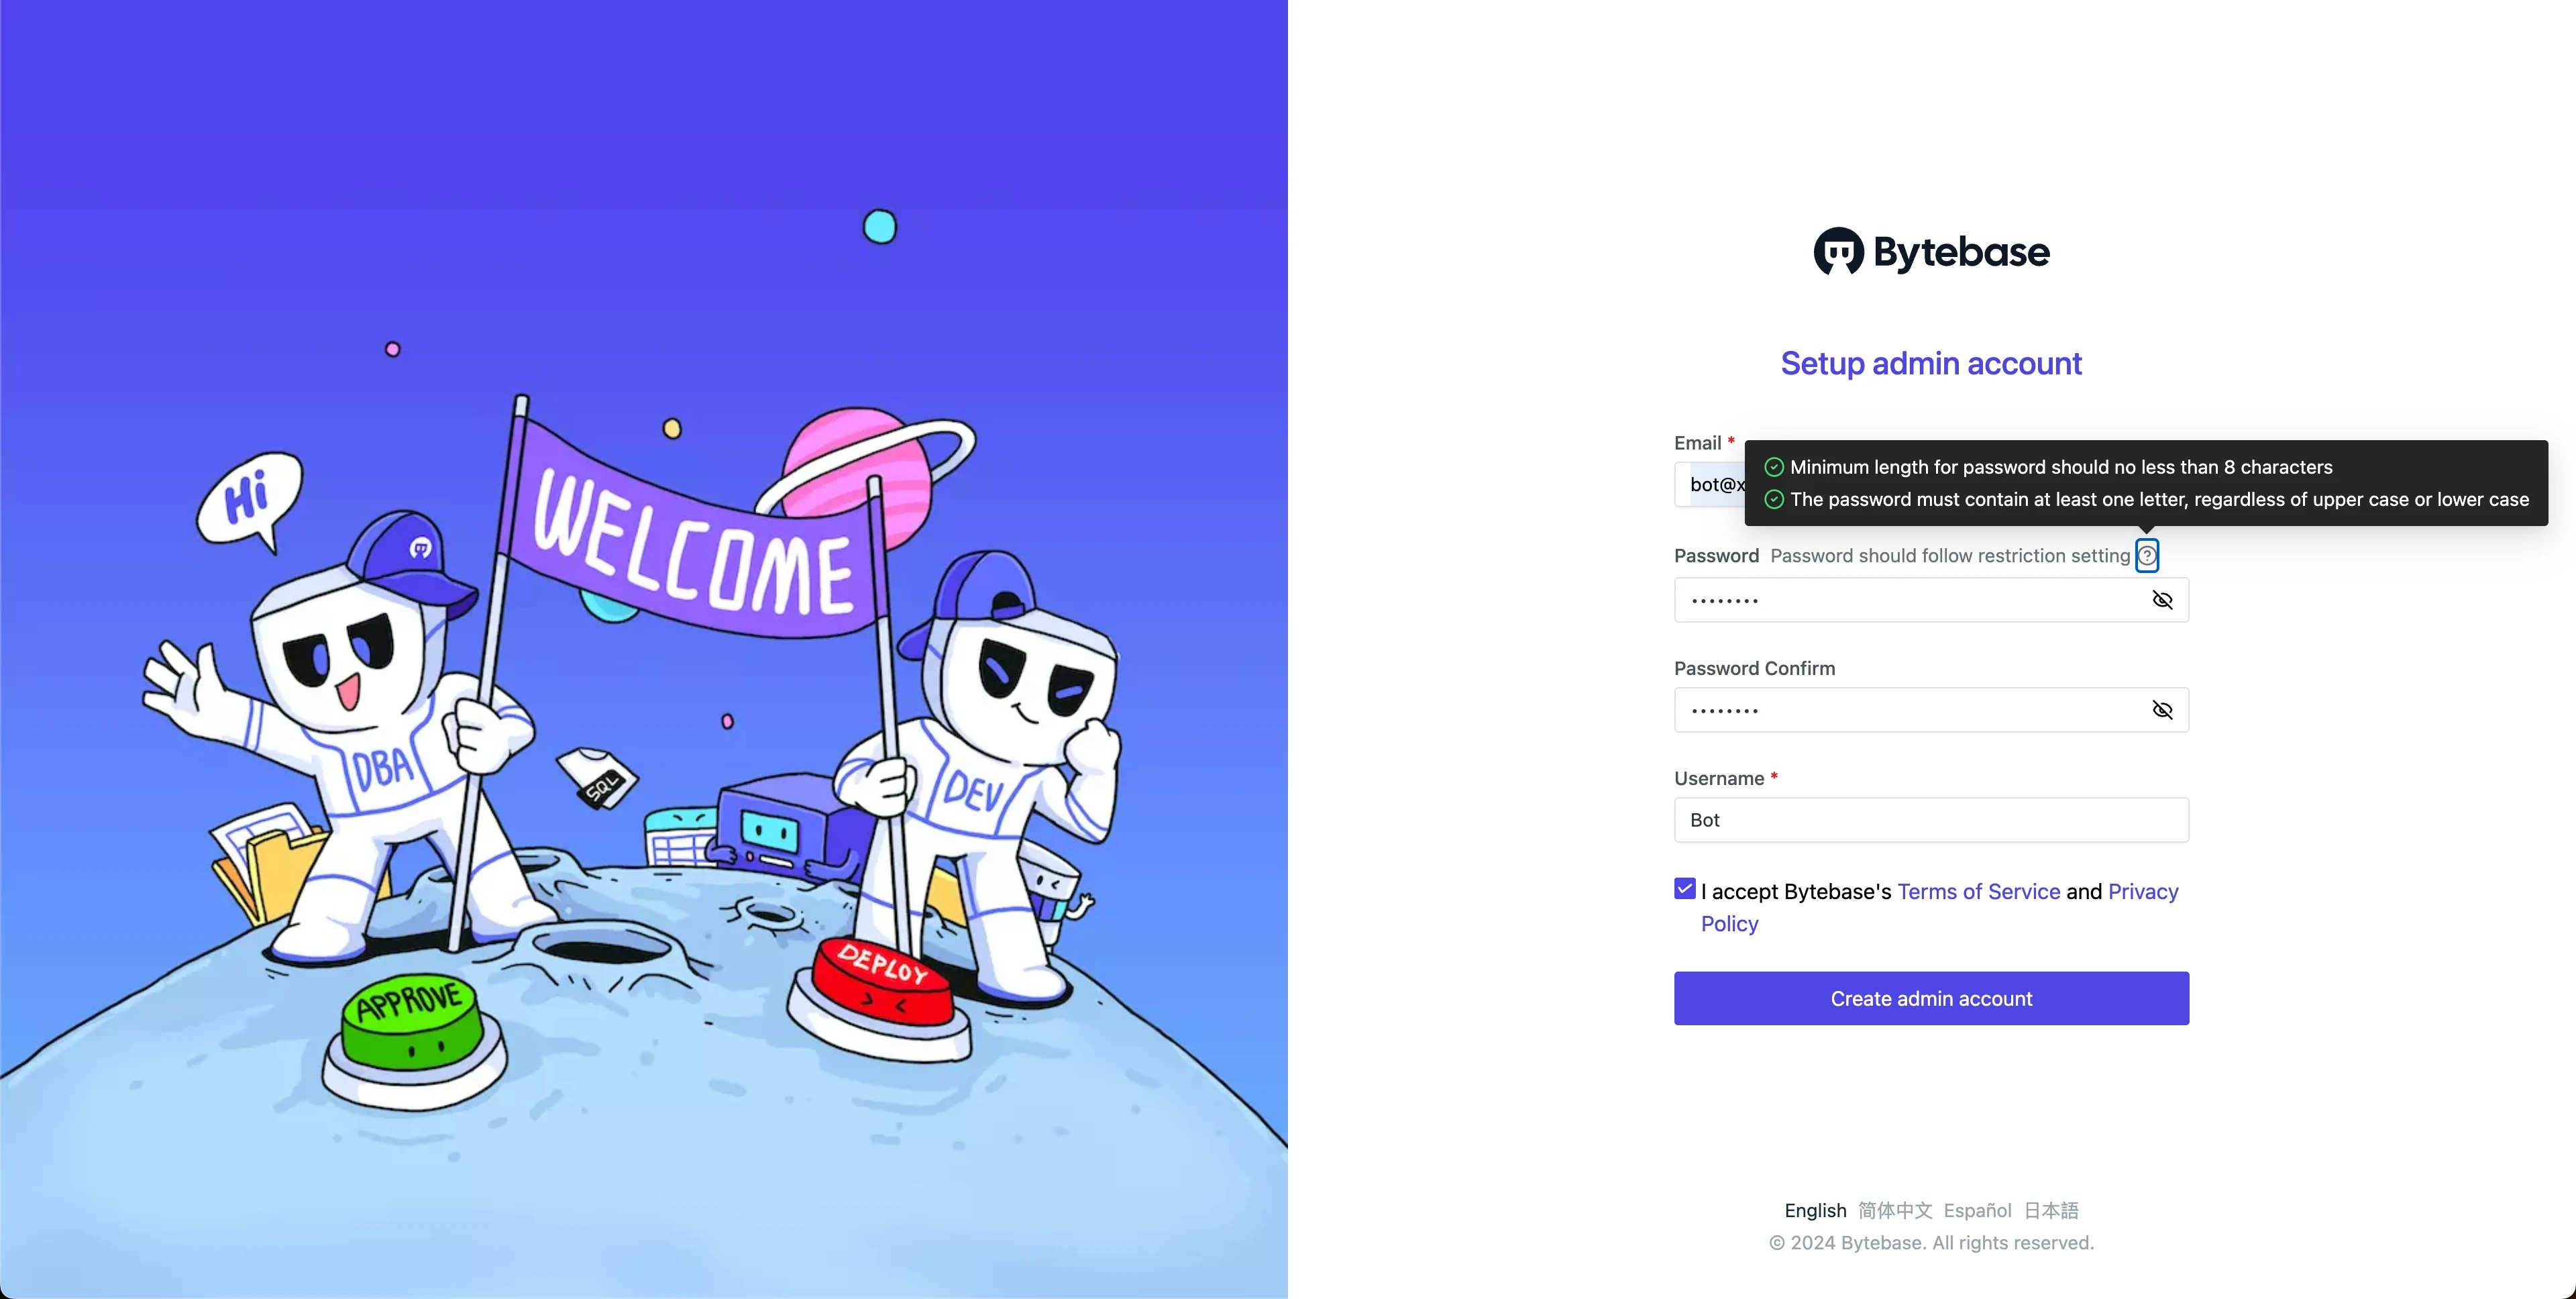
Open Bytebase in localhost:8080, fill in the fields and click Create admin account. You’ll be redirected to Workspace.
-
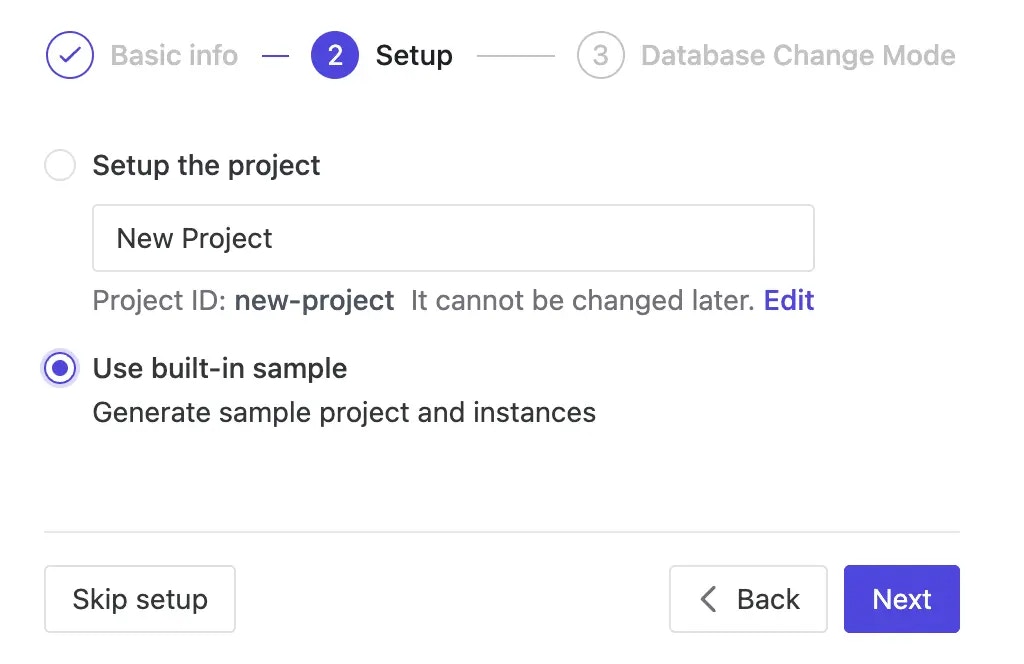
During workspace setup, choose the built-in sample data.
Step 2 - Configure the external URL
The MCP server uses your external URL to tell the AI assistant where to log in. For the local Docker setup, point it atlocalhost.
- Navigate to Settings > General > External URL.
-
Set it to
http://localhost:8080and save.
On a real deployment, set the external URL to the public address your AI assistant can
reach. See Configure external URL.
Step 3 - Connect your AI assistant
The MCP endpoint is your Bytebase URL followed by/mcp — here http://localhost:8080/mcp.
We use Claude Code as the example client.
-
Add the server:
-
Verify it’s registered:
You should see
bytebaselisted.
For other clients (Codex, Copilot CLI, Gemini CLI, VS Code) or JSON configuration, see the
MCP integration page.
Step 4 - Authenticate
-
Start your assistant:
- The first time a Bytebase tool runs, your browser opens to log in to Bytebase. Sign in with the admin account you created and click Allow.
- The assistant stores the token and reuses it automatically until it expires.
Step 5 - Inspect a schema
From here you interact with Bytebase in plain language. The quoted lines are example prompts; your wording can differ — just refer to databases by name.-
Ask the assistant to look at a schema:
“Using Bytebase, show me the schema of the hr_test database.”
-
Drill into a table:
“Show me the full definition of the employee table in hr_test.”
Step 6 - Query data
-
Ask a question that reads data:
“How many rows are in the employee table in hr_test?”
-
Try something more specific:
“List the 10 most recently hired employees in hr_test.”
Query results respect Bytebase’s data masking policies — masked values appear as
******
(full) or **rn** (partial).Step 7 - Propose a schema change
The assistant doesn’t run DDL directly. It creates a Bytebase issue with automatic plan checks, which then follows your normal review and rollout flow.-
Ask for a change:
“In Bytebase, add a nullable
The assistant creates the sheet, plan (with plan checks), and issue, and returns a link.nickname VARCHAR(50)column to the employee table in hr_test. Title it ‘Add nickname to employee’.” - Open the returned issue link in Bytebase to review the plan-check results.
-
No approval is required on the free Community plan, so the issue is ready to deploy. By
default rollout is manual, so in the Rollout section click Run to execute the
change. Once it completes, the issue is marked
Done.
This walkthrough uses the free Community plan, where changes skip the approval step.
The Enterprise plan adds a configurable multi-step approval flow
(for example, routing higher-risk changes to additional approvers) before rollout. Rollout itself is configurable
per environment — manual by default, or set to roll out automatically.
Next Steps
- Model Context Protocol (MCP) - full setup, tools, and limitations
- First Schema Change in 5 Minutes - the review workflow the assistant plugs into
- Custom Approval Flow - for adding approvers